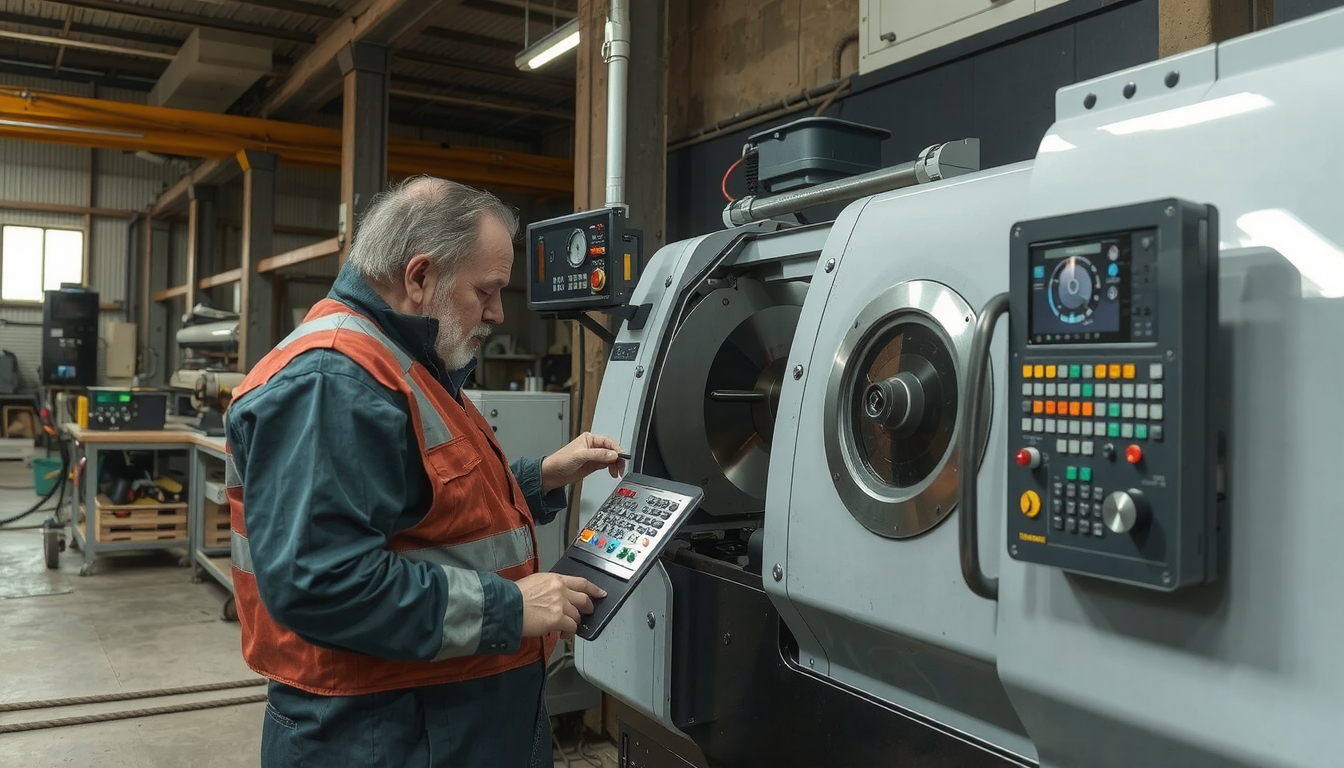
It may appear stiff to start a CNC lathe at first. These machines are quite complex, but if you turn them into small parts to learn, it gets easier.

In this article, we are going to help you out with everything you need to know. We will explain the rules for safety and how to get the machine set up. Besides that, we will provide you with complete step-by-step instructions for running your first part successfully. Tips from expert machinists are included as a bonus.
After reading this article, you will have a complete overview of the process. Here at Mekalit, we are committed to helping new machinists learn with clear, reliable knowledge.
Before You Start: Safety and Important Knowledge
Read the basics, learn the right safety and health practices, first, that is before you start the CNC lathe. The most important tool for every machinist is a “safety-first” mindset. Mastering these fundamental ideas will ensure your safety and that of the machine.
Golden Rule: Safety Comes First
Your safety should always come first, and you should wear the right Personal Protective Equipment (PPE).
- Wear safety glasses at all times. Work without them is forbidden.
- Wear sturdy shoes that are closed-toe.
- Avoid wearing loose clothing, hoodies, or anything that can easily get caught.
- Take off all jewelry like rings and watches.
- Secure your long hair with a tight tie-back.
You must also be aware of the machine’s safety functions. Locate the big, red Emergency Stop (E-Stop) button. Learn that doors of the machine have interlocks. The interlocks block the machine from running if the doors are open.
Understanding Your Machine: Lathe vs. Mill
It is necessary to realize the simple difference between a lathe and a mill. A CNC lathe revolves the workpiece, while the cutting tool moves into the revolving part to produce round or cylindrical shapes.
A CNC mill does precisely the opposite. A mill enamels the cutting tool, while the workpiece remains in one place. Lathes usually work in two axes, or directions of motion: X (diameter) and Z (length). For more information, check out this article How to Operate a Lathe: The Complete Starter Guide.
The CAD/CAM to Machine Workflow
What you want to make starts as a digital journey. As the first step, an engineer creates a CAD (Computer-Aided Design) model in a 3D format.
Then, the model goes into CAM (Computer-Aided Manufacturing) software. The CAM creates the tool paths and writes the G-code that informs the lathe on what to do. The CAM produces standardized How To Use a CNC Machine: 7 Tips for Beginners | UTI digital workflows for all CNC machines.
At last, we load this G-code program onto the CNC control lathe to manufacture the part.
Pre-Flight Check: Machinist’s Mindset

Pros don’t prepare the same way as amateurs. This pre-flight check is a major part of learning how to run a CNC lathe safely and well. It helps with preventing mistakes and crashes.
Review Blueprint and Program
You should not just load the G-code and press start. Initially, you should know the part you are producing. Check the blueprint or drawing.
Verify the critical dimensions and what material to use. Pinpoint specific surface finish requirements as well. Run through the program’s steps in your mind and try to think it through. For instance, “The part will first face. Then it will turn the outside. At last, it will cut the part off.”
Prepare Your Workspace and Tooling
A neat machine is a happy machine. First and foremost, make sure that the inside of the lathe is clean. It is very important to take care of the chuck or collet that holds the part. Also, check the turret where the tools are kept.
Gather all the tools that you will need ahead of time. For example, you will need calipers for measuring, wrenches for the chuck, and any keys for the tool holders. Then lay them out on a clean bench. I always check the cutting inserts for their sharp edges to see if there are any chips or damage. Setting up the right tools ahead of time is what professionals do.
Check Machine Fluids and Air Pressure
Good machine health is vital. One part of the daily checkup is looking at the machine’s fluids.
Check the coolant level and make sure it is mixed right. Also check the lubrication and hydraulic oil levels. This information is usually in the machine’s daily maintenance guide. Following this simple checklist can save you from major problems.
| Daily Pre-Operation Checklist | Status |
|---|---|
| Wear Proper PPE | ✅ |
| Review Blueprint and Program | ✅ |
| Gather and Inspect Tooling | ✅ |
| Check Coolant Level | ✅ |
| Check Lubrication Levels | ✅ |
The Core Workflow: A 7-Step Guide to Running Your First Part
Now we will go through the main process. This section is about the practicalities of operating a CNC lathe. But what are the seven main steps to follow?
Step 1: Power Up and Home the Machine
First of all, turn on the main power of the machine. Then, turn on the control panel.
Once the control is on, you must “home” the machine. This is also called “zero return.” Homing sends each axis (X and Z) to its home position. It is the starting point known for the machine control telling exactly where the axes are.
Step 2: Load and Secure Your Tooling

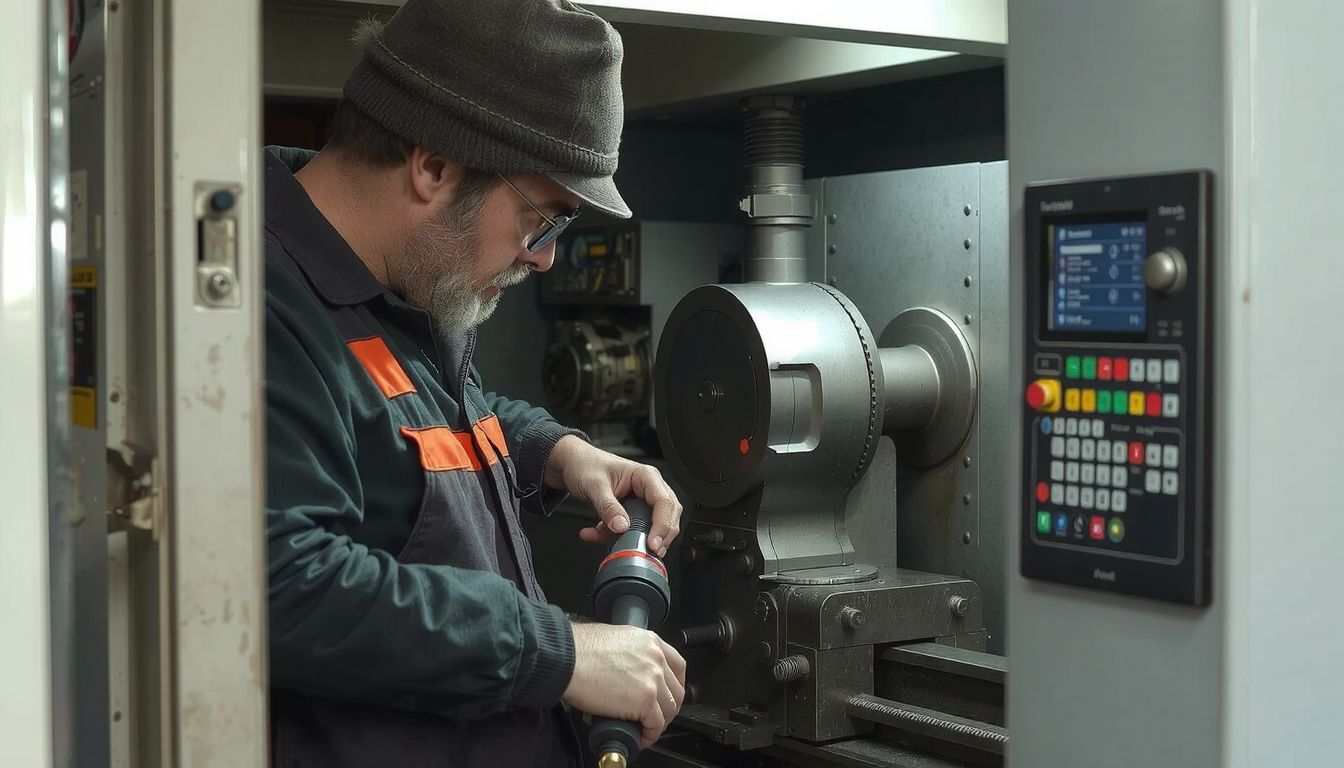
In the next step, we will install the cutting tools into the turret. The turret is the rotating disc that holds all your tools.
Carefully place each tool holder in its designated station on the turret. Ensure that it is fully and straight seated. Do tight bolts. A loose tool can cause a crash or a bad part.
Step 3: Mount and Secure the Workpiece
Now it is time to put your raw material, or stock, into the machine. This part will be held by a chuck or a collet.
Open the chuck jaws and insert the stock. Make sure you have enough material clamped in the jaws for a strong grip. Close the jaws tight. Very little wobble should be noted during the spin.
Step 4: Set Your Offsets (The Critical Link)
This is the most crucial stage of the startup process. Offsets tell the machine’s brain two things: where the tools are and where the part is.
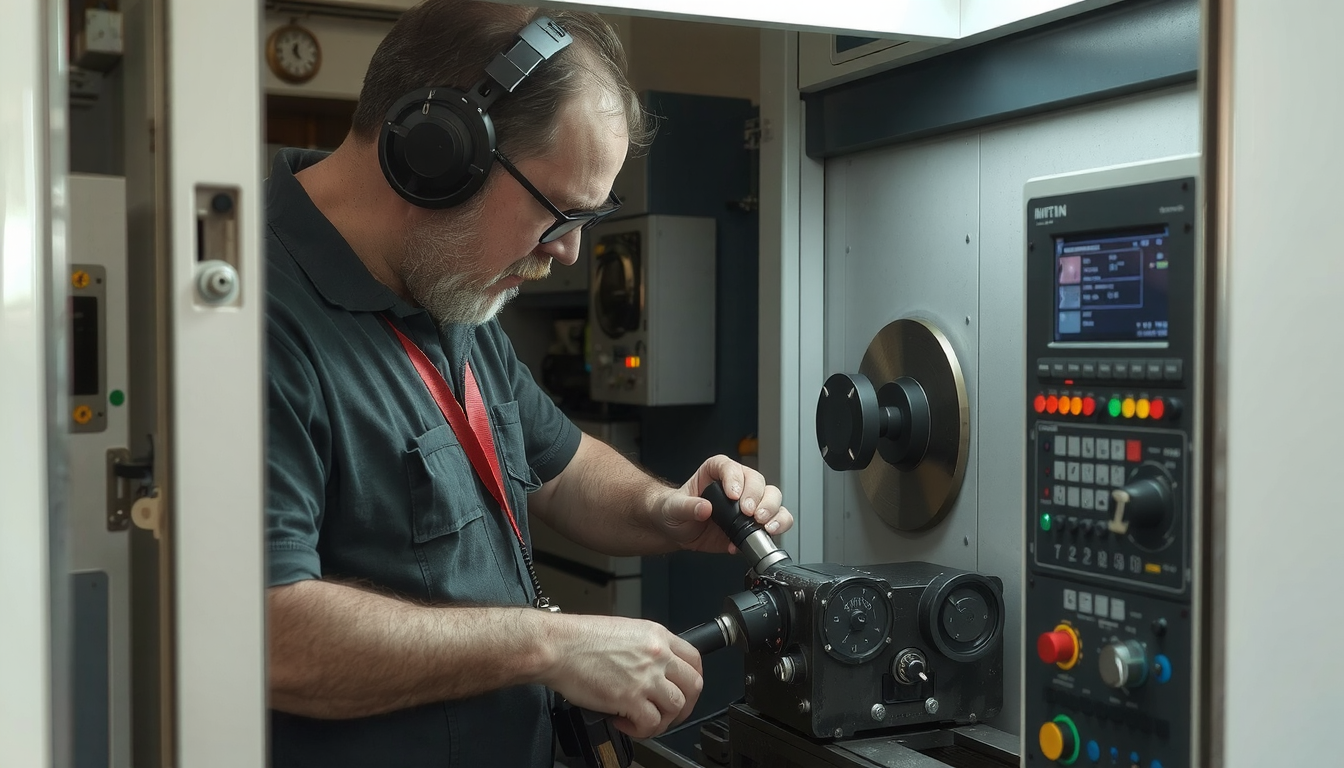
Initially, we set tool offsets. In this stage, the machine is informed of the exact length and shape of each cutting tool. We do this by means of a presetter or the part itself.
In the second step, we set the work shift (often referred to as G54). This shows the machine where the face of your part (Z-zero) is and the centerline of the part (X-zero) is placed. Wrong offsets are one of the top causes of machine crashes for beginners. Getting this straight is an important part of learning how to operate a CNC lathe.
Step 5: Load the CNC Program
Once you finish the setup it is time to load your G-code file.
There are several ways to transfer the program into the machine’s control. These include using a USB drive, a network connection, or an older CNC system might use a serial cable. Select the program from the control’s memory.
Step 6: Verify with a “Dry Run”
Before running a part, do not execute a new program right away. Always do a dry run beforehand. A dry run means running the program without any tool touching the part.
This way, you will see the tool movements and check if the program is right. It is a simple but very effective measure to avoid a very big crash. This is a key part of any standard CNC Operation procedure.
Step 7: Run the Program and Make the First Cut

You have done all the prep work. It is finally time to make a part.
Set the machine mode to “Memory” or “Auto.” Place one hand on the “Feed Hold” button and the other on the feed rate override knob. Take a deep breath and press the “Cycle Start” button.
From First Cut to Finished Part: The Art of Proving Out
Running the program is just one part of the job. A true operator knows how to watch, to listen and to adjust the process. This is proving out a program and it separates button-pushers from real machinists.
What to Watch and Listen For?
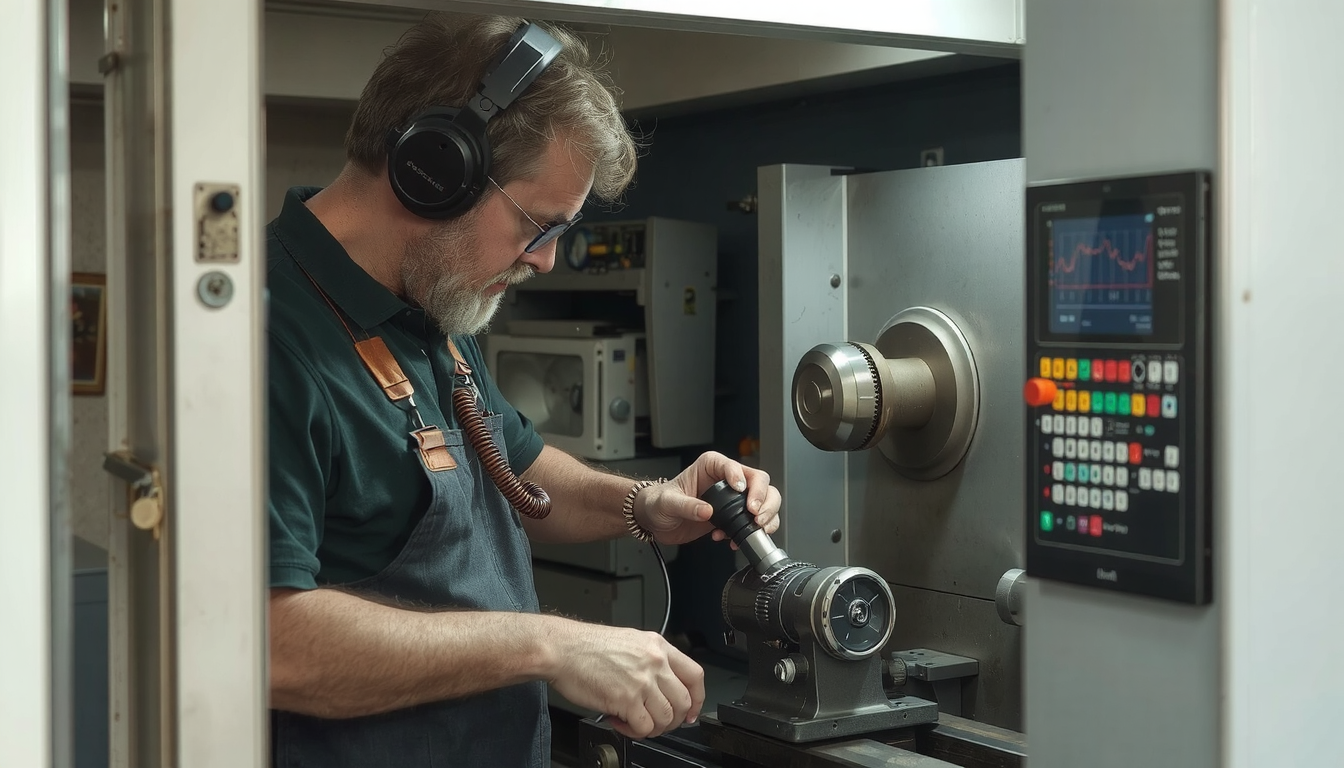
As the machine moves on, use your senses. A good cut often sounds like a soft hiss or a low hum: it is steady and smooth. A bad cut may have a loud squeal or a rough, bumping noise that is called chatter.
Observe the chips flying from the part. Good chips are generally small and break off cleanly while long and stringy ones may cause a hazard by wrapping around either the part or the tool. You should always be prepared to hit the “Feed Hold” switch when necessary if something doesn’t seem right or in fact sounds wrong.
The First Part Inspection
Once the program has completed it is time to review your work. Safely, open the doors and take out the finished part. The part may be hot and will have sharp edges so do take care.
You should use a deburring tool to remove sharp burrs. Then, obtain your calipers or micrometers to measure the important features of the part. Compare each measurement with the numbers in the blueprint.
Fixing It: Using Wear Offsets
Sometimes, the first part might be little not perfect. It may be a little too big or too small. The normal way to fix this is to make slight adjustments using wear offsets.
On the control panel, look for the “Wear” offsets page. If a diameter you cut is 0.1mm too large, you will enter -0.1mm into the X-axis wear offset for the tool that cut it. This tells the machine to cut just a little bit deeper. Run the part again and measure it to check whether your change was right.
Conclusion: Your CNC Lathe Operator Journey
Now you are aware of the complete path that leads you to run a CNC lathe. We have summed up the whole philosophy: Always think about safety, arrange your workspace in a proper way, follow a clear process and check what you have done.
Running a CNC lathe is, in fact, a skill you need to practice with your hands. The more you do it and with time you will become more natural at it. Starting with simple parts and building confidence is what you should do.
Keep on the learning path and use these steps repeatedly. As your skills increase, you will be able to cope with more complicated projects. Such are the kinds of precision work we do every day at our professional CNC-Drehmaschinen-Dienstleistungen.
Frequently Asked Questions (FAQ)
What is the hardest thing to learn when operating a CNC lathe?
A few offsetting errors, that is for the beginner, the hardest part on the lathe is wrong setting of the tool and work offsets. A minor mistake on this step could lead to a significant problem, such as a crash. This is the reason why we stress being careful, using the step-by-step approach, and doing a dry run always.
Can I teach myself to run a CNC lathe?
Guides such as this are great starting points, but they can never replace the touch and feel you get from personal training in hands. Well, safety and learning good habits are the reasons we recommend a formal class or mentor. If you are a hobbyist, you can start with very simple projects on safe materials such as plastic or aluminum. Always ensure safety is your top priority.
What is a “dry run” and why is it so important?
A dry run is a means of running the CNC program with tools positioned a safe distance away from the part and chuck. It is a vital safety check. It lets you watch the tool’s path to make sure the program is right before any cutting happens. This helps prevent a crash.
How do I know what speeds and feeds to use?
Speeds (how fast the part spins) and feeds (how fast the tool moves) depend on many factors. These include the material you are cutting, the type of cutting tool, and the machine itself. Manufacturers’ tooling companies often provide good starting references. Beginners should always start at slower, safer rates and adjust them according to the cut sound and chips produced.
What’s the most significant difference between operating a CNC lathe and a CNC mill?
The main difference is what rotates. The workpiece on a CNC lathe turns while the tool moves both in the X-axis (in/out) and Z-axis (left/right). Conversely, on a CNC mill, the tool spins and moves on X, Y, and Z while the workpiece stays still. This fundamental discrepancy makes it possible for them to produce different parts and consequently need different setup methods.

