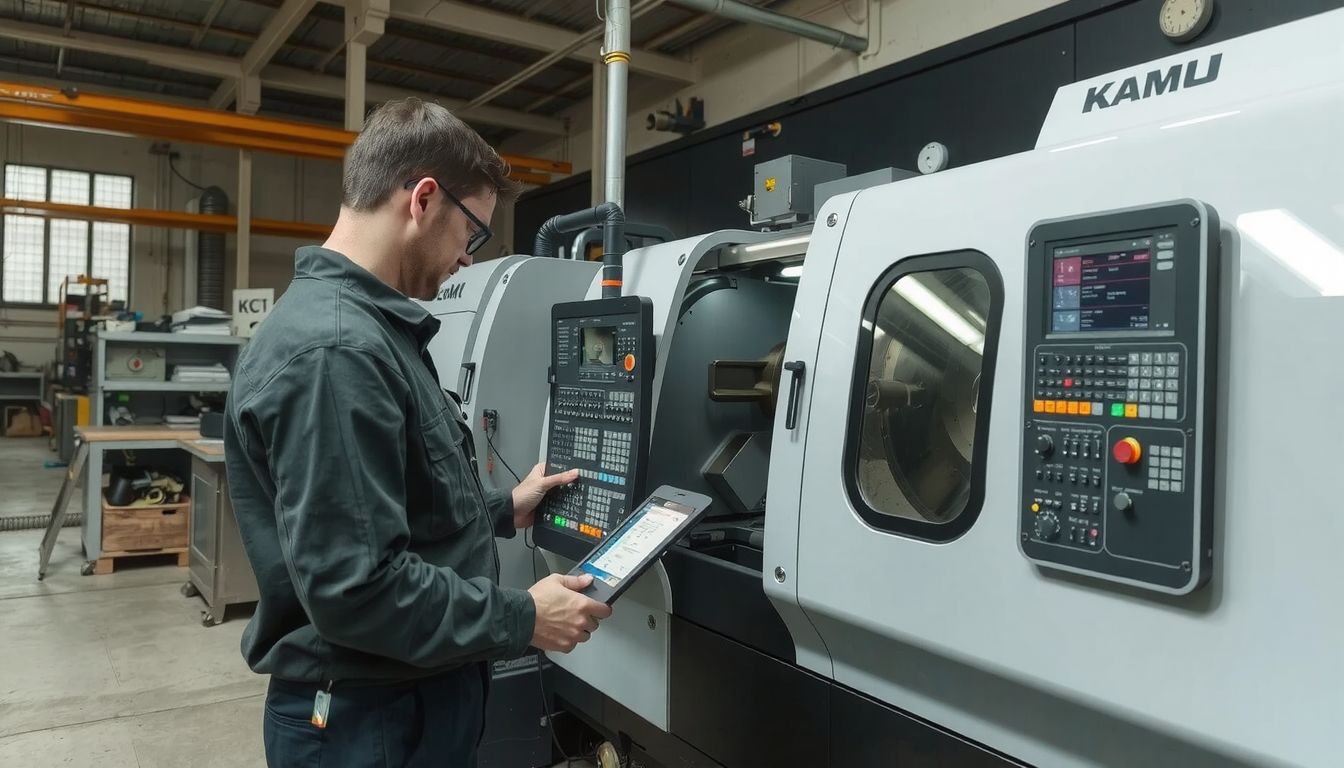
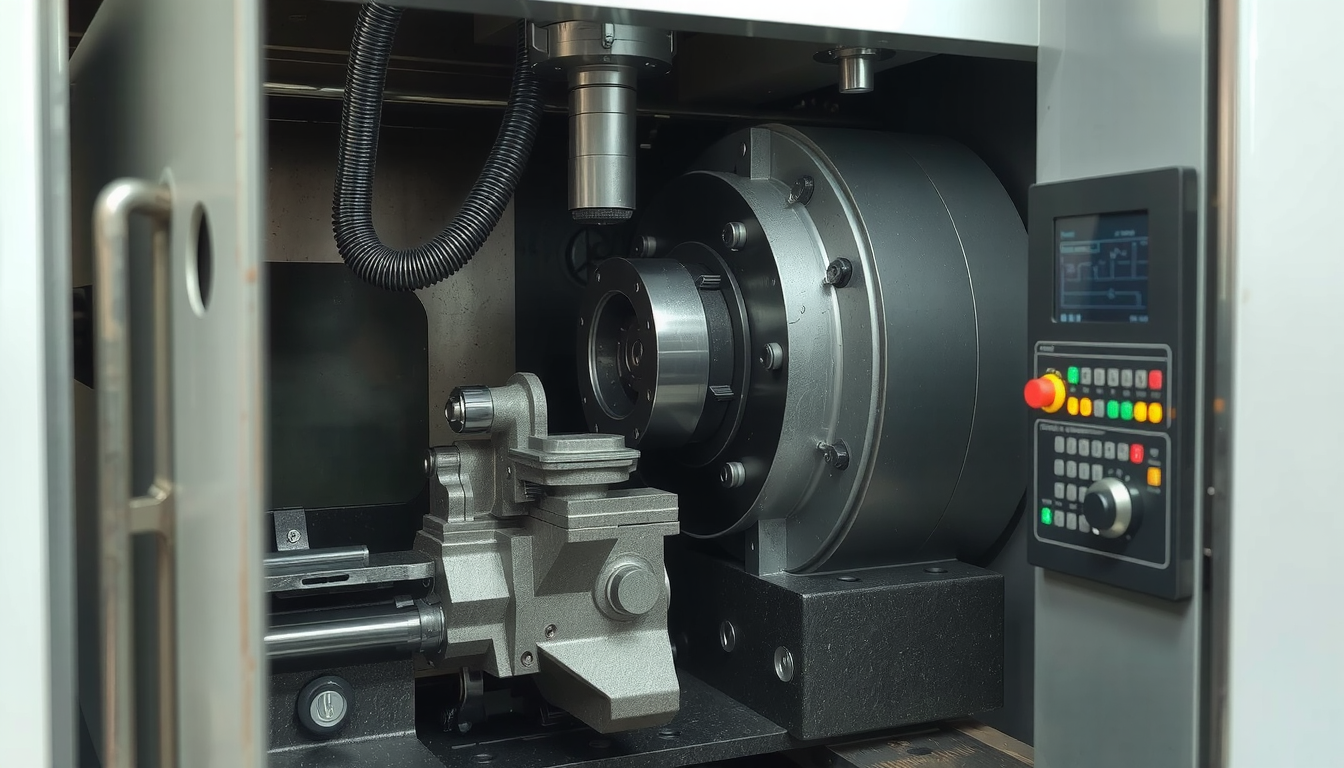
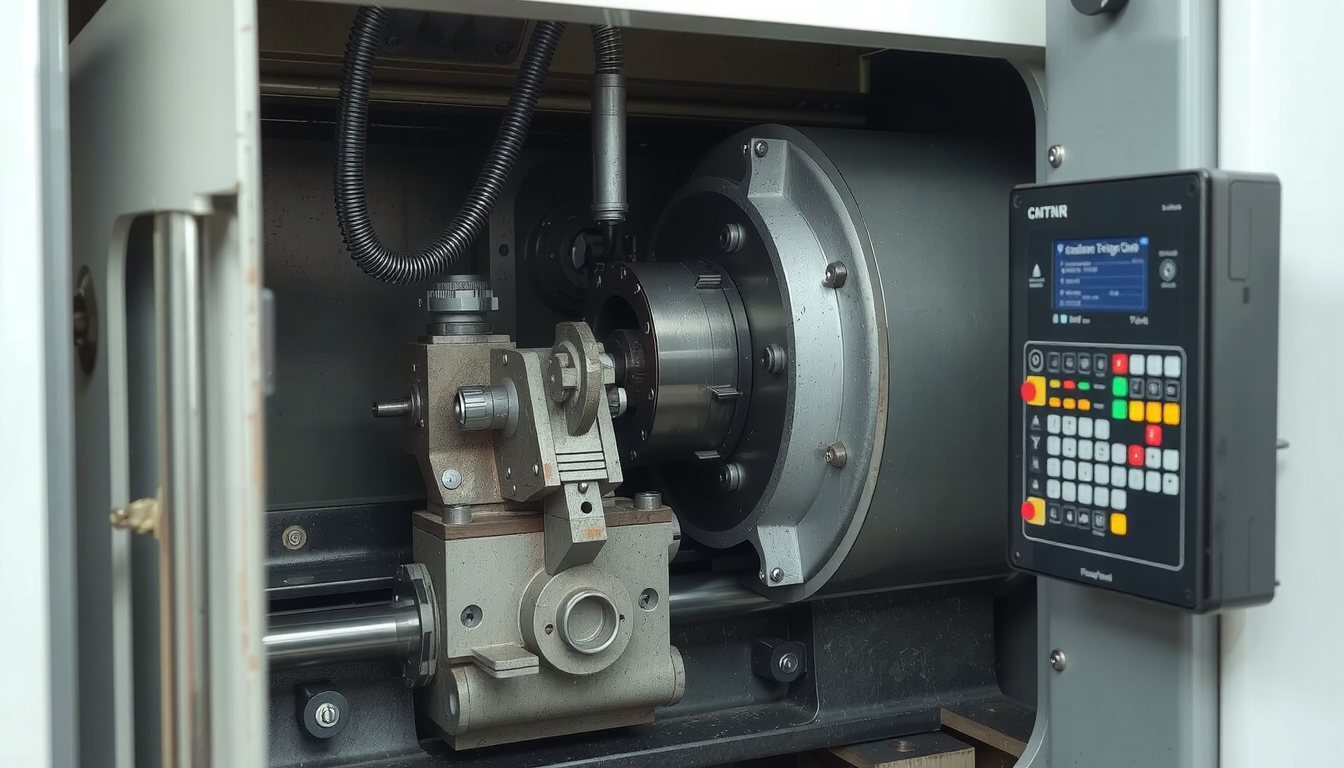
Gaining the ability to program a CNC lathe machine entails writing instructions for the machine that meticulously outline the process of cutting a metal piece. Hence these instructions are called a program; the program is the one that guides the cutting tool to form a rotating material piece turning a raw material into a finished part. It is, therefore, the most essential skill of CNC machinists, to program a CNC lathe machine.

Three primary techniques allow you to program a CNC lathe machine that is now based more on writing programs by hand then the other two programming methods. You can either do it via the Coded G language, which is the manual programming method, or via the CAM (Computer-Aided Manufacturing) software that designs it for you, or using the conversational programming, which is the most straightforward method. This article shows how to program a CNC lathe Using manual programming techniques.
CNC Lathe Programming Three main parts
Before you can write a program you need to have some basic knowledge of the central ideas. These are the core elements for every command set you will make. With this knowledge, you will be ready to start your journey into CNC lathe programming.
Coordinate System Orientation
A CNC lathe works using a pair of paths known as axes. The X-axis is responsible for the diameter of the part, while the Z-axis deals with the length.
Imagine the center of the spinning part as Z0. The tool tool is given the Z-axis movement on the part to go left and right.
The X-axis is used for moving the tool in and out from the center of the workpiece. The machine also features a particular “home” position in a safe area that is distant from the part. For the machine’s feedback, we tell it where the part is located by setting the “part zero.” It refers to the center line of the part at the finished face most often.
G-Code vs. M-Code: Which is Which?
The program consists of a combination of the G-codes and the M-codes. The G-codes provide information to the tool on how to act and move, while the M-codes manage the machine’s functions like starting or stopping the spindle. Broad comprehension of the difference is the foundation of CNC lathe programming.
| G-Codes (Geometric Codes) | M-Codes (Miscellaneous Functions) |
|---|---|
| Movement control (e.g., rapid, feed, arc) | Manage the machines (e.g., spindle on/off, coolant) |
| G00, G01, G02, G03 | M03, M05, M08, M09 |
Manual Programming, CAM, and Conversational: A Brief Overview
A lathe can be programmed in a number of ways. Setting it up manually means that you write the G-code command line by line. The CAM (Computer-Aided Manufacturing) software generates the G-code for you specifically from a 3D model. Conversational programming is about making a program without G-code, instead, it uses the simple menus that are displayed on the screen. For the initial stage we will concentrate the most on manual programming.
Before You Code: The 4-Step Machining Plan
Most of the time is taken in the right setup and planning; every skillful machinist would tell you this. One mistakes every novice makes is writing the code in a hurry. Good programming techniques result in fewer errors. It also makes programming with CNC lathe machines a pleasant experience.

1. Analyze the Blueprint (Part Drawing)
The first thing is to examine carefully the part drawing or blueprint. Find all the measurements (lengths and diameters), note the type of material (like aluminum or steel), and pay attention to the tolerance, as this tells you how precise the dimension would have to be. Look for specific finish notes.
2. Sequence Your Operations
Next, sequence the cuts logically. Not every cut can just be made at any place. It must follow a sequence that makes sense. A practical sequence could be:
1. Facing (cleaning the front face of the part)
2. Rough Turning (removing large amounts of material quickly)
3. Finish Turning (a final light pass for a smooth finish and exact size)
4. Grooving or Threading (if needed)
5. Parting Off (cutting the finished part from the raw stock)
3. Select the Right Tooling
Each task requires a specific tool. The roughing tool should be strong and tough, while the finishing tool should be sharp and precise. The right cutting inserts and tool holders are vital to reaching success. The material you are cutting also determines the tool you will need.
4. Establish Your Work Zero (WCS)
The initial step for tool placement is to provide the workpiece information. You can do this by giving the Work Coordinate System (WCS) through G54. When you do this, you are telling the machine where the “zero” is. The Z-zero (for lathe) is usually the existing face of the finished part, while the X-zero is the spindle centerline. This is important because it helps with the accuracy of your dimensions.
The Language of the Lathe: Essential G-Codes and M-Codes for Beginners
Learning CNC is not about memorizing a lot of codes. A few pairs of G-codes and M-codes will be sufficient for doing simple tasks. The simple tables below are your cheat sheet in programming a CNC lathe machine.
Core G-Codes (Movement & Cycles)
| Code | Name | Simple Explanation |
|---|---|---|
| G00 | Rapid Move | Moves the tool as fast as possible to a position (not for cutting). |
| G01 | Linear Feed | Moves the tool in a straight line at a set feed rate (for cutting). |
| G02/G03 | Kreisförmige Interpolation | Moves the tool in an arc or circle (clockwise/counter-clockwise). |
| G28 | Return to Home | Sends the tool back to the machine’s home position. |
| G50 | Spindle Speed Clamp | Sets the maximum RPM the spindle can reach. A safety feature. |
| G96 | Constant Surface Speed | Adjusts RPM automatically to keep the cutting speed the same. |
| G97 | Constant RPM | Sets the spindle to a fixed RPM that does not change. |
| G71 | Rough Turning Cycle | A shortcut to remove a lot of material along a profile. |
Core M-Codes (Machine Functions)
| Code | Name | Simple Explanation |
|---|---|---|
| M03 | Spindle On CW | Starts the spindle spinning in the clockwise direction. |
| M04 | Spindle On CCW | Starts the spindle spinning in the counter-clockwise direction. |
| M05 | Spindle Stop | Stops the spindle from spinning. |
| M08 | Coolant On | Turns on the flood coolant. |
| M09 | Coolant Off | Turns off the coolant. |
| M30 | Program End and Reset | Ends the program and rewinds it to the beginning. |

You could consult a detailed manual for a more complete list of codes and their specific parameters. One such manual is The Basics of CNC Machining Programming for Lathe.
A Simple Cylinder: A Complete Program Walkthrough
Theoretical knowledge is good, but practical skills are better. Let’s take a complete case of making a simple part as our example. You’ll go through a complete hands-on experience of programming a CNC lathe in a real-life situation.
The Project: A Simple Pin
The project is just making a pin. We will use a 30mm round bar as the starting material and a 25mm in diameter and 50mm long as the finished pin.
The Program, Line by Line
The G-code is laid out below, and there is a simple explanation below each block of code.
* Each program letter starts with the letter ‘O’ and a four-digit number. The comment clarifying the program in parentheses will assist you in the later stage of the identification when you set it up to run.
* sends the turret to its home position. This is a safety block. sets a maximum spindle speed of 2500 RPM to prevent it from spinning too fast.
* In this line, you load Tool 1 and its offset 01. The machine now is clear about the size and position of the tool.
* Sets the surface speed to (S) 200 meters per minute with (G96) constant surface speed turned on, and (M03) the spindle starts turning clockwise.
* This is a rapid move () to a safe starting point just outside the raw material (X32mm diameter, 2mm in front of the face). turns on the coolant.
(FACING OPERATION)
* This block is for a facing operation. The tool feeds () across the face to Z0 at a feed rate of 0.2mm per revolution. It moves slightly past the center () to ensure a clean cut. Then it rapids away.
(ROUGHING CYCLE)
* The first line is the command for the cutting depth on top of the pullback reset size (U1 is 1mm per side and R0.5 is 0.5mm).
* Then the second line determines the way (the path), the finishing allowance, and the feed rate.

(PROFILE DEFINITION)
* This is the profile that the cycle will follow so is the start block. turns on tool nose compensation. The tool path is defined from X25. down to Z-50. is the end block.
(FINISHING CYCLE)
* This is the finishing cycle. It tells the machine to run the same profile defined by N10 to N20 for one last time in order to remove the finishing allowance and create a smooth surface.
* That block code is where the program ends. The machine sends the tool home back through . The spindle turns off with , and the coolant stops with , and then the program ends, and it rewinds with .
Von einfachen Teilen zu komplexen Geometrien
The above example only covers the basics, whereas precision and variability prompts advanced techniques. Take, for instance, the case of professional CNC-Drehmaschinen-Dienstleistungen, which use advanced CAM software; this ensures the job gets done to perfection.
Manual vs. CAM vs. Conversational: Which Method is Right for You?
The right programming method is punched directly to the part complexity and your work situation. It is important to know the benefits and drawbacks so you can figure out where you should put your time and effort.
| Methode | Best For | Profis | Nachteile |
|---|---|---|---|
| Manual (G-Code) | Simple parts, learning fundamentals, quick edits | Full control, universal language, no extra software needed | Time-consuming for complex parts, high risk of error |
| CAM-Software | Complex 3D shapes, high-volume production | Fast for complex parts, powerful toolpaths, visual simulation | Expensive software, steep learning curve, requires a powerful PC |
| Konversation | On-the-fly shop floor programming, simple 2D profiles | Easy to learn, no code knowledge needed, graphical interface | Limited to machine-specific controls, not for complex shapes |
The resources, such as this guide on CNC Lathe Programming for Turning, carry over manual G-code as the foundational tool, first, because, through that, you learn exactly what the machine does.
Safety First: How to Verify Your Program and Avoid Crashes
A program is just a theory until it’s proven on the machine. Never press ‘Cycle Start’ on a new program without verification. A machine crash is expensive, dangerous, and it can be completely avoided by sticking to a few quick checks.
- Graphics Simulation: The simulator that is built into the machine can be used. It shows the acceleration path of the tool on the screen so that you can check visually if it seems correct.
- Dry Run: Run the program, spindle off and tool head further away from the part. This will let you see and adjust the machine before its real operation.
- Single Block Mode: The single block mode executes the program one line at a time. The user has to press ‘Cycle Start’ for every single block, which gives the user full control.
- 50% Rapid Override: Turn the rapid travel knob down to 25% or 50%. This slows down all G00 moves, giving you more time to react and press the emergency stop if something is wrong.
When not relying on their partner, companies look for those who prove their processes through adherence to strict quality control and verification regimes for every project from Mekalit.
Conclusion: Your Journey into CNC Lathe Programming
You now have a clear path to embark on. We have completed the steps necessary for you to learn: planning, programming, and safely verifying. Acquiring the skill of CNC lathe programming occurs through practical work. Begin with simple projects such as the pin we previously spoke about. Give yourself some time for learning. Just like every expert was once a rookie.

