Metal stamping is a fun way to make marks on metal that last forever. You use stamping tools for metal to press letters, numbers, and designs into metal. You do this by hitting a steel stamp with a hammer.

These tools help you make many cool projects. You can make custom jewelry, special keychains, and unique pet tags. You can also add your own mark to metalwork you create. This guide will help you start.
We will talk about all the tools you need. We will show you how to pick the right ones. You will also find easy steps and tips for fixing problems.
The Essential Toolkit: Your First Stamping Tools for Metal
Starting with metal stamping is not hard. Here is a simple list of tools you need to begin. This basic kit lets you make beautiful projects right away.
The Core Four Must-Haves
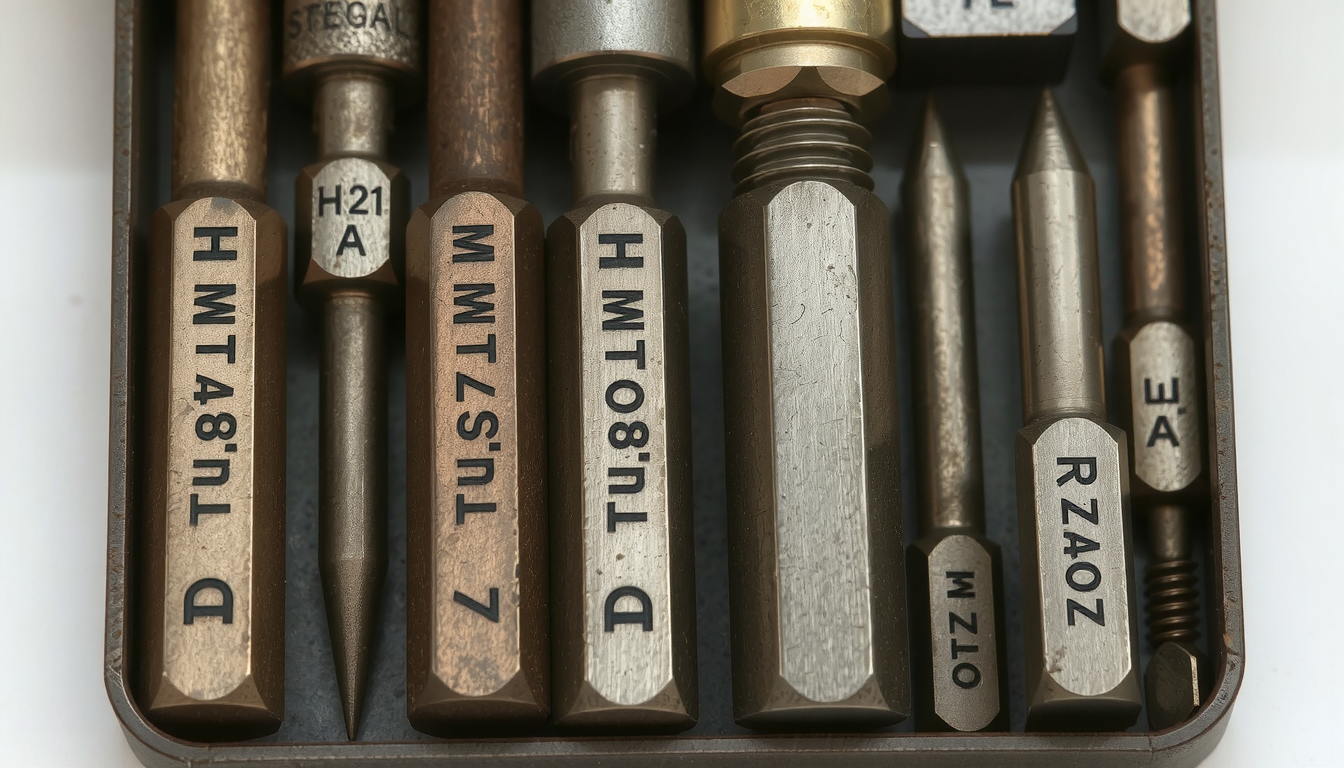
- Metal Stamps: These tools make the marks. Start with a basic letter and number set. Design stamps add fun pictures and symbols.
- A Strong Hammer: You need a special stamping hammer. Don’t use one from your toolbox. A brass or steel hammer gives the right impact.
- Steel Bench Block: This is a small, heavy steel block. It gives you the solid, flat surface you need for clean, deep marks.
- Metal Blanks: These are what you stamp on. They come in many shapes and metals like aluminum, brass, and copper.
Essential Accessories for Better Results
- Stamp Tape or Guide: This special tape helps you line up letters perfectly straight.
- Blackening Agent: An enamel marker or special fluid darkens the stamped letters so they stand out.
- Polishing Cloth: Use this to wipe away extra ink and give your piece a professional shine.
A Deeper Dive into the Types of Metal Stamping Tools
Once you have the basics, you may want to learn more about your tools. Understanding different types of stamping tools for metal will help you get better. It also helps you choose the best tools for future projects.
Metal Stamps: More Than Just Letters
The stamps are the heart of your toolkit. They come in many materials, types, and sizes.
- Material: Most stamps are made of hardened steel. This works great for soft metals. For harder metals like stainless steel, you need premium stainless steel stamps. These are much stronger.
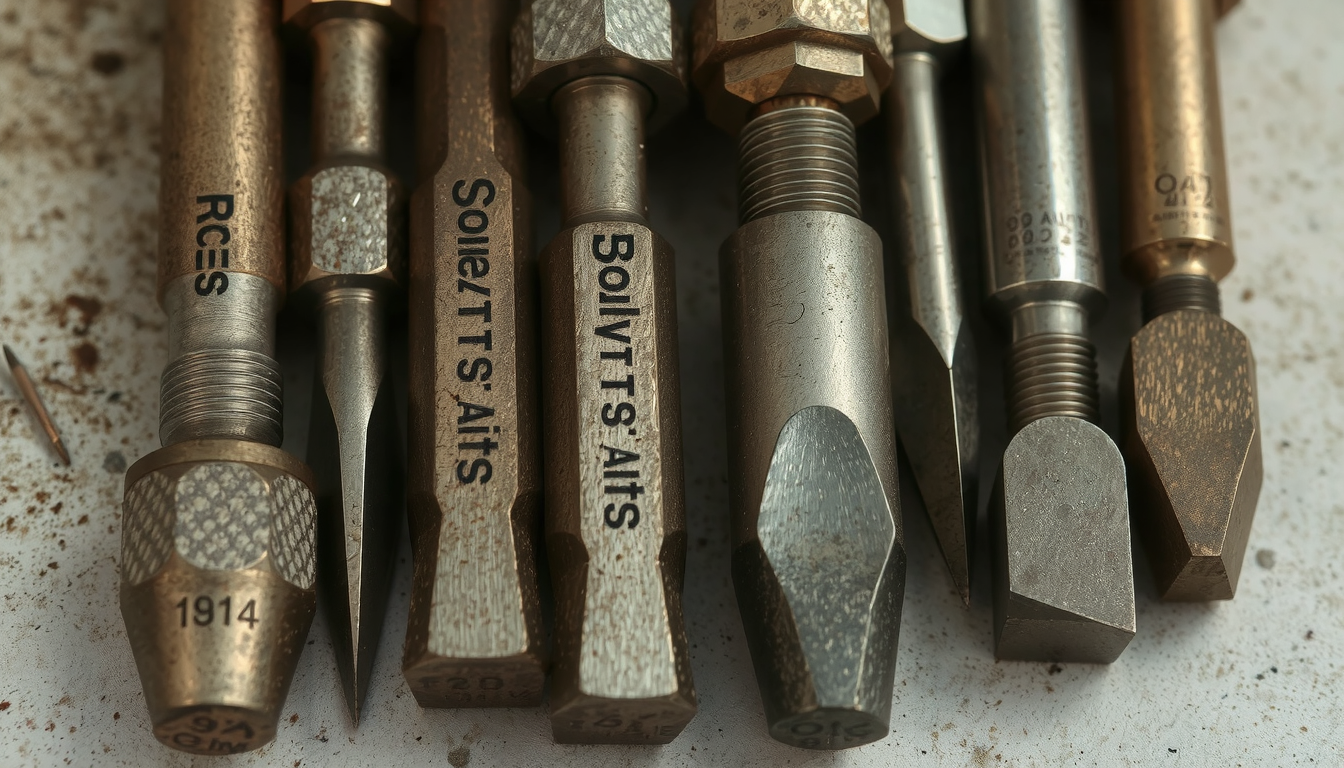
- Type: Letter and number sets are essential for words and dates. Design stamps let you add creative touches with symbols like hearts, stars, or animals. You can even order custom logo stamps with your own design. The vast selection of metal stamps for jewelry making shows how many options exist.
- Sizing: Stamp size is measured in millimeters (mm). A small 3mm stamp creates tiny letters. These are perfect for small charms. A larger 6mm stamp makes bold letters on keychains or tags.
Hammers: It’s All About the Right Impact
The hammer you use is very important for good results.
- Brass Head Hammers: These are a top choice for most people. The soft brass head reduces bounce when you hit. This helps prevent double marks and protects your steel stamps from damage.
- Steel Stamping Hammers: These are heavier hammers. You need them for stamping hard metals like stainless steel. The extra weight gives the force needed for deep marks.
- Standard House Hammers: Avoid using a claw hammer. They can chip your stamps and create uneven marks. They are more likely to bounce and cause a “ghost” image.

Work Surfaces: The Foundation of a Good Mark
Your stamping surface must be completely solid. Any bounce will ruin your mark.
- Steel Bench Blocks: This is the standard tool. It’s a heavy, polished steel block. A thicker, heavier block is always better. It gives a rock-solid surface for impact.
- Rubber Pads: Put your steel block on a rubber pad or mat. This helps in two ways. It reduces the loud noise of stamping and stops the block from sliding on your table.
- Anvils: For serious or heavy-duty metalwork, a small anvil works well. It gives an extremely stable base for any metal stamping.
Choosing the Right Stamping Tools for Your Metal & Project
Not all metals are the same. Matching your stamping tools for metal to the material you use is key to success. Using the wrong tool can lead to poor results or damaged equipment. This chart makes it easy to choose the right combination.
The Metal Stamping Match Chart
To use this table, first find your metal type in the left column. Then look across the row to see the best stamp and hammer for that metal.
| Type de métal | Best Stamp Material | Best Hammer | Pro-Tip / Things to Know |
|---|---|---|---|
| Soft Metals (Aluminum, Pewter, Copper) | Standard Hardened Steel | Brass Hammer (1 lb) | Great for beginners. Needs less force for deep marks. |
| Medium-Hard Metals (Brass, Nickel Silver) | Standard Hardened Steel | Brass Hammer (1 lb) | Needs a firm, confident hit. Metal may get harder as you work it. |
| Hard Metals (Stainless Steel) | Premium / Stainless Steel Rated | Heavy Steel Hammer (2 lb+) | For advanced users. Needs a very solid hit on a heavy bench block. |
Mastering the Craft: A Step-by-Step Guide to Perfect Metal Stamping
Now that you have your tools, it’s time for the fun part. Follow these steps to create your first stamped metal piece. Remember, practice makes perfect. Don’t be afraid to use scrap metal first.
Step 1: Set Up Your Workspace
Find a sturdy table that doesn’t wobble. Place your rubber pad down. Then put your steel bench block on top. This setup will absorb the force and noise of your hammer hits.
Step 2: Secure Your Blank
Take your metal blank and place it on the center of the steel block. Use stamp guide tape to hold it in place. You can also use the edge of the tape as a straight line to guide your letters.
Step 3: Position Your Stamp
Hold the stamp in your non-hitting hand. To see exactly where the letter will land, tilt the stamp toward you. You can see the bottom edge this way. Place that edge on your guide line. Then rock the stamp back until it stands perfectly straight at a 90-degree angle. Hold it firmly in place.

Step 4: The Hit
This is the most important moment. You need one single, confident hit. Strike the top of the stamp firmly with your hammer. Don’t use several little taps. This will create a blurry or doubled image. A good hit has a solid, deep “thud” sound. You will feel the impact go through the stamp.
Step 5: Reveal and Make It Pop
Lift the stamp straight up to see your mark. To make it stand out, use a blackening agent like an enamel marker. Color inside the letter. Make sure to fill the whole mark. Let it dry for about a minute.
Step 6: Final Polish
Take a polishing cloth or soft paper towel. Firmly wipe away the extra ink from the surface of the blank. The ink will stay inside the stamped letter. This makes it dark and easy to read. Your piece is now done!
Fixing Common Metal Stamping Problems
Even with the right stamping tools for metal, things can go wrong. Here are solutions to the most common issues beginners face.
Problem: Faint or Uneven Marks
- Solution: You are likely not hitting the stamp hard enough. Use a single, forceful hit. Make sure your work surface is completely solid. A wobbly table will absorb the impact. Also, check that you are using a heavy enough hammer for your metal.
Problem: “Ghosting” or Double Marks
- Solution: This happens when the stamp moves during the hit. Always hold the stamp very firmly against the blank. This also happens from hitting the stamp more than once. Stick to the “one firm hit” rule.
Problem: Crooked Letters or Uneven Spacing
- Solution: Always use stamp guide tape to create a straight baseline. For spacing, try to line up the side of the new stamp with the edge of the last mark. Practicing on scrap metal is the best way to get a feel for it.
Problem: Damaging Your Stamps
- Solution: This often happens from using standard steel stamps on very hard metals like stainless steel. Make sure your stamps are rated for the metal you use. Also, never use a regular claw hammer. Its hardened face can chip your tools.

Beyond the Basics: Industrial vs. Hand Stamping Tools for Metal
The tools in this guide are for hand stamping. This is a craft done by artists and hobbyists. This is very different from industrial metal stamping.
Hand Stamping vs. Press Stamping
Hand stamping uses manual force. Industrial stamping uses huge machines called presses. These presses use custom dies to cut and form metal parts for cars, electronics, and more. This process makes thousands of identical parts very quickly. According to a complete guide to metal stamping equipment, the global metal stamping market was worth over USD 200 billion. It is a key part of many industries.
The Role of Precision Machining in Tool & Die Making
How are these tools made? Both simple hand stamps and complex industrial dies must be created with great accuracy. This requires advanced manufacturing. For many tool parts, a Service de tournage CNC is used to shape metal with computer control. For even smaller and more detailed tool parts, highly specialized methods like Services de tournage CNC suisse become necessary. Expert manufacturers like Mékalite use this technology to produce the high-precision tools. These tools power everything from artistic crafts to global industries.
Common Questions about Metal Stamping Tools
Here are quick answers to some of the most common questions about starting with metal stamping.
What is the best metal for beginners to practice stamping on?
Aluminum and pewter blanks are best for beginners. They are soft, cheap, and need less force to get deep, clean marks. This helps you build confidence and practice your technique.
Can I use a regular hammer for metal stamping?
You can, but it’s not recommended. A regular steel claw hammer can damage your stamps, bounce in unexpected ways, and create uneven marks. A heavy brass hammer is the better choice. It absorbs shock and delivers a solid strike.
Why are my letters not dark after I stamp them?
The stamping process only creates the mark. To make the letters dark and stand out, you need to use an enamel marker or special “blackening” fluid. Color in the mark, let it sit for a minute, and then wipe the excess off the surface with a polishing cloth.
Can I stamp on stainless steel?
Yes, but it is challenging. You will need special stamps rated for stainless steel (they are harder), a heavy steel hammer (2lb or more), and a very firm hit. It is not recommended for complete beginners.
How do I keep my stamps lined up and straight?
The best method is to use stamp guide tape. Place a strip of tape across your blank. Use the edge as a baseline to rest the bottom of your stamps on. This makes sure your letters are in a straight line. There are also special stamping jigs available for perfect alignment.

