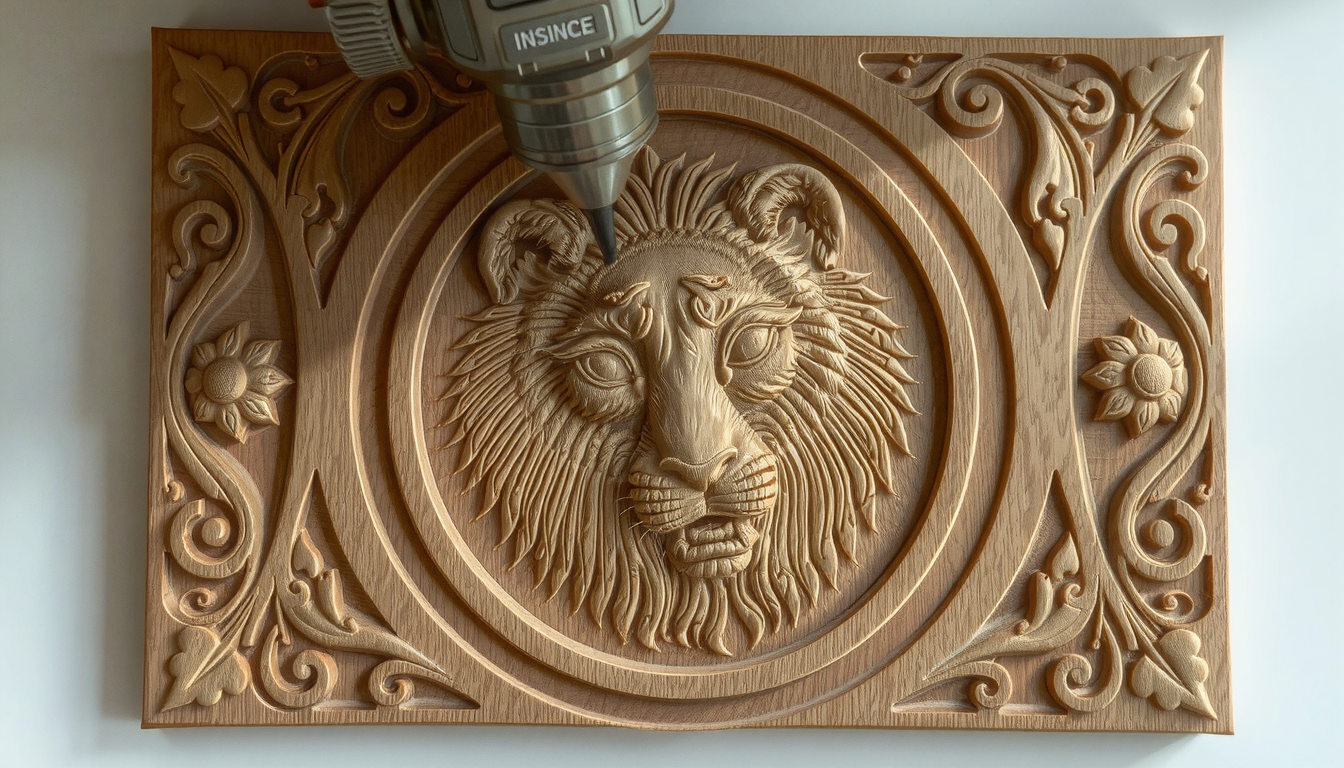
Is there ever a time when you have looked at a photo and thought about whether you could actually hold that image in your hand? Well, if you plan to use a CNC machine, you can. By means of it, you can create a lovely detailed wooden model based on a favorite image. This gives you the chance to have a unique keepsake that lasts forever. This guide will explain how to convert a picture into a CNC carving.

The operation is a mix of art and science. The whole process consists of three main steps. First, we need to select and edit a digital image to ensure the best possible details in the final carving. Subsequently, we use special software that helps transform the image from 2D to 3D effects. Lastly, we create G-code in which we define our CNC machine’s cutting path.
We are here to walk you through these steps. We will discuss how to select the right image and the best software. You will also receive instructions on machine setup. You will get professional advice concerning the finish. Moreover, we will point out the common mistakes that may arise.
The Basics: From 2D to 3D Model
Getting the concept is significant. It makes you able to make intelligent decisions and solve problems effectively. The essence of how to turn a picture into a CNC carving is through the shift from light to depth.
From Pixels and Light to Physical Depth
Consider your picture as a relief map of a mountain. A specific program detects how bright each pixel of the image is. The bright areas, for instance, white, are the peaks of the carving. These areas are cut the least.
The dark pixels, for example, black, become the deepest valleys. These are where the machine digs the most. All the gray shades in between denote the gradient slopes and features of your 3D model. This is commonly known as a “height map” or “depth map.”
Raster vs. Vector for CNC
Images are of two predominant types: raster and vector. Therefore, understanding the dissimilarities is crucial for your CNC projects.
- Raster Images: These consist of your regular photos (JPEG, PNG). Embedded in them are a set of small dots termed pixels. Raster images are ideal for detailed 3D relief carvings, as the software can easily read how bright each pixel is.
- Vector Images: These images (SVG, DXF) are a set of lines, curves, and shapes based on calculations. They are perfect for 2D tasks, such as cutting out logos, text, or basic line art. Software can also use a raster image to form vector lines.
| Image Type | Meilleur pour | How it Works |
|---|---|---|
| Raster | Photos, portraits, complex art | Creates 3D reliefs based on brightness |
| Vector | Logos, text, line drawings | Creates 2D outlines and pockets |

Step-by-Step Guidelines: How to Turn a Picture into a CNC Carving
Now we turn to the engaging part. Here is the route map to make the whole transition from a digital file to a finished one practical. Following these steps will make the process of how to turn a picture into a CNC carving feel unambiguous and simple.
Step 1: Choosing and Editing Your Image
The quality of the final carving is directly linked to the quality of the starting image. A good photo is the first major piece of the puzzle.
High contrast is everything. Images that have strong, clear differences between the light and dark areas work best. An image that contains many similar middle tones may look flat and “muddy” when carved.
Resolution also makes a difference. A photo with a higher resolution will have a larger number of pixels. This means the software will have more detail to deal with. It is better to start with the largest and the clearest version of the photo.
Make the background uncomplicated. A busy background may draw attention away from the photo’s main subject. Use a simple photo-editing program to crop the image. You can even delete the background totally.
You can also take advantage of new tools to ease your work. AI image generators are a modern way to create perfect images for carving. By using appropriate text prompts, you can request an image that is high-contrast and has a simple background. This is a great way to start with an ideal file. This is shown by makers creating suitable images for carving with AI software.
Step 2: Your Software Formula
You will need to find special software that allows you to create the 3D model and provide instructions to your machine. This software is commonly called CAD/CAM. It links the picture to your CNC. You will find other platforms as well, and they all have different advantages.
| Logiciel | Meilleur pour | Caractéristiques principales | Facilité d'utilisation |
|---|---|---|---|
| Carveco Maker | Beginners & Hobbyists | AI-powered “Image to Relief” | Very Easy |
| Vectric PhotoVCarve | Photo-specific Carving | Great for V-groove photos | Easy |
| PixelCNC | Detailed Reliefs | Advanced pixel-to-depth control | Intermédiaire |
| Fusion 360 | Advanced Users | Full CAD/CAM suite, manual work | Difficult |
If you are a newbie, try an application like Carveco Maker. Its tools are simple and will help you a lot with just a few clicks.

Step 3: Converting the Image to a 3D Model
As soon as you have your software, you can commence the conversion process. The whole operation is quite elementary. The first thing you do is import the prepared image into the program.
Then, you look for a tool that is often titled “Image to Relief” or “Import Heightmap.” This tool examines the image and creates a 3D preview of how it would look after the carving process. This is the point where miracles actually take place. A good guide illustrating the process can be found showing How to Carve Photos With a CNC Router and PixelCNC.
Through our experience, it is optimal at the start to have a shallow maximum cutting depth. You can go for 5mm (which is around 0.2 inches). Afterwards, you can slowly increase it. This will serve as a basis to better visualize how the details should turn out. The 3D preview is your best friend. Utilize it as many times as you can to double-check your work before initiating the machine.
Step 4: Creating the Toolpaths
A toolpath is the route that the cutting bit will go along. For a detailed 3D carving, we typically create two types of toolpaths.
First is the roughing pass. Here we use a bigger, flat-bottomed bit called an end mill. Most of the material is removed at this stage. After the deep areas are cleared, the work is set for fine details. A frequently used choice here is a 1/4″ end mill.
Second is the finishing pass. At this stage, the details spring into life. We switch to a smaller, rounded bit called a ball nose bit. With this bit, we will be able to shape the gentle slopes and minor details of the 3D model. A 1/16″ or 1/8″ ball nose bit is a popular choice for most photo carvings.
Step 5: The Final Steps – Setup and Carving
Before you click “start,” it is necessary to take a few final setup steps.
Make sure your wood is firmly clamped onto the machine’s bed, or the spoilboard. If any movement happens during the carve, you are likely to ruin the whole project. Additionally, it is equally necessary that the top surface of your wood is perfectly flat.
Next, you need to tell the machine the start point. This is often referred to as setting the X, Y, and Z-zero points. This prevents the carving from happening at the wrong position and cutting at the wrong depth.

Finally, always wear safety glasses. Stay near your machine while it is running, and always be ready to hit the emergency stop button if something goes wrong.
Pro Tips for a Flawless Finish
Over the years, we have learned a few lessons the hard way. These tips will help you avoid common problems and get a professional-looking result when you turn a picture into a CNC carving.
The “Muddy” Carving
This often happens when the original photo has low contrast, and the details all blend together. The solution is to edit your photo in a program like GIMP or Photoshop before you import it. Increase the contrast to make the lights lighter and the darks darker.
The Wrong Wood
Wood with a very open grain, like red oak or pine, can fight against your fine details, making the carving look fuzzy. The solution is to use a close-grained hardwood. Maple, Cherry, or Alder are excellent choices because they will hold crisp, sharp details.
Ignoring a Finishing Pass
If you only run a roughing pass, your project will look blocky and unfinished. The solution is to always program a finishing pass with a small ball nose or V-groove bit. This is not a step to skip.
An Un-surfaced Workpiece
This is the number one cause of uneven carving depth. If your material is not perfectly flat, some parts will be carved too deep and others too shallow. The solution is to always run a quick surfacing operation on your material with a large, flat bit before you start the main carve.
Post-Carve Magic
Right off the machine, a carving can look a bit plain. The details are there, but they don’t stand out. The solution is to apply a finish that adds contrast. A dark wax, glaze, or stain wiped over the surface and then quickly wiped off will stay in the deep areas. A light sanding on the top surface will restore the bright highlights and make the image “pop.”
Beyond Hobby Projects: Professional CNC Machining
The skills you learn in how to turn a picture into a CNC carving are a small window into a huge industry. The core idea of turning a digital file into a physical object is the foundation of modern manufacturing.
While a hobby CNC router is perfect for wood, professional industries use different machines for materials like metal. When companies need parts with extreme precision, they turn to full-service providers. A company like Mékalite takes complex engineering designs and makes them into real, functional components.
For example, making a perfectly round metal shaft uses a related process. Instead of a router moving over a flat piece, specialized Services de tournage CNC spin the metal at high speed while a cutting tool shapes it. This process also follows instructions from a digital file to achieve incredible accuracy.
FAQ: Your Questions on Photo-to-CNC Carving Answered
Here are answers to some common questions we hear about this process.
What’s the best free software to turn a picture into a CNC file?
For 2D designs, Inkscape is a great free option that can trace an image to create vector lines. For 3D relief carving, free options are more limited. Some people use programs like F-Engrave or Blender. However, paid software designed for this task usually gives much better results with far less work.
Can I turn a color photo into a CNC carving?
Yes, but the software will first change it to black and white (grayscale). The carving process only uses brightness information, not color. A photo with good color contrast may not have good brightness contrast. Always check the grayscale version of your image first.
What’s a lithophane and how is it different?
A lithophane is a special 3D photo carving made in a thin, light-colored material like white plastic. The image is almost invisible until you put a light behind it. A standard relief carving, which this guide focuses on, is meant to be seen with light from the front, where shadows create the image.
How long does it take to CNC carve a photo?
It varies a lot. The time depends on the size, detail, material, and machine speed. A small 6×8 inch carving might take 2 to 6 hours, including both a roughing pass and a slow, detailed finishing pass.
What file format do I need for my CNC machine?
Your CAM software, like Carveco or Vectric, creates the final file your machine reads. This file is almost always G-code, which is a simple text language that tells the CNC machine every move to make. The file might have an extension like .gcode, .nc, or .tap, depending on your machine.
Conclusion
The journey of how to turn a picture into a CNC carving is a rewarding one that combines digital skill with hands-on craft. By following these steps, you can create truly unique and personal art.
Remember the most important things: start with a high-contrast photo, use the right software for your goals, and always run a finishing pass. Now, go find your favorite photo and bring it to life.

