Le moulage par injection n'est plus réservé aux grandes entreprises. Aujourd'hui, grâce à une nouvelle technologie abordable, Moulage plastique DIY est possible pour les amateurs et démarrage. Ce guide vous montrera comment moulage par injection à domicile peut faire pièces en plastique sur mesure de manière efficace et abordable.
Il est essentiel de connaître les coûts initiaux et les économies réalisées. Cela nous aide à utiliser cette technologie dans nos l'industrie manufacturière à petite échelle et développement de prototypes. En apprenant le moulage par injection, nous pouvons innover et fabriquer des produits uniques qui se démarquent.
Principaux enseignements
- Étudier la faisabilité et le rapport coût-efficacité Moulage plastique DIY.
- Comprendre les coûts d'installation initiaux et les économies potentielles par rapport aux services commerciaux.
- Découvrez les avantages de moulage par injection à domicile pour l'industrie manufacturière à petite échelle.
- Apprendre à développer pièces en plastique sur mesure pour développement de prototypes.
- Découvrez les forums d'amateurs et les exemples de réussite de start-ups.
Comprendre les bases du moulage par injection
Le moulage par injection est un moyen essentiel de fabriquer des pièces plastiques de précision. Il consiste à pousser un matériau fondu dans un moule. Cela permet aux fabricants de former de nombreux types de produits avec efficacité et flexibilité.
Qu'est-ce que le moulage par injection ?
Moulage par injection de matières fondues thermoplastiques et les place dans des moules pour les façonner. Cette technique est appréciée pour la réalisation de dessins détaillés, car elle est précise et efficace. Thermoplastiques sont parfaits pour cela. Ils se ramollissent lorsqu'ils sont chauffés et se solidifient lorsqu'ils sont refroidis. Ils peuvent donc être façonnés à plusieurs reprises sans que leur qualité en pâtisse.
Types de machines de moulage par injection
Il existe de nombreuses *machines de moulage par injection*, chacune s'adaptant à des tailles de production différentes :
- Machines hydrauliques: Ils sont solides et conviennent parfaitement à la fabrication de nombreux articles. Elles fonctionnent sous haute pression.
- Machines électriques: Ces machines sont précises et consomment moins d'énergie. Elles sont silencieuses et conviennent à la fabrication d'une quantité modérée de produits.
- Machines hybrides: Ces machines combinent les caractéristiques des machines hydrauliques et électriques. Elles sont polyvalentes et efficaces pour répondre aux différents besoins de production.
Applications du moulage par injection
Le moulage par injection est utilisé dans de nombreux domaines et permet de produire un grand nombre d'articles différents. En voici les principales utilisations :
- Produits de consommation: Les objets que nous utilisons quotidiennement, tels que les brosses à dents, les jouets et les ustensiles de cuisine, sont fabriqués à partir de matières premières renouvelables. techniques de moulage des matières plastiques.
- Pièces détachées automobiles: Elle fabrique des pièces automobiles importantes telles que des tableaux de bord, des pare-chocs et des pièces de moteur. C'est parce qu'il est robuste et précis.
- Dispositifs médicaux: Les objets nécessitant une grande précision, comme les seringues et les outils chirurgicaux, sont créés avec cette méthode.
Le moulage par injection est essentiel à la fabrication des produits d'aujourd'hui. Il ne cesse de s'améliorer grâce à de nouvelles conceptions et de nouveaux matériaux. Il permet de fabriquer un large éventail de produits, des articles de tous les jours aux pièces complexes pour les voitures et la médecine. Le moulage par injection est essentiel pour fabriquer des produits diversifiés et de qualité supérieure.
Matériel et équipement essentiels
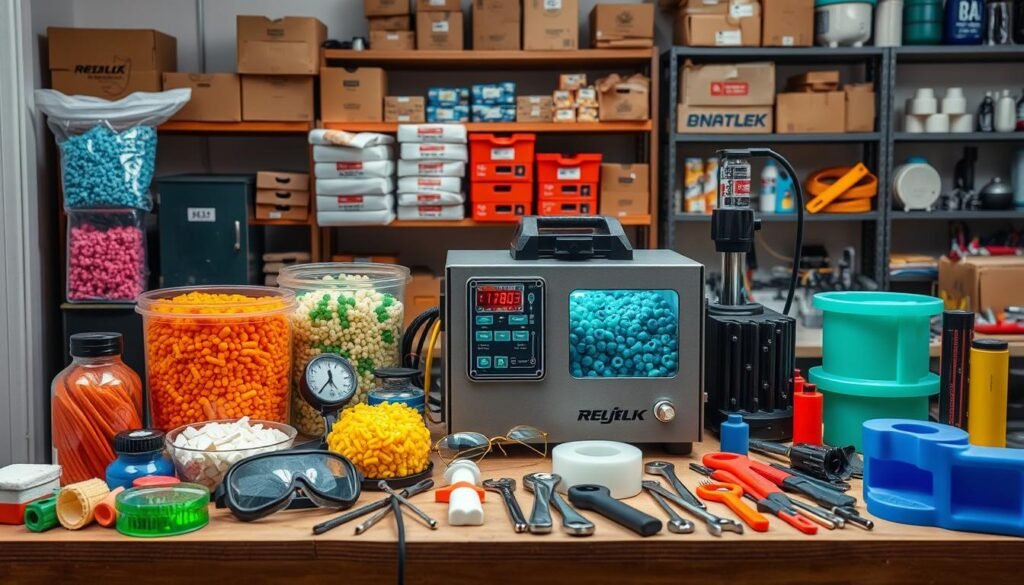
Pour démarrer un projet de moulage par injection, il faut connaître les principaux matériaux et équipements. La première chose à regarder est matériaux de moulage. Résines thermoplastiques sont le meilleur choix. Ils sont polyvalents, faciles à travailler et renforcent le produit final.

Choisir le bon résines thermoplastiques dépend de ce que vous fabriquez. Il peut s'agir de prototypes, d'articles ménagers ou de pièces détaillées. Vous trouverez toutes les informations nécessaires pour faire un choix judicieux dans les catalogues des fournisseurs.
Parlons maintenant du matériel nécessaire pour le moulage par injection. La liste comprend
- Machines de moulage par injection
- Moules d'injection
- Chauffages
- Mélangeurs
- Agents de démoulage
Chaque pièce d'équipement est importante pour la qualité de votre produit. Prenons l'exemple des machines de moulage par injection. Elles diffèrent par force de serrage en fonction de la taille de votre projet. Cette force maintient le moule fermé pendant l'injection de la résine.
Ensuite, il y a moules d'injection. Ils donnent à votre matériau sa forme. Vous pouvez acheter ces moules ou les fabriquer vous-même à l'aide de méthodes spéciales.
Agents de démoulage empêchent les pièces de coller au moule. Il est ainsi plus facile de retirer les pièces sans les endommager. Les réchauffeurs et les mélangeurs sont également essentiels. Ils fondent et mélangent les résines avec précision pour obtenir des résultats uniformes.
Vous trouverez ci-dessous un tableau détaillant les articles standard et leur rôle dans le moulage par injection :
| Equipement | Rôle | Considérations |
|---|---|---|
| Machine de moulage par injection | Injection de résine thermoplastique dans des moules | Force de serrage, taille |
| Moules d'injection | Façonner le matériau injecté | Précision de la conception, durabilité |
| Chauffages | Fait fondre la résine | Contrôle de la température, efficacité |
| Mélangeurs | Mélange les matériaux de manière uniforme | Vitesse de mélange, capacité |
| Agents de démoulage | Empêche le collage des pièces | Compatibilité, facilité d'application |
En suivant les conseils de mouleurs expérimentés et les manuels des fabricants, vous pouvez régler et faire fonctionner votre équipement correctement. Ces connaissances permettent d'obtenir des produits précis et un meilleur processus de moulage par injection.
Processus étape par étape pour le moulage par injection (DIY)
Pour se lancer dans un projet de moulage par injection, il faut bien connaître chaque étape. Nous aborderons les éléments clés, de la conception du moule au réglage de la machine, en passant par les touches finales.
Conception du moule
Tout d'abord, vous concevrez le moule avec logiciel de conception de moules. Cette partie est essentielle. Vous vous assurerez que le moule a la bonne forme en examinant le flux et les dimensions du moule. Tenez compte de l'épaisseur des parois et de l'emplacement des glissières et des portes, afin que votre moule fonctionne au mieux.
Création du moule
Vous pouvez utiliser la méthode traditionnelle Usinage CNC ou moderne Moules d'impression 3D en fonction de ce que vous aimez. Usinage CNC découpe avec une grande précision, ce qui permet de créer des moules solides. L'impression 3D vous permet d'essayer rapidement différents modèles. Choisissez en fonction des besoins de votre projet.

Réglage de la machine de moulage par injection
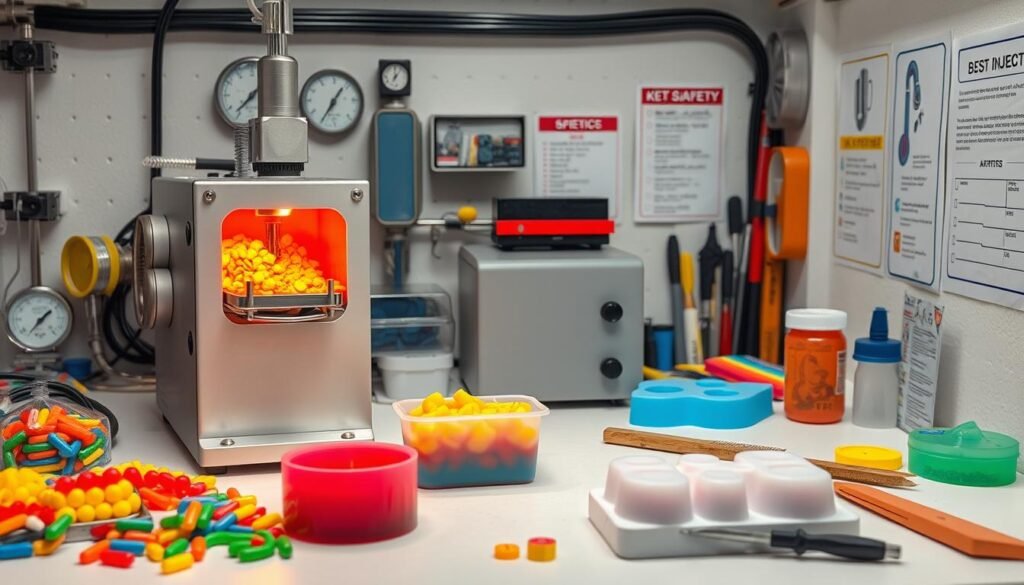
La préparation de la machine de moulage par injection est essentielle pour obtenir de bons résultats. Vous devez ajuster la paramètres de moulage par injection comme la température et la pression. Ces paramètres influencent considérablement la qualité de vos pièces moulées. Utilisez les guides du fabricant de votre machine pour ajuster correctement ces paramètres.
Moulage des pièces
Une fois la machine prête, préparez et chargez vos matériaux. Il est essentiel d'observer le comportement du matériau lorsqu'il est injecté. Il doit remplir le moule correctement et former la forme de la pièce que vous souhaitez. Gardez l'œil ouvert et apportez les modifications nécessaires pour garantir une qualité optimale.
Post-traitement et finition
Une fois les pièces sorties, le refroidissement, la découpe et l'amélioration de la surface sont essentiels pour l'aspect final et la fonction. Bon le contrôle de la qualité à ce stade, il s'assure que le produit final est conforme et qu'il passe les contrôles.
Trucs et astuces pour le moulage par injection à faire soi-même
Se lancer dans le moulage par injection en tant que bricoleur peut être très gratifiant. Il faut pour cela disposer des connaissances et des compétences nécessaires. Nous allons partager avec vous quelques conseils qui vous aideront à améliorer votre moulage par injection et la qualité de vos produits.

Les erreurs courantes à éviter
De nombreux débutants en moulage par injection se heurtent à des difficultés communes. Savoir comment éviter ces problèmes peut faire une grande différence :
- Préparation inadéquate du matériel : Assurez-vous que tous les matériaux sont secs et prêts. Cela permet d'éviter les problèmes tels que les bulles et les formations incomplètes.
- Réglages machine incorrects : Il est important de vérifier les réglages de votre machine. Une température et une pression incorrectes peuvent ruiner votre travail et gaspiller des matériaux.
- Mauvaise conception du moule : Prenez le temps de bien concevoir votre moule. Des erreurs à ce niveau peuvent entraîner des pièces défectueuses et des temps de cycle plus longs.
Entretien et dépannage
L'entretien et le dépannage de votre installation de moulage par injection sont essentiels. Un entretien régulier permet d'éviter les problèmes et de prolonger la durée de vie de votre équipement.
- Entretien courant : Il est essentiel de suivre les guides d'entretien du fabricant de l'équipement. Nettoyez toutes les pièces, vérifiez l'usure et remplacez les pièces endommagées pour éviter les problèmes.
- Dépannage des faux pas : Découvrez les problèmes courants liés au moulage par injection. Pour des problèmes tels que des pièces incomplètes ou des défauts de surface, utilisez des guides d'experts pour trouver et résoudre ces problèmes rapidement.
Participer activement aux forums et aux discussions communautaires peut également s'avérer utile. Vous pouvez apprendre des expériences des autres. En suivant les meilleures pratiques et en effectuant des contrôles réguliers, vos projets de bricolage peuvent atteindre une grande qualité.
Conclusion
La maîtrise du moulage par injection permet aux amateurs et aux start-ups d'explorer de nouvelles opportunités. En utilisant les conseils de ce guide, vous pouvez commencer à réaliser des projets de moulage par injection. Cela ouvre la voie à l'innovation en matière de pièces en plastique. L'utilisation de moules imprimés en 3D pour les petites séries est rentable et efficace. C'est idéal pour production à petite échelle.
Il faut de la patience, de la pratique et la volonté d'apprendre pour s'améliorer dans le domaine du moulage par injection. Ce parcours renforce votre capacité à fabriquer des produits uniques et personnalisés. Pour plus de conseils sur le moulage par injection en bricolage, consultez les sites suivants ce guide détaillé.
Les experts du mouvement "makers" affirment que la maîtrise de ces compétences est une source d'autonomie. Les petites entreprises prospèrent grâce au moulage par injection en interne. Les initiés de l'industrie voient un grand avenir pour les l'industrie manufacturière à petite échellegrâce aux amateurs de bricolage. En vous lançant dans le moulage par injection, vous ne vous contentez pas de fabriquer des objets. Vous vous engagez sur la voie de l'innovation et de la croissance.
FAQ
Quelles sont les implications en termes de coûts du moulage par injection bricolé ?
Le moulage par injection à domicile est une option économique pour les projets personnels et les start-ups. Les principales dépenses sont l'achat d'une machine de moulage par injection et de matériaux. Cette approche permet d'économiser de l'argent par rapport au recours à des services professionnels.
En maîtrisant cette compétence, vous pouvez fabriquer des pièces et des prototypes sur mesure à un prix abordable. C'est idéal pour production à petite échelle et de développer des prototypes.
Quels sont les matériaux indispensables au moulage par injection à domicile ?
Pour le moulage par injection, vous aurez besoin de résines thermoplastiques et agents de démoulage. Choisissez une résine qui répond aux besoins de votre projet en termes de solidité, de flexibilité et de résistance à la chaleur.
De quel type d'équipement ai-je besoin pour faire du moulage par injection ?
L'équipement essentiel comprend une machine de moulage par injection, des moules et des outils tels que des réchauffeurs, des mélangeurs et des pinces. Chaque outil est essentiel pour façonner le plastique dans le produit souhaité.
Les équipements varient en fonction de leur fonction, c'est pourquoi il convient de choisir ceux qui conviennent à votre projet. C'est la garantie d'une mise en forme et d'un refroidissement réussis du plastique.
Comment concevoir un moule efficace pour le moulage par injection ?
La conception des moules nécessite un logiciel et la compréhension de l'écoulement des moules et de la création des cavités. Les moules peuvent être fabriqués avec Usinage CNC ou l'impression 3D. Une bonne conception garantit un flux de matériau régulier et un retrait aisé des pièces.
Il est essentiel de prêter attention à la phase de conception. De cette manière, vous produisez des pièces de haute qualité.
Quelles sont les applications courantes du moulage par injection ?
Le moulage par injection permet de fabriquer divers articles, tels que des articles ménagers, des dispositifs médicaux et des pièces automobiles. Il permet de traiter des formes complexes et de grandes quantités. Il est donc largement utilisé dans de nombreux secteurs.
Le fait de savoir comment il est utilisé peut vous aider à choisir les meilleurs matériaux et les meilleures méthodes.
Que dois-je savoir sur l'installation d'une machine de moulage par injection ?
Pour le réglage, il faut ajuster les paramètres de la machine tels que la température, la pression et la durée du cycle. Des réglages appropriés signifient que le plastique fond de manière uniforme et remplit correctement le moule.
Les manuels des machines et les spécifications des fabricants offrent de précieux conseils d'installation. Leur respect garantit des performances optimales.
Puis-je utiliser l'impression 3D pour créer des moules ?
Oui, l'impression 3D permet de fabriquer des moules, en particulier pour les projets détaillés ou à petite échelle. Elle permet des modifications rapides et des conceptions personnalisées. Toutefois, n'oubliez pas de vérifier si les moules imprimés en 3D peuvent supporter les conditions d'injection.
Quelles sont les erreurs courantes à éviter dans le moulage par injection ?
Évitez les erreurs telles qu'une mauvaise préparation des matériaux, un mauvais réglage de la machine et une mauvaise conception du moule. Veillez à choisir les matériaux avec soin, à bien calibrer la machine et à tester soigneusement les moules.
Des problèmes tels que des pièces défectueuses, des problèmes de surface et des incohérences peuvent survenir. L'apprentissage auprès des professionnels et la consultation des guides de l'industrie peuvent permettre d'éviter ces problèmes.
Quelle est l'importance de la maintenance et du dépannage dans le domaine du moulage par injection ?
Garder équipement de moulage par injection Il est essentiel que votre véhicule soit en parfait état. Cela implique des contrôles, des nettoyages et des huilages réguliers. Le dépannage permet de résoudre des problèmes tels que des moules défectueux ou des défauts de surface.
Il est essentiel de disposer d'un plan d'entretien et de savoir comment dépanner. Ils permettent d'assurer le bon fonctionnement de votre équipement.


