Bending sheet metal creates a lot of room for custom projects. You can make strong brackets and custom boxes. You can also create unique parts for your car or home projects. Making an exact 90-degree bend is thrilling. But commercial sheet metal machines cost a lot of money. This high cost stops many hobbyists from trying metal work.

The good news is you can make your own. A DIY sheet metal folder is not only powerful but also very affordable. This guide shows you exactly how to make a sheet metal folder in your workshop. We have included two complete methods. The first uses welding for maximum strength. The second is strong but needs no welder.
We have got every detail covered for you. We start with how a folder works. Then we talk about materials, building steps, adjustments, and safety tips.
It All Starts Here: Understanding What a Sheet Metal Folder Is and Its Workings
Before we dive into construction, it’s important to familiarize yourself with this machine. Knowing the basic parts helps you build a better machine. It also helps you understand why certain steps matter for clean, straight bends. This section highlights the basics of making a sheet metal folder.
Folder versus Press Brake – Defining Terms
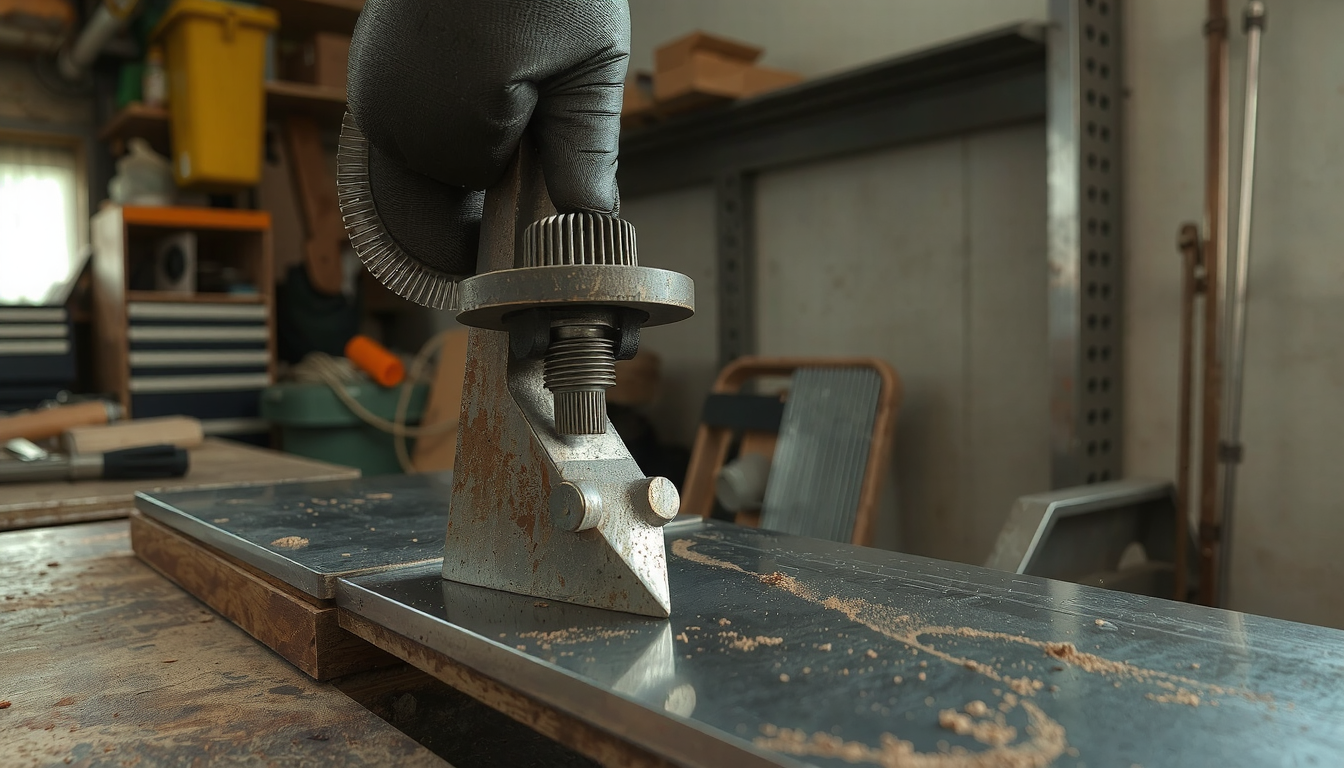
A sheet metal folder works in a very simple way. It clamps metal flat against a bed. Then a hinged part known as a leaf lifts up. This action bends the metal along a straight line.
This differs from a press brake. A press brake uses a top tool to press sheet metal into a bottom tool. For DIY projects, building a folder is much simpler. Our guide focuses on this folder design.
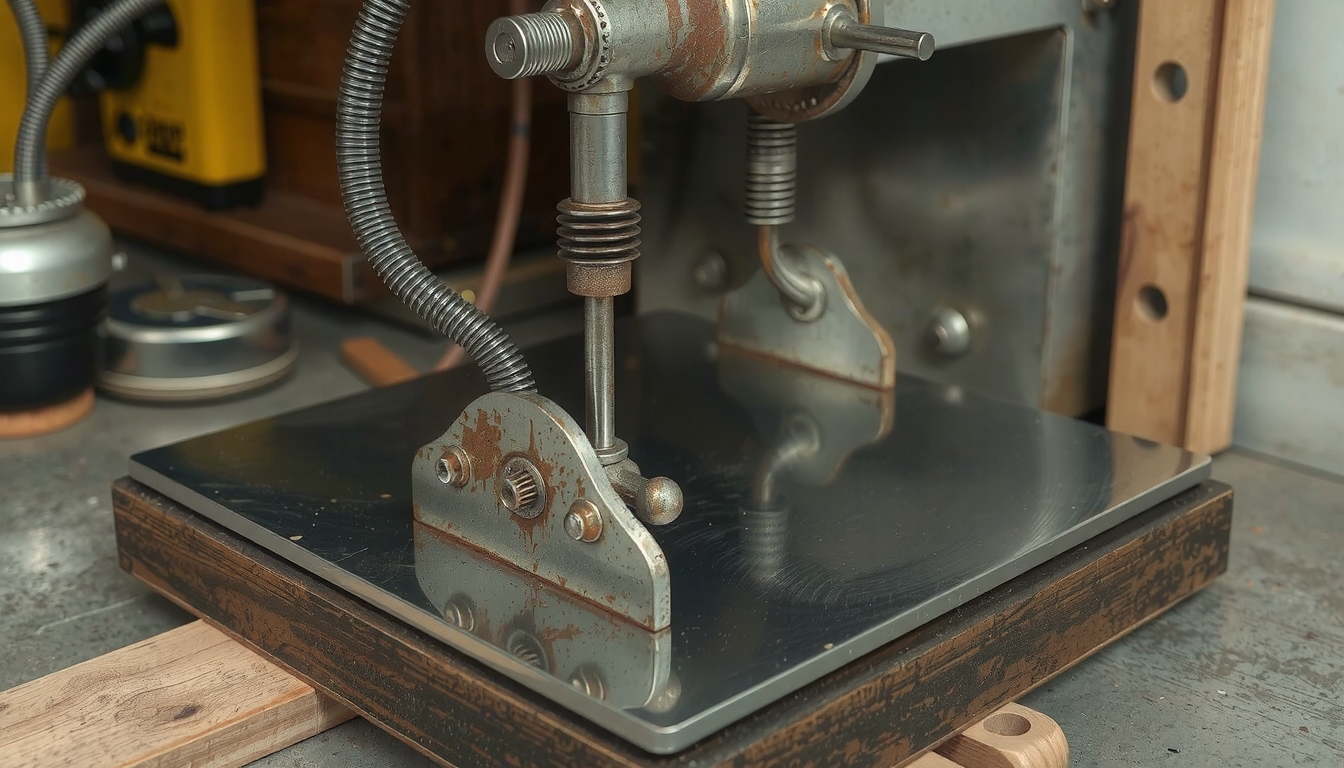
The Fundamental Parts of Any Sheet Metal Folder
Every sheet metal folder utilizes the same essential components. This includes simple DIY tools and large factory machines. Understanding these parts is the first step in learning how to make a sheet metal folder.
- Base/Bed: This is the foundational part. It must be strong and flat to support the metal during bending.
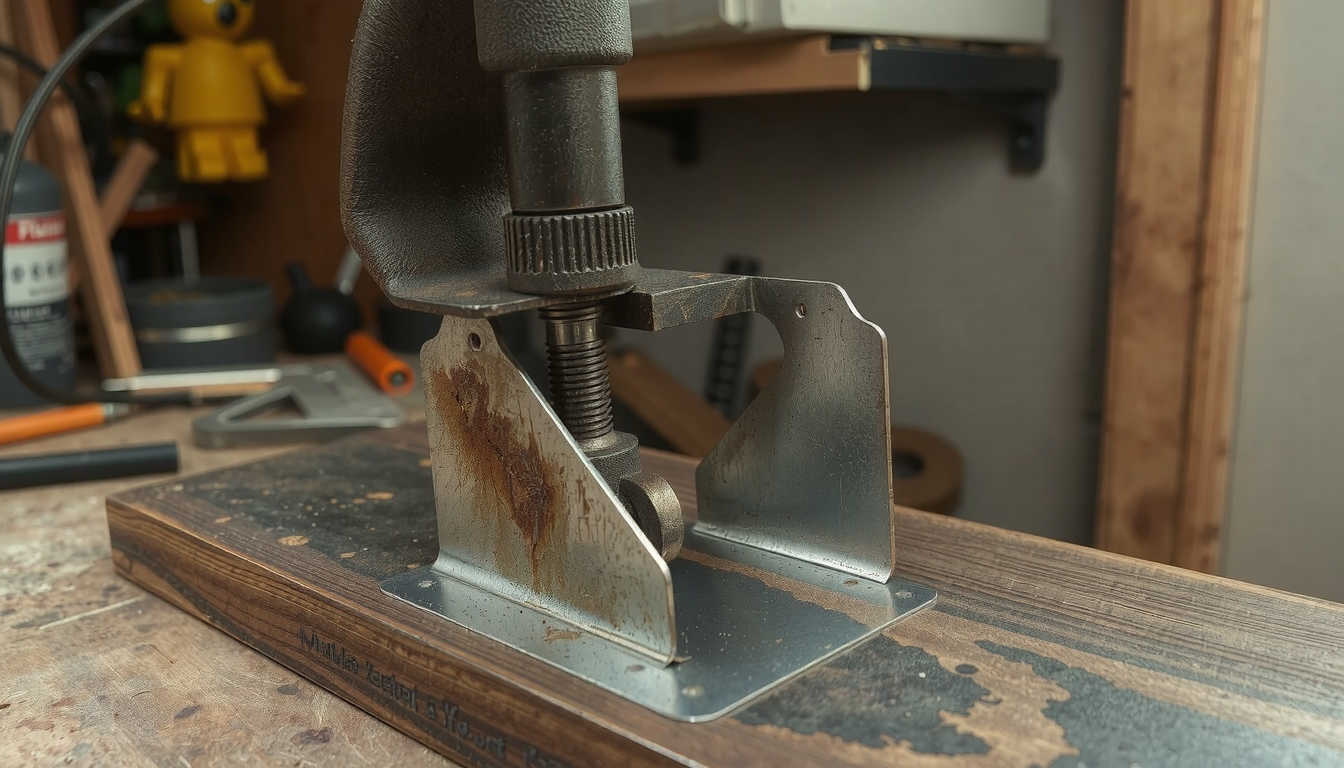
- Clamping Beam: This top bar applies pressure to the sheet metal. It holds the material so it cannot slide.
- Bending Leaf (or Apron): This hinged part lifts to create the bend. It pivots to fold the metal to the right angle.
- Hinges: These are the most crucial components. The hinges are the pivot point for the bending leaf. Their alignment decides if your bends will be sharp and straight.
- Handles: These are fixed to the bending leaf. They give you the leverage to bend the metal.
An Insight into Professional Equipment and CNC Machines
Knowing what professional tools can do helps set expectations. This shows what our DIY build can achieve. Premium professional sheet metal folding machines are built with a focus on extreme accuracy. They are capable of manufacturing the same part over and over.
The most advanced models are advanced CNC folders. Computers control these machines. They can do very complex bends automatically. Our DIY folder will be simple but very effective for a home workshop.
Deep Design: Planning and Building Your Own Sheet metal folder
This section is not just about following steps. We investigate the “why” behind the design choices. Understanding these principles helps you build a better tool. You can also adapt the plans to your available materials.

The Cardinal Rule: Hinge Alignment and Bend Radius
One rule matters more than any other: hinge alignment. The pivot point must line up perfectly with the front edge of the clamping beam. If the pivot is too high, the metal will stretch and tear. If it is too low, you get a rounded, weak bend instead of a sharp one.
The thickness of your bending leaf’s edge also plays an important role. A sharper edge allows for a tighter bend radius. A thicker, rounded edge creates a larger, softer bend. For most projects, a sharp edge is what you want.
Material Choice: Why Steel Selection Is Crucial
When you build a sheet metal folder, material strength is key. The machine must resist the force of bending metal. If the base or bending leaf flexes, your bend will be curved, not straight. This is a common problem in weak designs.
We suggest you use tough, heavy materials like angle iron or C-channel. For a 24-inch wide folder that works with 16-gauge mild steel, you should use angle iron that is at least 1/4″ thick. This thickness provides the stiffness to prevent flexing under load.
Clamping Force and Leverage
Clean bends require the sheet metal to stay still. This needs strong and even clamping pressure. You can use several large C-clamps spread across the clamping beam. Another option is to build screw-down clamps into your folder.
Leverage makes bending easier. Longer handles on the bending leaf give you more mechanical advantage. This will make it possible for you to bend thicker or wider metal with less effort. A good handle length to start with is around 24 inches.
Tools and Materials: Your Shopping and Prep List
Before you cut or drill, you should have all your tools and materials by your side. Being prepared makes building simpler and safer. Here are the lists of what you need for this project.
Essential Tools for Both Builds
- Angle grinder with cutting and grinding discs
- Power drill with a good set of metal drill bits
- Tape measure
- Engineer’s square or combination square
- Center punch and hammer
- Heavy-duty clamps (C-clamps or F-clamps)
- Safety gear: safety glasses, gloves, and hearing protection
Material Bill: Welded Version
- Heavy-duty angle iron (e.g., 3″ x 3″ x 1/4″ thick)
- Two heavy-duty steel hinges (or flat bar to make your own)
- Square or round steel tubing for handles
- Welder and welding consumables (electrodes or wire)
Material Bill: No-Weld Version

- Heavy-duty angle iron (same as welded version)
- Two heavy-duty door or gate hinges
- High-tensile bolts, nuts, and washers (Grade 8 is recommended)
- Steel bar for reinforcement plates (optional, but good for strength)
- Square or round steel tubing for handles
A Note on Sourcing Materials
Steel can be costly if you purchase it new. To save money, check with local steel suppliers for “off-cuts” or “remnants.” These are smaller pieces left over from larger jobs. They usually sell these at a discount. Metal recycling yards are another excellent source for affordable materials.
How to Make a Sheet Metal Folder: Two Step-by-Step Methods
Now we get to the heart of the project. Here are two thoroughly explained methods for how to make a sheet metal folder. The first employs welding for top-notch strength. The second is a no-weld design that is both robust and accessible to anyone with basic tools.
Method 1: The Welded Build (Maximum Rigidity)
This method creates a very solid and stiff tool. If you have a welder, this is the recommended approach for making a sheet metal folder that will last a lifetime.
- Step 1: Cut Your Main Components. Use your angle grinder to cut three pieces of angle iron to your desired length. One will be the base, one the clamping beam, and one the bending leaf. Tip: Use your square to check that every cut is a perfect 90 degrees.
- Step 2: Prepare the Bending Edge. On the clamping beam, grind a 45-degree angle along the front edge. This clearance allows you to bend the sheet metal past 90 degrees if required.
- Step 3: Tack Weld the Hinges. This is the most critical step. Clamp the base and bending leaf together on your workbench. Use a thin piece of scrap sheet metal as a spacer between them. Use the thickest metal you plan to bend. This sets the correct gap. Align the hinges so their pivot point is exactly at the bending edge. Tack weld them in place.
- Step 4: Full Welding and Reinforcement. When you are sure that the alignment is spot on, weld the hinges completely. Run a solid bead along all edges of the hinges. You can also add extra strength by welding small triangular pieces of steel to support the hinges. These are called gussets.
- Step 5: Fabricate and Attach Handles. Cut your handle tubes down to size. Weld them securely to the back of the bending leaf. Position them at an angle that is comfortable for pulling. While a basic step-by-step process offers a good overview, our focus on perfect hinge alignment and edge prep makes the difference.
Method 2: The No-Weld Build (Accessible & Strong)
Don’t have a welder? No problem. This method shows you how to make a sheet metal folder using bolts and standard hardware. It is still very strong and capable.
- Step 1: Cut and Prepare Components. Just like the welded version, cut your three pieces of angle iron. You also need to grind the 45-degree bevel on the clamping beam’s edge.
- Step 2: Mark and Drill Hinge Holes. Clamp the base and bending leaf together with your spacer shim. Place the hinges in the correct position. Carefully mark the center of each hole with a center punch. Experience Tip: Using a center punch keeps the drill bit from “walking” and ensures your holes are accurate. Start with a small pilot hole, then drill to the final bolt size.
- Step 3: Bolt on the Hinges. Secure the hinges using high-tensile bolts. Use washers under both the bolt head and the nut to spread the load. Using locking nuts or thread-locking compound will prevent them from loosening over time.
- Step 4: Create the Clamping Mechanism. This design will rely on external C-clamps to hold the clamping beam down. For a more built-in solution, you can drill and tap holes in the base. Use large bolts to press down on the clamping beam.
- Step 5: Attach Handles. Mark and drill holes on the back of the bending leaf and through your handles. Bolt the handles on securely. Ensure the bolts do not stick out on the front side, as they could interfere with the metal.
Calibration, Testing, and Your First Bend
Building the folder is only half the battle. The final steps of tuning and testing are what transform your project into a precise tool. This is very crucial for achieving good results, even though many guides ignore it.
The Straightness Test
Your first test shows if the folder is strong enough. Clamp a piece of scrap metal and make a full-width bend. After the piece is removed, check the bend with a square. If the bend is bowed or curved in the middle, it indicates your folder is flexing under the load.

Adjusting for Different Material Thicknesses
Thicker metal needs more room to bend without cracking. For this reason, you might need to adjust the gap between the clamping beam and the bending leaf. On a bolted build, you can place thin shims under the hinges. With a welded build, this gap is fixed, so it’s critical to set it correctly during construction.
Troubleshooting Common Bending Issues
Even the best-made folder can run into problems. Here is a quick guide to solving common problems.
| Problem | Solution |
|---|---|
| The bend is curved, not straight. | The frame is flexing. Weld or bolt a piece of steel along the back of the base and bending leaf. This acts as a reinforcing spine. |
| The metal slips during the bend. | Clamping pressure is inadequate or uneven. Use more C-clamps or tighten the existing ones. Make sure the clamping surfaces are clean. |
| The bend angle is not consistent. | The operator is applying uneven pressure. Practice using a smooth, single motion when lifting the handles. |
| The bend edge is torn or cracked. | The gap between the clamping beam and the hinge pivot is too tight for the material thickness. |
Beyond the Build: When to Buy or Outsource
A DIY sheet metal folder is a practical tool. Nevertheless, it is vital to know its limits. Knowing when to use your folder and when to seek professional help will save you time, money, and frustration.
Limitations of a DIY Sheet Metal Folder
Your homemade tool will be great for many projects. However, it will struggle with very thick or very wide material. Repeatability and precision will be lower than a commercial machine. It also cannot perform complex bends like those needed for a box. This requires a much more advanced “box-and-pan” brake.
When Professional Services Are the Right Choice
For some jobs, a professional service is the best option. If your project needs perfect accuracy or complex shapes, outsourcing is the way to go. If you need many identical parts, professional work is also better. Leveraging professional fabrication de tôles ensures a flawless result for critical components.
Sometimes, you might need a special part for the folder itself. This could be a perfectly machined hinge pin or custom clamping fingers. In these cases, professional Services de tournage CNC can create these parts to your exact design.
Conclusion: Your Workshop, Upgraded
Congratulations! You have now learned how to make a sheet metal folder from start to finish. You understand the core design principles. You have two complete build methods to choose from. You know how to calibrate your new tool for perfect bends.
The key takeaways are the importance of a rigid frame and the critical alignment of the hinges. Testing and tuning are also valuable. By building this tool, you have unlocked a new level of capability in your workshop. This allows you to take on more ambitious and creative projects.
For all professional manufacturing and fabrication needs that go beyond the scope of a DIY project, explore the comprehensive services available at Mékalite.
Frequently Asked Questions (FAQ)
What is the thickest sheet metal I can bend with a DIY folder?
This depends on the folder’s width and how rigidly it was built. A strong, 24-inch welded folder made from 1/4″ steel can likely handle up to 16-gauge mild steel. That is about 1.5mm thick. A no-weld version might be limited to 20-gauge or thinner, which is about 0.9mm. Always test your machine with thin material first.
Can I use this design to make a box and pan brake?
This guide’s design cannot be used directly. A box and pan brake needs a clamping beam made of separate, removable blocks called “fingers.” This allows you to bend the sides of a box. It is a much more complex build that requires precise machining of the fingers. This guide focuses on a simpler, straight folder.
Approximately how much does it cost to build a sheet metal folder?
The cost varies greatly. If you can find scrap steel at a recycling yard, you might build one for under $50. This includes bolts, hinges, and grinding discs. If you buy new steel from a supplier, the cost could be between $100 and $200, depending on the size of your folder and local steel prices.
Is welding a better construction method than bolting?
For the absolute strongest and most rigid folder, welding is better. It creates a single solid structure. However, a well-planned no-weld version using high-strength bolts and proper reinforcement can be very effective and is much more accessible for a typical home workshop.
What are the most important safety precautions when making and using a sheet metal folder?
Always wear safety glasses and gloves when cutting, grinding, or handling metal. Securely clamp the folder to a sturdy workbench before use. Be aware of pinch points, especially near the hinges and clamping beam. Finally, remember that freshly cut and bent sheet metal edges are extremely sharp.

