A sheet metal brake is a must-have accessory for any workshop. It makes it easy for you to make precise bends in metal. You can use it to create brackets, boxes, panels, and many other things. Mix it with all the other things you make and it can be a source of new ideas.

Buying a ready-made brake may be quite costly and space-consuming. And because of this, the smart DIYers start pondering, “Is it possible to make a metal sheet brake by myself?” The answer is you can. Having your brake is not the only benefit. You will also get a tool that is customized to your workspace.
This guide will be your companion as you create a sheet metal brake from the beginning to the end. We will present you with two plans. The first one is a no-weld plan that is perfect for the novice to master. The second alternative is a heavy-duty welded brake that is designed for larger jobs. You will definitely take pleasure in operating a high quality tool that you manufactured with your own hands.
Before You Start: Picking the Right DIY Brake Design
Before you even touch a metal sheet, you will need a plan. The first step in building a sheet metal brake is the design. The right one will help you build a tool that is in line with your abilities, your budget, and the kind of projects you aim to take on. When you dedicate a few moments for the initial planning, you save both time and money in the long run.
Start by Answering These 3 Questions
First, consider the type of metal you are going to bend. Is your goal to work only with aluminum and projects? Or do you have to bend steel sheets of a larger thickness? The metal that you will be using will determine how strong your brake has to be.
Next, look at what equipment you already have at your workshop. Do you have welding tools and are you experienced in using them? What cutting and drilling tools do you have? Your tools will limit which design you can build.
Finally, think about your budget. You can use scraps and build a fantastic homemade brake. Alternatively, you may buy new steel if you want it to be more perfect. It is advisable to be aware of your budget before you start buying the materials.
Weld vs. No-Weld Brakes: A Head-to-Head Comparison
The main types of DIY sheet metal brake construction are two: welded or no-weld. A welded brake is tougher but requires more skills and extra tools. A no-weld brake is easier to build for people who have only basic tools. The decision between the two is of course based on your specific needs.
Here is a brief comparison to help you make the right decision.
| Fonctionnalité | No-Weld Design | Welded Design |
|---|---|---|
| Pour | Simple tools, lower cost, quicker build | Very rigid, bends thicker metal, lasts longer |
| Cons | Can flex, limited to thinner metal | Requires welding skills & equipment, higher material cost |
| Meilleur pour | Beginners, light-duty tasks, aluminum & thin steel | Serious hobbyists, auto restoration, small fab shops |
Gathering Your Tools and Materials
Now that you have a plan, the next thing is to gather the items you need. Doing all preparations beforehand makes the building process linear. This checklist will help you make sure that you have everything you need.
Safety First: Essential Personal Protective Equipment (PPE)
Metalworking can be hazardous. Protect yourself always. The sharpness of metal pieces is too high. Cutting causes sparks and produces loud noises.

- Safety glasses or a face shield
- Heavy-duty gloves (leather is a good choice)
- Hearing protection, especially when using an angle grinder
- Sturdy, closed-toe shoes
The Tool Arsenal
For either build, you will need several key tools. These are the regular tools for any metalworking task.
-
For All Builds:
- Angle grinder with cutting and grinding discs
- Power drill and a good set of drill bits
- Tape measure
- Machinist square or combination square
- At least four strong C-clamps
- Wrenches and a socket set
-
For the Welded Build:
- MIG or Stick welder
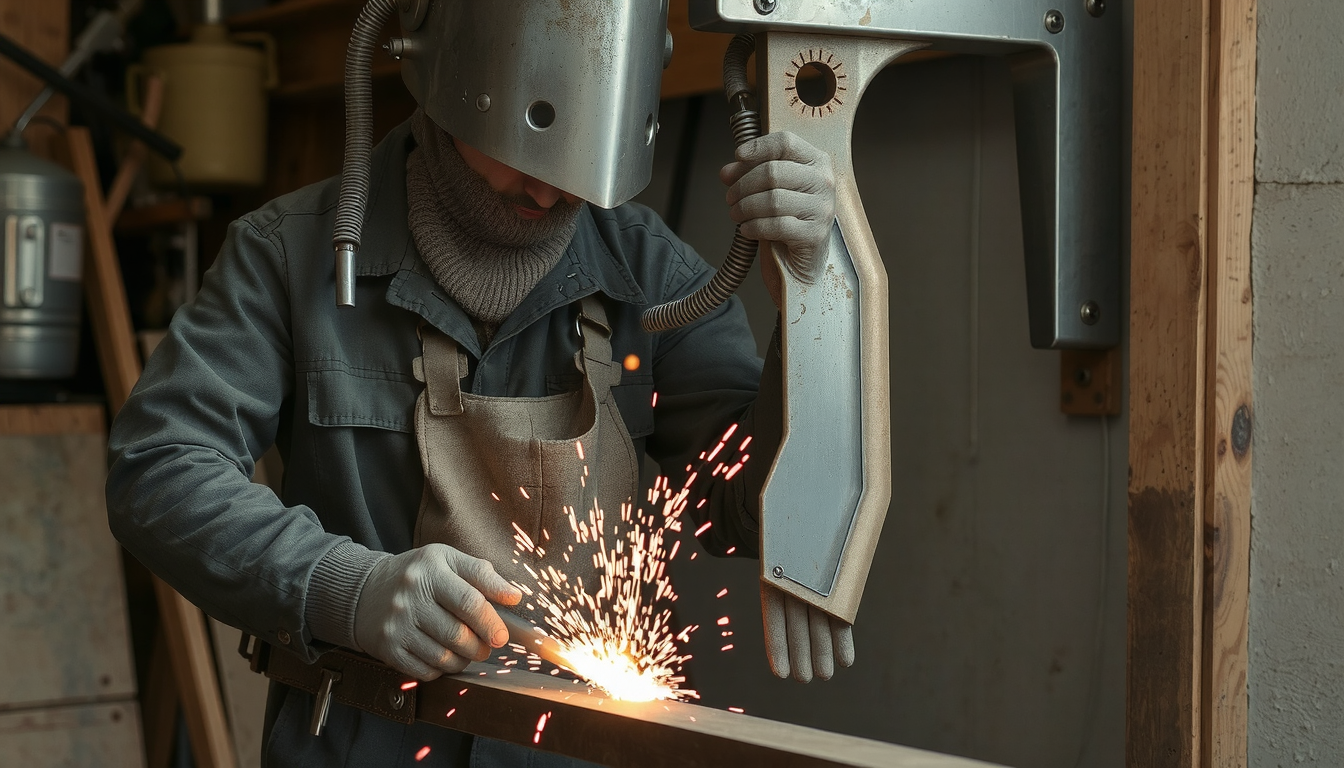
- Welding helmet and jacket
- Welding magnets to hold parts square
- Chipping hammer and wire brush
The Bill of Materials: What Steel to Get
Steel is the heart of your brake. You will work with angle irons and flat bars mainly. For a long-lasting brake, choose steel with a thickness of not less than 3/16 inches. To achieve solid rigidity, you can switch to using 1/4-inch.
Here is a list of things you will need for a standard 24-inch brake:
* Two 24-inch pieces of 1/4″ thick, 2″ x 2″ angle iron.
* One 24-inch piece of 1/4″ thick, 3″ x 3″ angle iron.
* Two heavy-duty door or gate hinges.
* A selection of nuts, bolts, and washers (1/2-inch diameter is a good size).
* A piece of pipe for handles.
The cheapest way to get these materials is to buy them from a local steel yard. Alternatively, you can find top-notch metal that sticks to specs on reliable suppliers online for example, Mékalite. This assures you that the project begins with the right materials.
The Build, Part 1: Step-by-Step No-Weld Sheet Metal Brake
If you do not have a welder this design is just for you. The idea is to use bolts and hinges to create a working brake. The build is simple so it is perfect for bending soft materials like 20-gauge steel or aluminum. This approach demonstrates that you can build a sheet metal brake with just a few handy tools. This build is inspired by great online guides, like this popular no-weld Instructables project, but we have added tips to make it stronger.
Step 1: Cutting Your Components to Length
Precision begins with your cuts. Use an angle grinder with a cutoff wheel to cut your steel. For a 24-inch brake, you need:
- One piece of angle iron cut to 24 inches. This is the “bed” your metal will rest on.
- A second piece of angle iron cut to 24 inches. This is the “apron,” the part that swings up to make the bend.
- A third piece of angle iron cut to 24 inches. This is the “clamping bar” that holds the sheet metal down.
Step 2: Preparing and Assembling the Base and Apron
The key to a good bend is the pivot point. This is made by the hinges. Line up the bed and the apron pieces perfectly. The “heel” of the two angle irons should be touching.

From my own experience, here is a key tip: Clamp the two pieces of angle iron together tightly before drilling the hinge holes. This guarantees perfect alignment. If they are not lined up, your bends will not be straight. Once clamped, mark and drill the holes for your hinges and bolt them on.
Step 3: Constructing the Clamping Bar
The clamping bar holds your workpiece firmly. Place the third piece of angle iron on top of the bed. You will need to drill holes through both the clamping bar and the bed for your clamping bolts.
Drill holes about two inches in from each end. These holes should be large enough for your bolts to pass through easily. For a 24-inch brake, two clamping bolts are okay, but four would be much better to prevent the metal from slipping.
Step 4: Final Assembly and Handle Installation
Bolt the clamping bar to the bed. You can use wing nuts or large hex nuts to tighten it down. Now, attach handles to the apron. Drill two holes in the front face of the apron and bolt on two lengths of steel pipe. These give you the leverage needed to bend the metal. Your no-weld brake is now ready for its first test.
The Build, Part 2: Upgrading to a Heavy-Duty Welded Brake
If you have a welder, you can build a much stronger tool. Welding allows you to add serious reinforcement. This prevents the brake from flexing, which is the biggest problem with weaker designs. A rigid brake makes clean, accurate bends, even on thicker 16-gauge steel. This is how to build a sheet metal brake that has professional-grade performance. Many highly-detailed welded brake builds online show the power of good reinforcement.
Step 1: Building the Frame and Hinge Points
Start by cutting your main pieces of angle iron, just like in the no-weld design. Lay out the bed and apron pieces. Instead of bolting the hinges, you will weld them.
Here is a pro-tip: Tack weld all major parts first. Do not lay down your final, long welds yet. Use a machinist square to check that everything is perfectly flat and square. A warped brake is a useless brake. Once you are certain it is perfect, finish welding the hinges in place.
Step 2: Reinforcing the Clamping Bar and Apron
This is the most important step for performance. A piece of angle iron with no extra support will bow in the middle under pressure. To stop this, you must weld on extra support.
Take a piece of flat bar or square tubing. Weld it along the back of the clamping bar and the apron. This creates a strong I-beam or box shape. This reinforcement is what separates a light-duty tool from a heavy-duty machine.
Step 3: Fabricating a Robust Clamping System
A welded brake can handle more force, so it needs a stronger clamping system. Instead of simple bolts, weld large nuts (3/4-inch or bigger) to the frame. Then you can use large-diameter bolts as powerful clamp-downs.

For an even better system, you can build an over-center clamp. This is a more complex part, but it allows for very fast clamping and unclamping of your material.
Step 4: Finishing Touches
With the main assembly welded, it is time to finish the job. Use an angle grinder with a flap disc to smooth your welds. This makes the tool look professional and removes sharp edges.
Weld on long handles for good leverage. Finally, give your brake a good coat of paint. This prevents rust and makes your new tool a proud addition to your workshop. Learning about professional fabrication de tôles can inspire you to add these final, high-quality touches.
Calibration, Testing, and Troubleshooting
Your brake is built, but it is not ready to use just yet. The final steps of calibration and testing are what make it a precision tool. Many guides on how to build a sheet metal brake skip this part, but proper alignment and assembly are critical for good results.
Setting the Bending Edge
The gap between the main bed and the bending apron is important. This gap controls the radius, or sharpness, of your bend. For sharp bends in thin metal, you want this gap to be very small. You can adjust this by placing thin metal shims in the hinges before you fully tighten them.
Your First Test Bend
It is time to see your work pay off. Follow these steps for a successful first bend.
- Start with a scrap piece of thin sheet metal.
- Mark your bend line with a fine-tip marker.
- Line up the mark with the edge of the clamping bar and clamp it down securely.
- Apply slow, steady pressure to the handles to lift the apron. Bend a little past 90 degrees, as the metal will spring back slightly.
- Release the clamp and admire your clean, straight bend.
Common Problems & Quick Fixes
If your first bends are not perfect, do not worry. Here are some common issues and how to fix them.
- Problem: The bend is curved or bowed in the middle.
- Fix: Your brake is flexing under load. The clamping bar or apron needs more reinforcement. Weld more steel to the back of it.
- Problem: The metal slips out while you are bending.
- Fix: Your clamping force is too weak. Use larger clamping bolts or add more clamps. Make sure the clamping bar edge is sharp.
- Problem: The bend is dull and rounded, not sharp.
- Fix: The gap at your pivot point is too large. Adjust the hinges to bring the bed and apron closer together.
Beyond Bending: When a DIY Project Isn’t Enough
A well-built DIY sheet metal brake is a powerful tool. It can handle most tasks in a home workshop or small garage. You can make amazing things with it.
However, it is important to know its limits. Some projects need a level of precision that is hard to achieve with a homemade tool. If your project requires complex shapes, perfect copies of a part, or needs other machined features, a professional service is the best choice. For example, if your assembly needs custom-made pins or shafts, specialized Services de tournage CNC are the right solution for that level of accuracy.
FAQ: Your Questions on How to Build a Sheet Metal Brake Answered
Here are answers to some common questions people have when learning how to build a sheet metal brake.
What is the best and most affordable steel to use for a DIY brake?
A36 hot-rolled steel angle iron is the best mix of strength, cost, and availability. It is easy to find at local suppliers. For good results, use at least 3/16-inch thick steel, but 1/4-inch thick steel is much better and will prevent flexing.
Realistically, how thick of a sheet can a homemade brake bend?
A well-made no-weld design can usually bend up to 20-gauge (about 0.9mm) mild steel. A heavy-duty, properly reinforced welded brake can often bend 16-gauge (1.5mm) steel. For shorter widths, some very strong DIY brakes can even bend 1/8-inch (3mm) steel plate.
Can I use these plans to build a box and pan brake?
Yes, the basic ideas are the same. A box and pan brake is different because its top clamping bar is made of many removable sections called “fingers.” This lets you make complex box shapes. You can build one by changing the welded design, but it is a more advanced project that requires more precise work.
What is the most common mistake people make when building a sheet metal brake?
The single most common mistake is not making it strong enough. People often underestimate the huge forces needed to bend steel. This leads to a brake that flexes in the middle, resulting in a curved bend. The key is to overbuild your brake. Add more reinforcement to the clamping bar and apron than you think you need.
How much does it cost to build a sheet metal brake?
The cost depends on local steel prices and if you use new or scrap metal. A no-weld brake can often be built for $50 to $100 using new steel. A heavy-duty welded version might cost between $150 and $250. This is still much cheaper than buying a similar-sized commercial brake.

