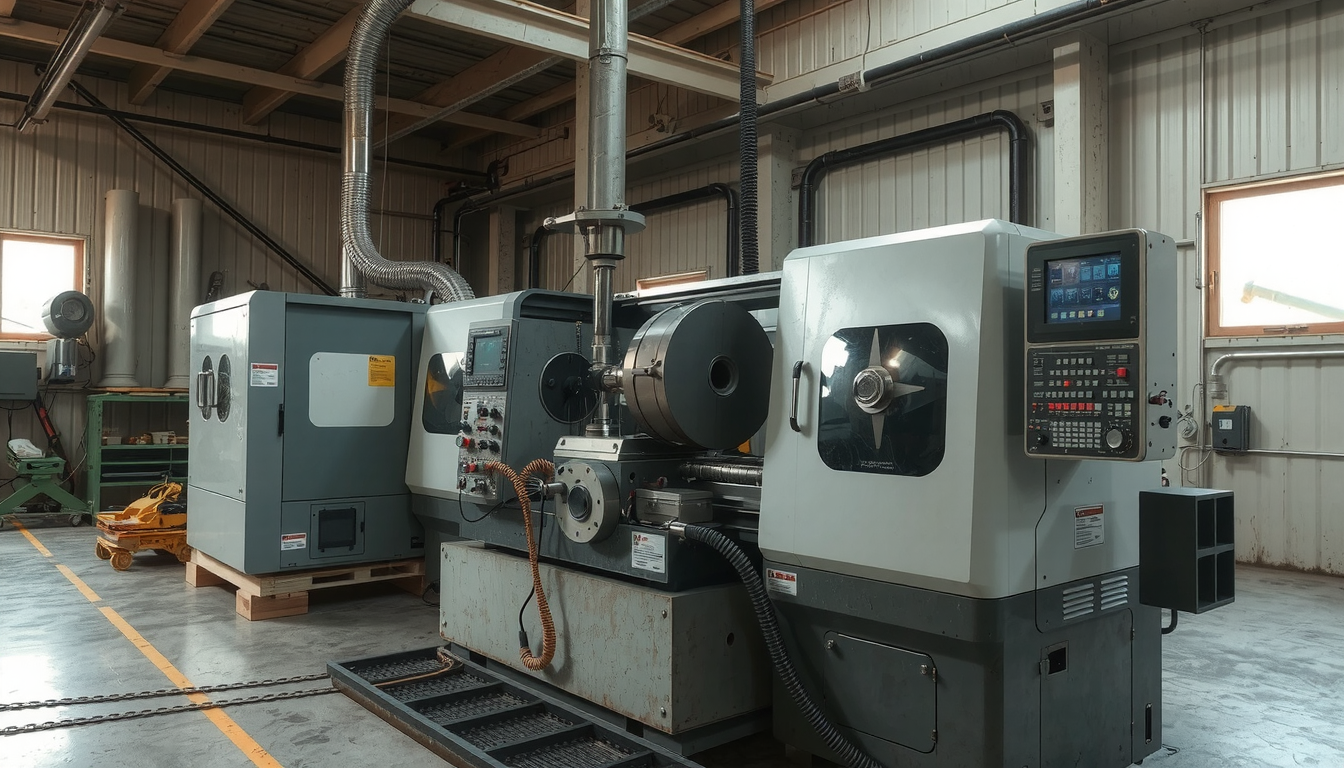
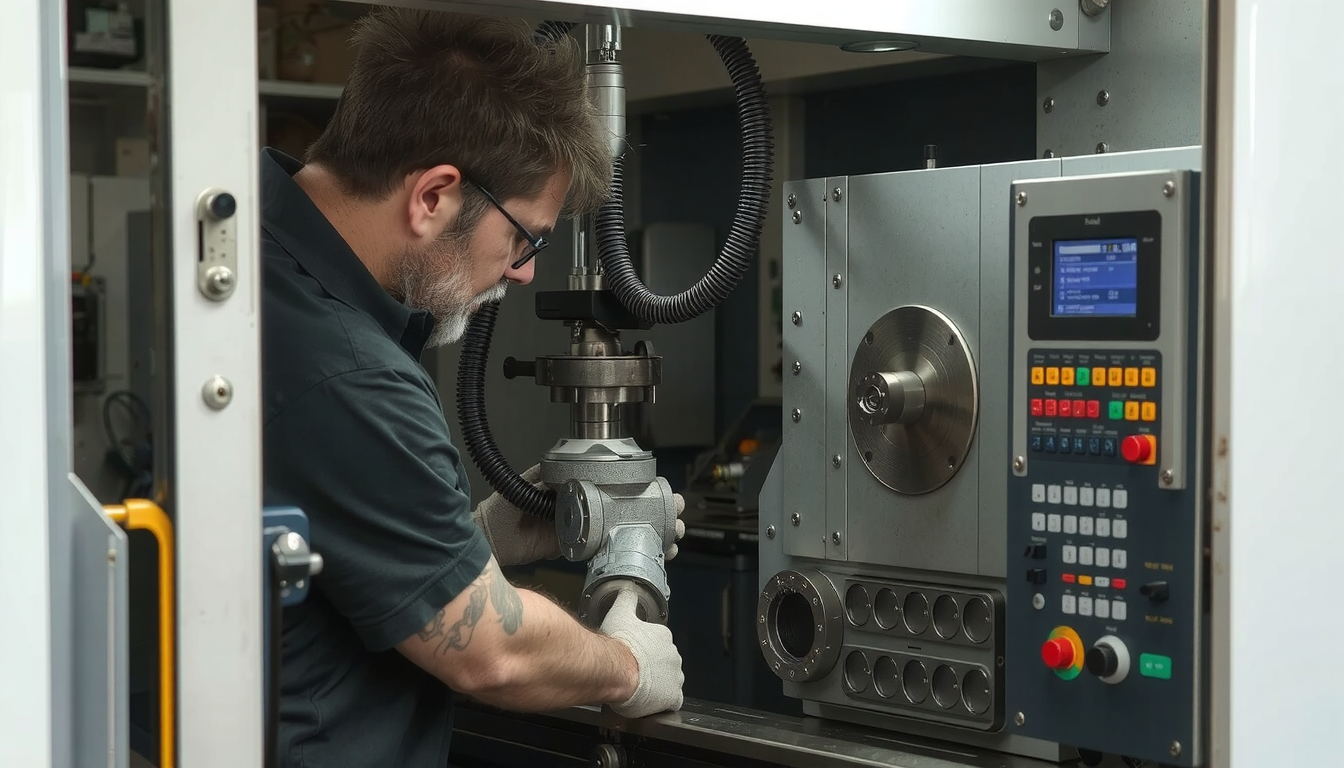
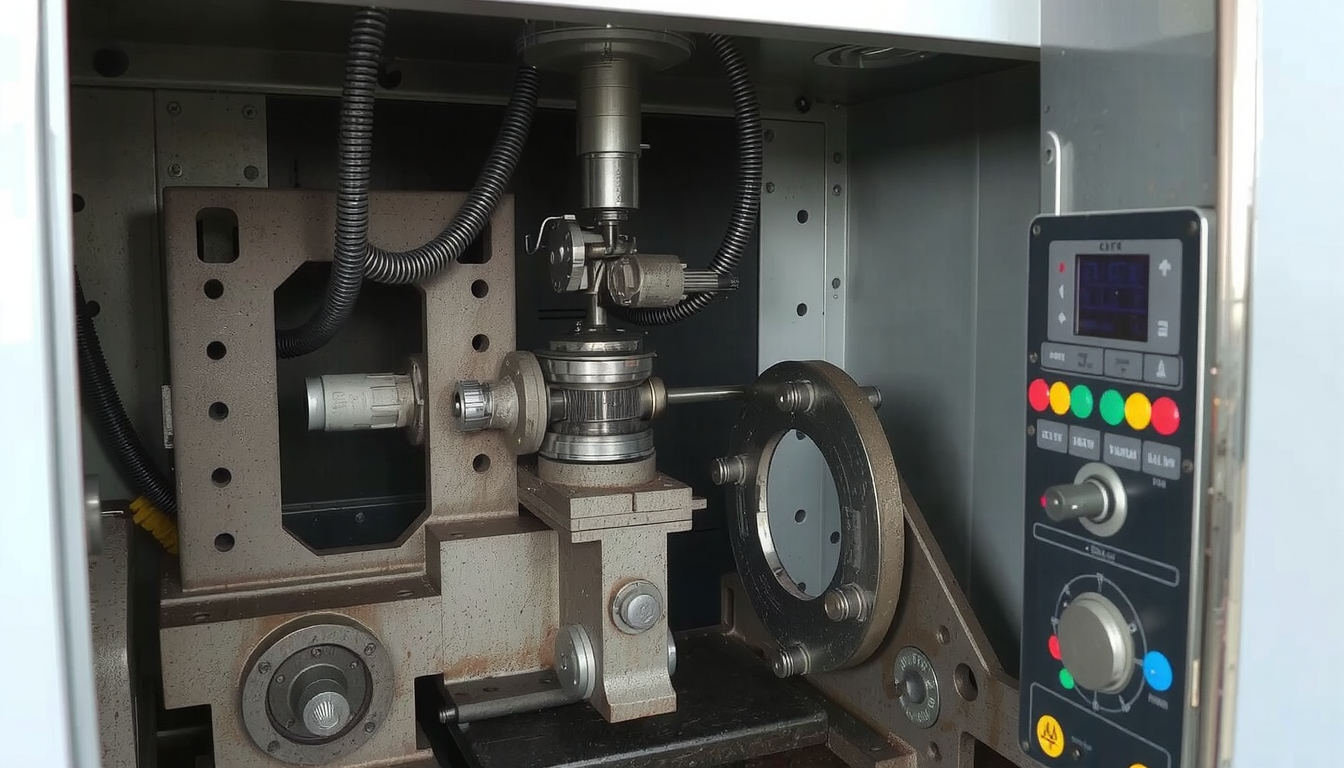
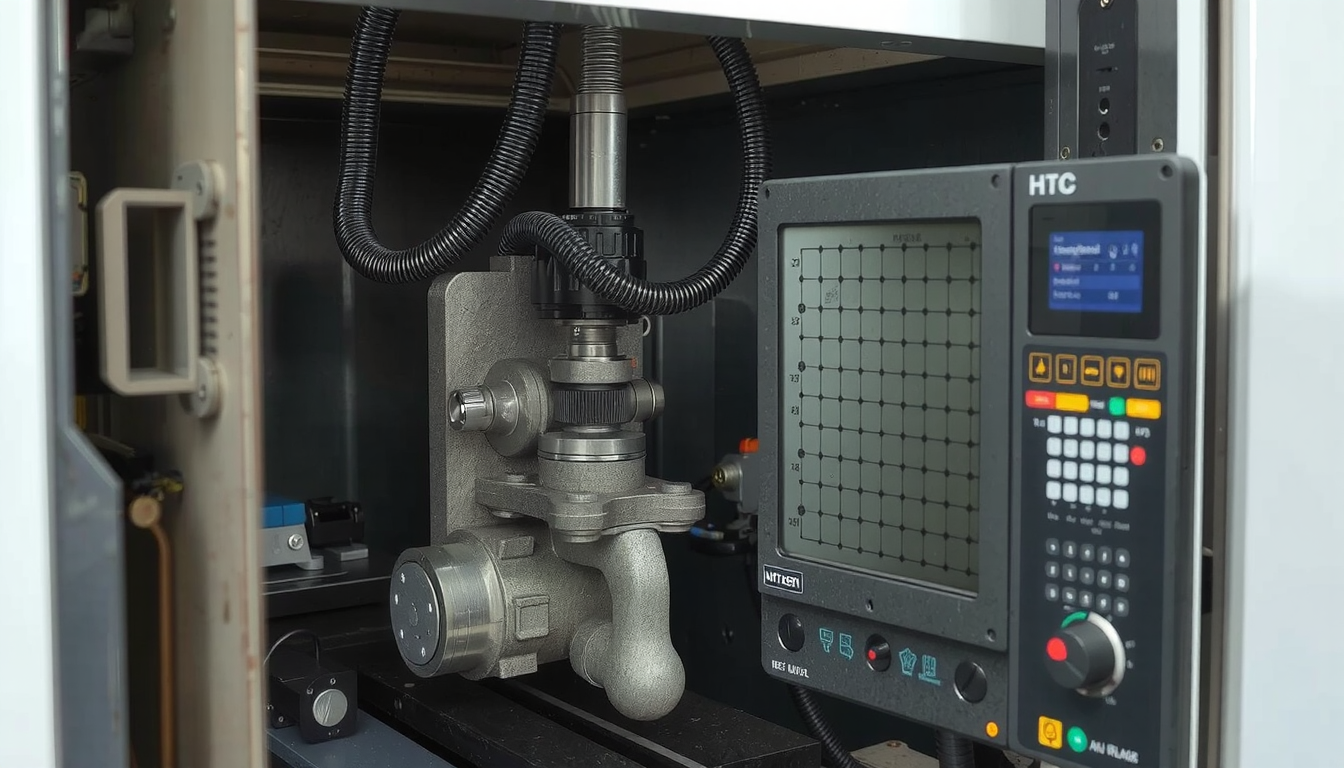
Learning how to set up a CNC lathe machine is the first step to quality manufacturing. A well-structured setup ensures you will get accurate cuts. It also extends the life of your machine and makes your job easier. Even though it might seem difficult at first, it becomes much simpler once you break it down.

This guide provides a complete process for beginners. We will take you through all the steps of setting up a professional CNC lathe. We cover three main parts: Getting Ready, Machine Setup, and Checking Your Work.
The Foundation: Pre-Setup and Safety
Before you touch the machine, you must prepare yourself thoroughly. A good machinist understands that proper preparation prevents mistakes and accidents. This section is your checklist for a safe and smooth start.
The Golden Rule: Safety First
Safety is a must for any machine work. It is not optional. You should always prioritize safety before you start working.
- Personal Protective Equipment (PPE): Be sure to wear safety glasses at all times. Use strong, closed-toe shoes. Do not wear loose clothing, long sleeves, or jewelry that could get caught in the machine.
- Machine Safety: You need to know where the red Emergency Stop button is. Make sure you can reach it quickly. Ensure that all safety guards and doors are in place and are functioning correctly.
- Workspace: Your workspace must be clean and orderly. Keep the floor dry and free of tools, materials, or other things in the way. A clean space is a safe space.
Your Pre-Setup Toolkit & Documentation
Having everything ready is a huge time-saver. A messy start leads to a messy job. Professional shops use a detailed CNC Setup Sheet. This is explained in guides like the Beginner’s Guide to CNC Machine Setup. Use this checklist to gather the tools you need.
| Item | Purpose |
|---|---|
| Engineering Drawing | Shows the part’s final size and specifications. |
| CNC Setup Sheet | Lists the tools, offsets, and program for the job. |
| Raw Material | The stock or workpiece, cut to the right length. |
| Measuring Tools | Calipers, micrometers, and a dial indicator to check your work. |
| Cutting Tools | All turning, facing, and grooving tools needed for the part. |
| Hand Tools | Wrenches for the chuck and tool turret, plus Allen keys. |
The Core Setup: A 6-Step Guide
This is the main part of learning how to set up a CNC lathe machine. Follow these six steps in order to get your machine ready for cutting.
Step 1: Power-On and Homing the Machine
First, switch on the main power to the machine. Once the control screen loads, you need to “home” the machine. This is also known as “zero return.”

Homing sends the machine’s axes to a fixed home spot. The X-axis and Z-axis move to set positions. This tells the controller the turret’s location in its workspace. It is a key step to set up the machine for accurate movement.
Step 2: Installing Tools in the Turret
Next, you will load the cutting tools into the tool turret. The turret holds all the tools for the job.
Each tool holder needs to be tightly secured in its station. Make sure the bolts are snug. Outside diameter (OD) tools for turning the outside of a part must be positioned correctly. Inside diameter (ID) tools, like boring bars, must also point in the right direction.
Step 3: Securing the Workpiece
Holding the workpiece tight is critical for both safety and accuracy. This is called workholding. A loose part can fly out of the machine, causing serious damage or injury.
Most lathes use a three-jaw chuck. Hard jaws are used for gripping raw, uncut material. Soft jaws are used to hold parts on a finished surface without leaving marks. Official manufacturer documents have details on using different jaw types. The Haas Lathe Setup and Operation guide is one example.
Clamp your material in the chuck jaws and make sure it is held tight. Then, use a dial indicator to check for “runout.” Runout is the wobble of the part as it spins. Every The Complete Starter Guide to operating a lathe notes that even a tiny bit of runout can ruin the part’s dimensions. Adjust the part until the dial indicator shows almost no movement.
Poor workholding is a leading cause of broken tools and scrapped parts. Taking your time here is key for a good CNC lathe setup.
Step 4: Setting the Work Offset (G54)
The work offset tells the machine where your part is. This is the “Part Zero” point. On a lathe, you need to set the zero for the Z-axis and the X-axis. The Z-axis is the face of the part, and the X-axis is the centerline of the part.
To set the Z-zero, we use a method called “touching off.” Gently move a tool toward the front face of the workpiece. Use a facing tool for this. A common method is to hold a thin piece of paper between the tool and the part. When the tool’s tip traps the paper against the part, you are very close.
At this point, go to the offset page on the controller. Select your work offset (often G54) and tell the machine this is the Z-zero position. The X-zero is almost always the center of the spindle, which the machine often knows automatically.

Step 5: Setting Tool Offsets
Each tool in the turret has a different length and shape. Tool offsets tell the machine the exact spot of each tool’s cutting tip. Without correct tool offsets, the machine cannot cut to the right size.
To set an offset, bring a tool toward the spinning workpiece. Gently touch the tool to the outside diameter of the part and record this X-axis position in the tool’s offset page. Then, touch the tool to the face of the part and record the Z-axis position. Do this for every tool you plan to use.
Pro Tip: After setting all your tools, bring each one back to the Part Zero position (X0, Z0). Look closely to see that the tip of each tool lines up with the face and centerline of your part. This five-minute check can save you from a major crash.
Step 6: Loading the G-Code Program
The final step in the setup is to load your CNC program. This program is written in G-code and contains all the instructions for the machine. You can move the program to the machine using a USB drive, an Ethernet connection, or other methods.
Verification: Final Checks Before You Cut
A good setup isn’t done until you’ve checked it. These final checks are a safety net. They help you find errors before they can cause damage to the machine, tool, or workpiece.
Using Graphics and Simulation
Most modern CNC controllers have a graphics screen. This feature lets you run a simulation of the program. You can watch a drawing of the tool move along its path on the screen, which is a great way to check for major errors in the toolpath.
Performing a “Dry Run”
A “dry run” means running the program without cutting any metal. To do this, move the Z-axis work offset away from the part by four or five inches. Then, run the program.
The turret will move through all the programmed motions in the air. This lets you watch the tool movements in real space to confirm the sequence is right and that no tools will crash into the chuck or workpiece.

Making the First Cut
Once all checks are complete, it is time to make the first cut. Go slowly and carefully.
- Turn the rapid override knob down to 25% or less. This slows down the machine’s fast movements.
- Keep your hand near the “Feed Hold” button. Be ready to pause the program right away if something looks wrong.
- Listen for strange noises. Tool chatter or squealing are bad signs. Watch the cut closely to make sure everything runs smoothly.
Troubleshooting Common CNC Lathe Setup Problems
Even with careful work, problems can happen. Knowing how to troubleshoot is a huge asset. Here are solutions to some common issues that happen when you set up a CNC lathe machine.
| Problem | Possible Cause(s) | Solution(s) |
|---|---|---|
| Alarm on Startup | E-stop button is pressed, low air pressure, or a door is not closed. | Twist the E-stop button to release it. Check the machine’s air supply and make sure all safety doors are fully closed. |
| Part Dimensions are Wrong | A tool offset was measured wrong, or the cutting insert is worn out. | Re-measure your tool offsets carefully. Check the tool tip and replace the insert if it is dull or broken. |
| Poor Surface Finish | The workpiece is not held tight, cutting speeds are wrong, or the tool sticks out too far. | Check the chuck pressure. Adjust the spindle speed and feed rate in the program. Use the shortest tool holder possible. |
| Tool Crashes into Part | The work offset (G54) is wrong, a tool offset is wrong, or there is an error in the program. | Press Emergency Stop RIGHT AWAY. Do not try to continue. Re-check all of your work offsets and tool offsets from the start. Do a dry run again. |
Beyond Setup: Maintaining Efficiency
A great setup is the beginning, but good habits help maintain high quality.
Keep the coolant tank full and aim the nozzles at the cutting tip. This keeps the tool cool and clears away chips. After a job, clean the machine thoroughly. Removing chips and wiping down surfaces prevents rust and keeps the machine accurate.
For complex parts or large production runs, optimizing a CNC lathe setup becomes a science. This is where expert experience saves time and money. For businesses looking to improve their process, professional CNC lathe services offer the efficiency and expertise needed to scale production.
Conclusion: From Setup to Success
The route to successful CNC lathe operation is a careful and safe setup process. If you follow the core phases—Prepare, Set Up, and Verify—you will produce good parts every time. Learning how to set up a CNC lathe machine is a skill built through practice.
Be patient and double-check your work. As you gain experience, you will realize these basic rules apply to almost every machine you operate. At Mekalite, we believe a strong foundation in these basics is what separates good machinists from great ones.
Frequently Asked Questions (FAQ)
What is the most important step in setting up a CNC lathe?
While every step is crucial, setting the work and tool offsets correctly is most critical. Work offsets define Part Zero, and tool offsets tell the machine where each cutting tip is. Errors in these offsets are a primary cause of scrapped parts and machine crashes. Safety checks are equally important and should never be skipped.
How long does it take to set up a CNC lathe machine?
The time can vary. An experienced machinist setting up a simple, familiar job might take 15 to 30 minutes. For a beginner or a complex new part with many tools, the CNC lathe setup could take one to three hours. The goal is to be thorough, not fast.
What is a “dry run” and why is it important?
A dry run is when you run the CNC program with the tools moving in the air, far away from the part. It is a vital safety check that lets you watch the toolpaths and sequence of operations to verify they are correct without any risk of a collision.
Can I use the same setup for different materials?
The physical setup, including workholding and tools, might be similar. However, you will almost always need to change the program’s cutting parameters. The spindle speed and feed rate must be adjusted for the specific material. Using settings for aluminum on stainless steel will likely damage the tool and the part.
What does “homing the machine” mean?
Homing, also known as “zero return,” is a startup procedure. It moves each machine axis to a fixed reference point, usually a limit switch. This calibrates the machine so the controller knows the exact position of the turret. It is one of the first things you do after powering on the machine.

