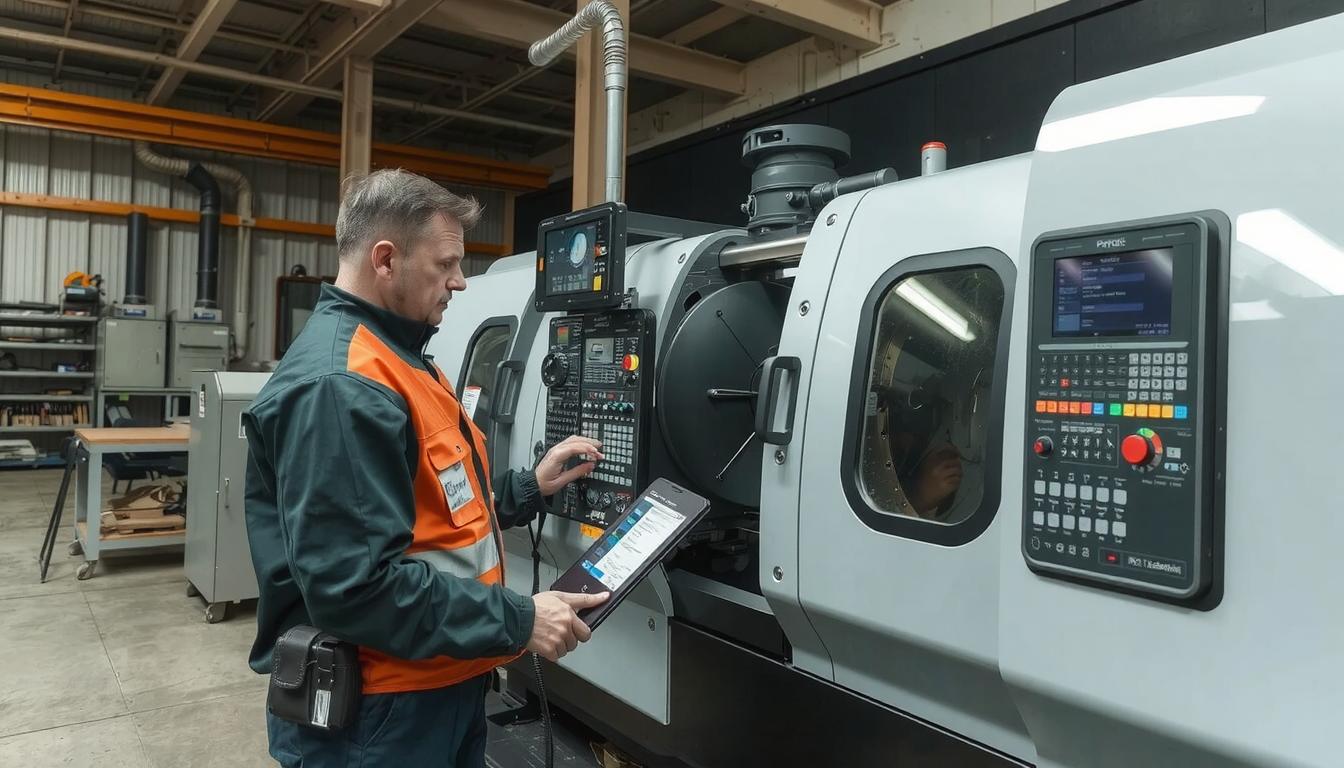
Learning to program a CNC lathe machine sometimes might be challenging especially when you start. However, something that seems really hard at first, can become simple very quickly thanks to this guide. We will decompose it into a series of straightforward steps.

When you write the code by hand or you use a special software package is your choice. This guide presents you with the knowledge that is essential for both of these methods. Our lessons shall make learning CNC lathe programming easy for you. You can achieve programming on your own with the help of this guide but you’ll need the support of specialists in most cases. During these instances, professional Услуги токарного станка с ЧПУ can create components with astonishing precision in record time.
At the end of the article, you will be able to understand the process of programming a CNC lathe machine for a simple part from start to finish.
The Foundation: Core CNC Lathe Concepts
Before you can learn how to program a CNC lathe machine, you must understand how it thinks and moves. Getting these basics right will make writing code much easier. This section covers the core ideas you need to know.
The CNC Lathe Coordinate System
A CNC lathe mainly works with two directions. Think of a graph laid over the machine.
The X-axis controls the diameter of the part. When the tool moves along the X-axis, it moves toward or away from the center of the spinning workpiece.
The Z-axis controls the length of the part. When the tool moves along the Z-axis, it moves toward or away from the chuck that holds the part. Z-zero is usually the face of the finished part.
You will also hear two important terms for position:
- Machine Home: A fixed point set by the machine builder. You send the machine here to know its exact location.
- Workpiece Zero (G54): A point you set as the starting point for your program. On a lathe, this is typically the center of the part’s face.
The machine can move in two ways. Absolute positioning (G90) moves to a coordinate based on your Workpiece Zero. Incremental positioning (G91) moves a certain distance from the tool’s current location. Most lathe programming uses absolute positioning.
Key Terms You Must Know
- Spindle Speed (S): This is how fast your part spins. It is measured in revolutions per minute (RPM). You set it with an S-code, like .
- Feed Rate (F): This is how fast your cutting tool moves along the part. It can be measured in millimeters per revolution (G99) or millimeters per minute (G98).
- Tool Offsets: The machine needs to know the exact size and position of every tool. Tool offsets are stored values that tell the control where the tip of each tool is.
- Diameter vs. Radius Programming: Most modern lathes use diameter programming. This means when you command a move to , the tool moves to the 40mm diameter position. Knowing your machine’s default is critical. This topic is well-covered in resources like CNC Lathe Programming for Turning.
Main Programming Methods

There are three common ways to create a program for a CNC lathe.
- Manual Programming: You type the G-code and M-code by hand. This is great for simple jobs and for learning the basics of how to program a CNC lathe machine.
- CAM Software: Computer-Aided Manufacturing (CAM) software takes a 3D model of your part and automatically creates the G-code. This is the best choice for complex shapes.
- Conversational Programming: Some machine controls have built-in menus that ask you simple questions to create a program. This is fast for very basic tasks but is not as flexible as other methods.
The Language of the Machine: G-Codes and M-Codes
G-code and M-code are the instructions that tell the CNC machine what to do. Learning the most common codes is a key step in programming a CNC lathe. Think of them as the vocabulary of the machine.
Understanding the Program Structure
A CNC lathe program usually has three main parts.
- Safety and Setup: This first section gets the machine ready. It sets the units (metric/inch), calls the work coordinate system (like G54), and cancels any old commands.
- Machining Operations: This is the main part of the program. It includes tool changes, turning on the spindle, and all the cutting movements that shape the part.
- Program End: The final section safely ends the program. It moves the tool away, stops the spindle and coolant, and resets the program to the beginning for the next part.
Common G-Codes (Preparatory Functions)
G-codes tell the machine how to move. They prepare the machine for a certain type of motion. Here are some of the most important G-codes for a beginner.
| Code | Имя | Функция |
|---|---|---|
| G00 | Rapid Move | Moves the tool as fast as possible (not for cutting). |
| G01 | Линейная интерполяция | Moves the tool in a straight line at a set feed rate. |
| G02 | Круговая интерполяция | Moves the tool in a clockwise arc. |
| G03 | Круговая интерполяция | Moves the tool in a counter-clockwise arc. |
| G28 | Return to Home | Sends the tool turret to the machine’s home position. |
| G50 | Spindle Speed Clamp | Sets a maximum RPM for the spindle as a safety limit. |
| G96 | Constant Surface Speed | Adjusts RPM as diameter changes for a consistent finish. |
| G97 | Constant RPM | Sets the spindle to a fixed RPM that does not change. |
| G99 | Feed Per Revolution | Sets the feed rate in units per spindle revolution. |
Common M-Codes (Miscellaneous Functions)
M-codes control the machine’s functions, like turning the spindle or coolant on and off. They are often called miscellaneous functions.
| Code | Имя | Функция |
|---|---|---|
| M03 | Spindle On (CW) | Starts the spindle spinning in a clockwise direction. |
| M04 | Spindle On (CCW) | Starts the spindle spinning counter-clockwise. |
| M05 | Spindle Stop | Stops the spindle from spinning. |
| M08 | Coolant On | Turns on the flood coolant system. |
| M09 | Coolant Off | Turns off the coolant system. |
| M01 | Optional Stop | Pauses the program if the operator turns on this feature. |
| M30 | Program End & Reset | Ends the program and rewinds it to the start. |
For a more complete list of codes, you can refer to detailed guides like The Basics of CNC Machining Programming.

A Practical Walkthrough: How to Program a Simple Part
Theory is important, but the best way to learn is by doing. Let’s walk through how to program a CNC lathe machine to make a simple part. This example will connect all the concepts we have discussed.
Our part will be made from a 40mm diameter aluminum rod. We will face the front, turn a section down to 30mm diameter for a length of 50mm, and add a small chamfer.
Step 1: The Plan
A good program starts with a good plan. We need to decide the order of our cuts.
- Operation 1: Face the Part. Use a turning tool to create a clean, flat surface. This will be our Z-zero position.
- Operation 2: Rough Turn the Diameter. Quickly remove most of the material to get close to the final 30mm diameter.
- Operation 3: Finish Turn the Diameter. Take a light final cut to achieve the exact 30mm size and a smooth surface finish.
- Operation 4: Add the Chamfer. Cut a small 1mm by 45-degree angle on the edge to break the sharp corner.
Step 2: The Code with Explanations
Here is the G-code to machine our simple part. Below the code, we explain what each important line does. This shows you the logic behind programming a CNC lathe.
“`gcode
%
O0001 (SIMPLE PART EXAMPLE)
(SETUP AND TOOL 1 – FACING/TURNING)
N10 G21 G99 G40 ; Use Metric, Feed per Revolution, Cancel Tool Compensation
N20 G28 U0 W0 ; Send Turret to Machine Home
N30 G50 S3000 ; Set Max Spindle Speed to 3000 RPM
N40 T0101 ; Select Tool 1, Use Offset 1
N50 G96 S200 M03 ; Constant Surface Speed 200 m/min, Spindle ON
(OPERATION 1 – FACE THE PART)
N60 G00 X42.0 Z2.0 M08 ; Rapid to safe start position, Coolant ON
N70 G01 Z0 F0.2 ; Feed tool to Z-zero to clean the face
N80 G01 X-1.6 ; Feed down past center to ensure a flat face
N90 G00 Z2.0 ; Rapid away from the face
N100 G00 X42.0 ; Rapid back to the starting diameter
(OPERATION 2 & 3 – TURN THE DIAMETER)
N110 G00 X35.0 ; Rapid to first roughing pass diameter
N120 G01 Z-51.0 F0.25 ; Rough turn to the final length plus a little extra
N130 G00 X42.0 ; Rapid up and away from the part
N140 G00 Z2.0 ; Rapid back to the front
N150 G00 X30.0 ; Rapid to the final diameter for the finish pass
N160 G01 Z-50.0 F0.1 ; Finish turn to the final length with a slower feed for a nice finish
(OPERATION 4 – CHAMFER)
N170 G01 X28.0 Z-50.0 ; This line creates the chamfer start point
N180 G01 X30.0 Z-51.0 ; This is a simplified way to cut a 1mm chamfer
N190 G00 X42.0 ; Rapid away from the part
(END OF PROGRAM)
N200 G28 U0 W0 M09 ; Go to Machine Home, Coolant OFF
N210 M30 ; End Program and Reset
%
“`

- This is a safety command. It sends the turret to its home position so you start from a known, safe location.
- This line calls Tool 1 and its measurements, Offset 1. The machine now knows the exact location of the tool tip.
- This sets a constant surface speed. The machine will automatically speed up the RPM as the tool moves toward the center. This ensures a better cut. M03 starts it spinning.
- This is our first cutting move. G01 tells the machine to move in a straight line at the feed rate (F) of 0.2 mm per revolution.
- Here we are rough turning the diameter. We cut to Z-51.0, just past our target length of 50mm. This makes sure the chamfer cleans up properly.
- This is the finish pass. Note the feed rate (F0.1) is much lower. A slower feed on the final cut gives a smoother surface finish.
- This is the last line. It tells the control the program is finished and to get ready for the next cycle.
Step 3: Simulation and Verification
Never run a new program on a real part right away. Use your machine’s built-in simulator (“Graphics” or “Dry Run” mode) to watch a digital version of the tool path. This lets you catch mistakes and prevent a costly crash.
Safety and Best Practices
Knowing how to program a CNC lathe machine is only half the battle. You must also know how to run it safely. A professional mindset puts safety above all else.
Pre-Run Checklist
Before you press the “Cycle Start” button on a new program, always follow these steps.
- Prove Out the Program: Run the program “in the air,” several inches away from the part. Watch the tool’s movements to make sure they look correct.
- Use Single Block: On the first real run, activate “Single Block” mode. This forces the machine to execute only one line of code each time you press the start button. This gives you full control.
- Keep Your Hand Ready: Always know where the Feed Hold and Emergency Stop buttons are. Be prepared to stop the machine instantly if something looks wrong.
- Check Your Offsets: A wrong tool offset is one of the most common causes of a crash. Double-check that the tool number (T01) and offset number (T0101) are correct and that the measurements are right.
- Verify Spindle Direction: Make sure your M03 (clockwise) or M04 (counter-clockwise) command matches the tool you are using. A right-hand tool needs an M03.
Writing Clean and Readable Code
A well-written program is safer and easier to fix.
- Use comments to explain sections of your code. This helps you and others understand the program’s logic later.
- Use sequence numbers (N10, N20, N30). They make it much easier to find and edit specific lines of code.
- Follow standard formatting. Manufacturers often publish their own guides, like Haas Automation’s programming guidelines. These provide best practices for program structure.
Your Journey in CNC Lathe Programming Has Begun
You have now walked through the entire process of how to program a CNC lathe machine. We started with the basic concepts of axes and coordinates. We then learned the language of G-codes and M-codes. Finally, we put it all together to write and understand a real program.
The key to becoming a great programmer is practice. Start with a simple part like the one in our example. Run it in a simulator or in the air. As you build confidence, you can move on to more complex shapes. As you grow your skills, remember that quality machining is a combination of great programming and robust equipment. Explore the possibilities at Mekalite.
Frequently Asked Questions (FAQ)
What is the difference between G-code and M-code?
G-codes, or preparatory functions, tell the machine how to move. They control the geometry of the toolpath, such as moving in a straight line (G01) or an arc (G02). M-codes, or miscellaneous functions, control the machine’s other actions. They turn things on and off, like the spindle (M03) or coolant (M08).
Do I need to be an expert in math to program a CNC lathe?
For basic manual programming, you only need to know simple math for calculating positions. Some trigonometry is helpful for angles and tapers. For very complex parts, CAM software does all the difficult calculations for you. Advanced math skills are not required.
How do I choose the right cutting tool for my program?
Tool selection depends on three things: the material you are cutting, the operation you are doing (like roughing or finishing), and the shape you need to make. For beginners, a general-purpose turning tool (using a CNMG-style insert) is a great place to start. It can face, turn, and chamfer.
Can I learn how to program a CNC lathe machine without a machine?
Yes, absolutely. There are many G-code simulators available, and some are free. This software lets you write, run, and check your programs on a computer. It is a very safe and effective way to learn the fundamentals of CNC lathe programming before you operate a real machine.
What is a “canned cycle” in CNC lathe programming?
A canned cycle is a shortcut built into the machine’s control. It simplifies a common, repetitive task like rough turning (G71) or drilling (G81). Instead of writing code for every single cutting pass, you use one or two lines to define the whole operation. This saves time and reduces the chance of errors.

