Have you at any time speculated how things such as LEGO pieces, car dashboards, or bottle caps are manufactured? Usually, the reply is plastic injection molding. It is the most frequently used process for producing large quantities of plastic components. So how exactly does plastic injection molding work? In general, the process consists of the melting down of tiny plastic pellets. Then, it injects them into a tailored metal mold at extremely high pressure. Finally, the plastic hardens, cools down, and turns into a finished part.

It sounds easy in theory. However, to carry it out in practice, you need exquisite precision. It requires special machines and expert knowledge to achieve it. This technique is the cornerstone of modern manufacturing. The key to making high-quality products with services like литье пластмасс под давлением is to understand it well.
In this guide, we will tell you everything. We will inspect the machine parts. We will examine the molding cycle step by step. We will analyze the process of a design turning into a real part. We will also touch upon the main advantages of this method.
The Essential Components: Structure of a Molding Machine
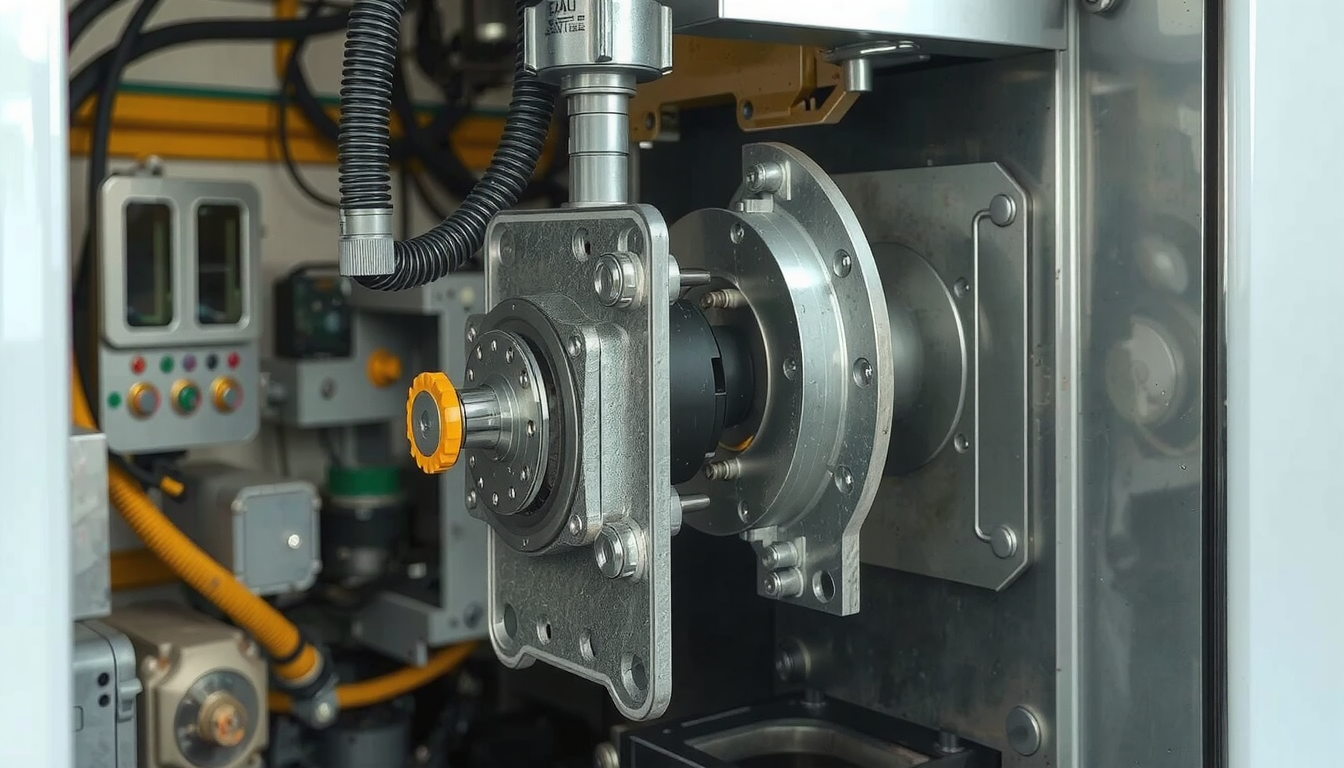
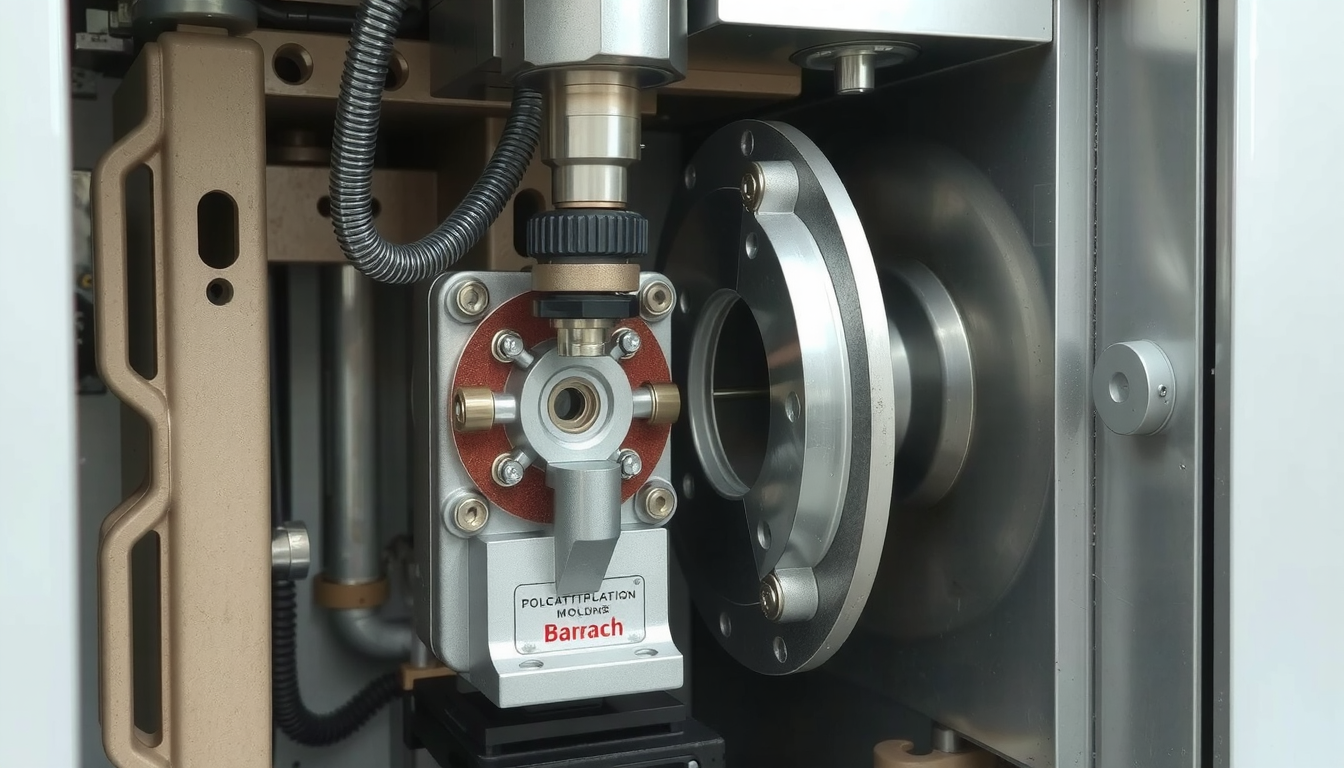
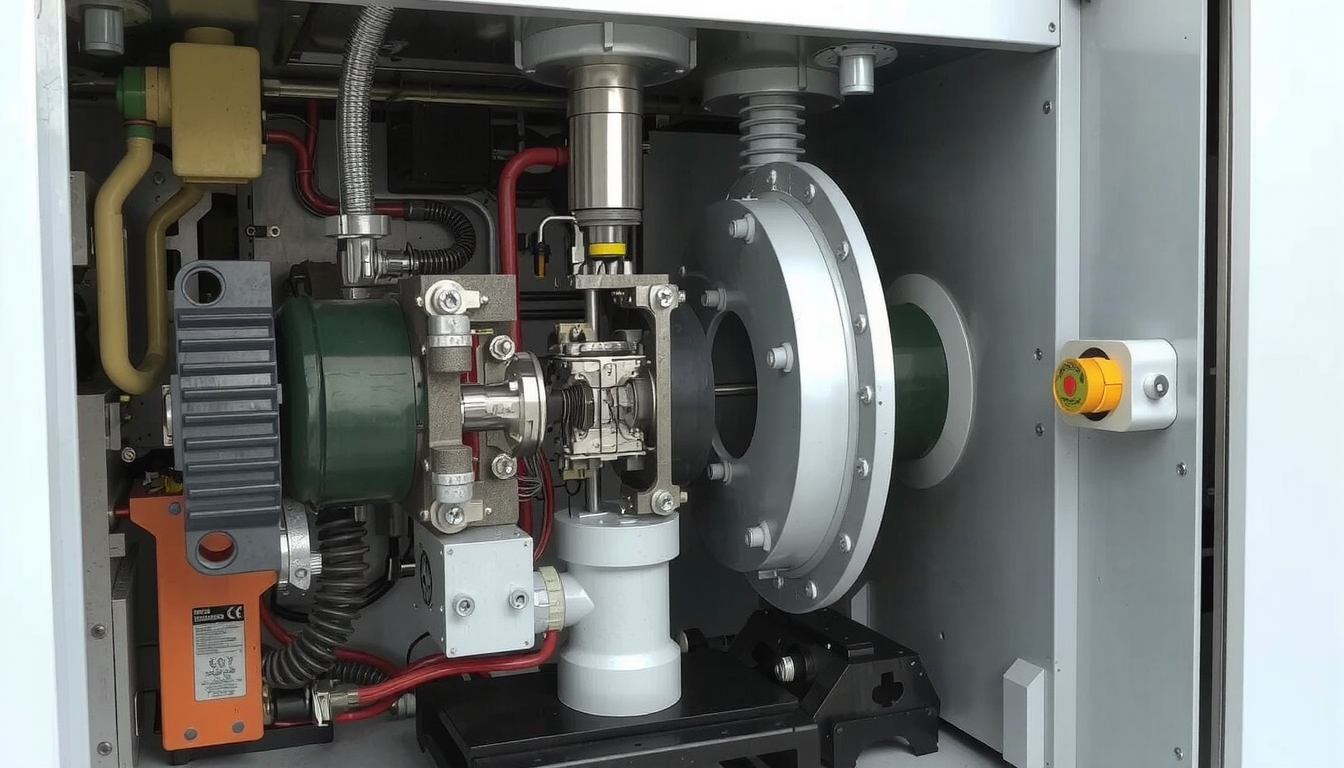
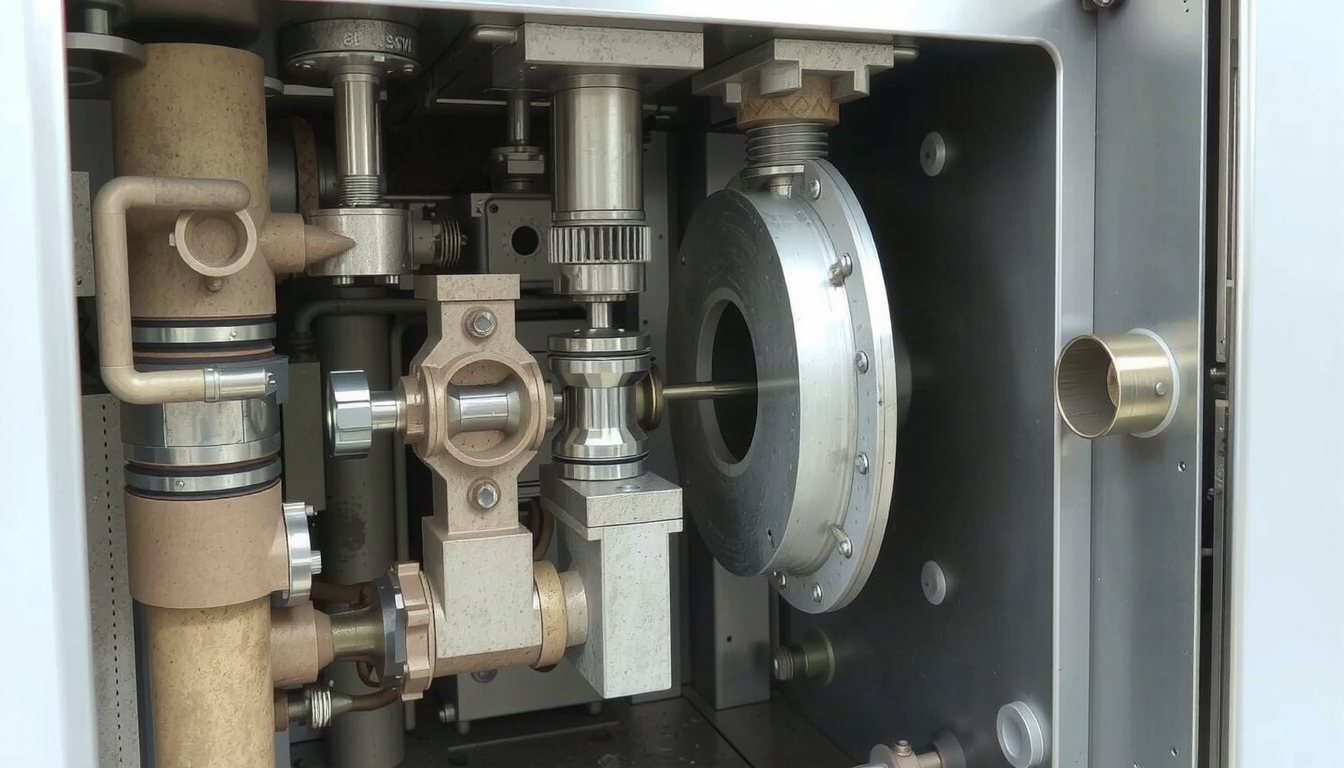
First, you will have to observe the machine to embrace how this production process works. A plastic injection molding machine has a two-part setup. The first part is the injection unit. It is responsible for melting and injecting the plastic. The second part is the clamping unit. It carries and manages the mold, as well as opens and closes it.
These two units unite in a perfect sequence. Each part of the machinery has an exact role to play. Below is a look at the key components and what they do. For the specifics on the machine, you may want to read A complete guide to plastic injection molding in 2025.
| Component Name | Функция |
|---|---|
| Бункер | A large funnel that holds plastic pellets and feeds them into the barrel. |
| Barrel | A heated cylinder where the plastic pellets are melted and mixed. |
| Reciprocating Screw | Sits inside the barrel. It rotates to melt and mix the plastic, then moves forward like a plunger to inject it. |
| Nozzle | The exit point of the barrel. It presses against the mold and delivers the molten plastic into it. |
| Mold (or Tool) | A custom-made metal block with a cavity shaped like the final part. It is the heart of the process. |
| Зажимное устройство | A powerful hydraulic or electric press that holds the two halves of the mold tightly together during injection and cooling. |
The Injection Molding Cycle: A 4-Step Breakdown
The core of plastic injection molding is a fast, repeating cycle. This cycle turns raw plastic material into finished parts, one after another. A full cycle can be very quick. It takes anywhere from a few seconds to two minutes. The exact time depends on the part’s size. It also depends on its shape and the type of plastic used.
Understanding this four-step cycle is key to understanding how plastic injection molding works. Each step must be controlled with great care. This produces a high-quality part.

Step 1: Clamping
Before any plastic is injected, the machine must prepare the mold. The mold has two halves: a cavity side and a core side. The clamping unit pushes these two halves together with immense force.
This force is very important. It must be strong enough to keep the mold securely shut. It fights against the high pressure of the incoming molten plastic. If the clamp is not strong enough, some plastic could leak out of the mold. This leakage is known as “flash.” It creates unwanted thin flaps of plastic on the finished part.
Step 2: Injection
Once the mold is clamped shut, the injection phase begins. Inside the barrel, plastic pellets have been heated by heater bands. They are also melted by the friction and pressure from the rotating screw. This turns the solid pellets into a molten, honey-like liquid.
The screw then stops rotating and moves forward like a plunger. It forces a precise amount of molten plastic through the nozzle. This amount is called a “shot.” The plastic enters the mold through channels called runners and gates. It fills the empty cavity. This step happens very quickly. This ensures the plastic fills the entire mold before it starts to cool. You can learn more about this phase in this overview of the All About the Basics of Plastic Injection Molding.
Step 3: Cooling (or Dwelling)
After the mold cavity is full, the cooling stage begins. The molten plastic must cool down and turn back into a solid. It takes on the exact shape of the mold as it hardens.
To speed this up, the mold has cooling channels running through it. A fluid flows through these channels. This is usually water. It keeps the mold at a consistent temperature. The cooling phase is often the longest part of the entire cycle. Proper cooling is vital to prevent defects. These include warping or shrinking. This ensures the part is stable and has the right dimensions.
Step 4: Ejection

When the part has cooled enough to be solid, the clamping unit opens the mold. The two halves separate. This reveals the newly formed plastic part.
Next, a set of ejector pins on the moving half of the mold push forward. These pins push the finished part out of the mold cavity. The part then falls into a collection bin. With the part ejected, the mold closes again. The entire cycle is ready to start over. This rapid repetition is what makes the process so efficient.
From Digital Design to Physical Part: The Complete Workflow
Knowing how the machine cycle works is only part of the story. The journey from an idea to a mass-produced plastic part involves several critical steps. These happen before the molding even begins. This pre-production phase is where success is truly determined. It shows the full picture of how plastic molding works in a real-world project.
Phase 1: Design for Manufacturability (DFM)
A great product idea is not enough. The part’s design must be optimized for injection molding. This process is called Design for Manufacturability, or DFM.
DFM involves following key design rules. These ensure high-quality results. For example, walls should have a uniform thickness. This helps the part cool evenly and prevents sink marks. Surfaces need to be slightly angled. This feature is called “draft.” It helps the part be easily ejected from the mold. Sharp internal corners should also be avoided. They can create stress and weaken the part.
Phase 2: The Art and Science of Mold Making
The mold, or tool, is the most important piece of equipment in the entire process. From my experience, a mold is not just a simple container. It is a highly complex and precise piece of engineering. The quality of the mold directly controls the quality of every part it produces.

Molds are usually made from high-strength steel or aluminum. They are built using extremely precise methods. This is often achieved using high-precision processes. These include Китай CNC обработки услуг to create the intricate core and cavity. Building a durable, accurate tool is a major investment. That is why expert изготовление пресс-форм для литья под давлением is a critical investment for any high-volume production project. A well-made mold can produce millions of identical parts.
Phase 3: Choosing the Right Plastic
The final step before production is selecting the right material. There are thousands of different plastics available. Each has its own unique properties. The choice depends entirely on the part’s intended use.
Will the part need to be very strong? Should it be flexible? Does it need to resist high temperatures or chemicals? Answering these questions helps narrow down the choices. Here are a few common plastics and their uses:
* ABS (Acrylonitrile Butadiene Styrene): Strong and rigid. Used for LEGO bricks, keyboard caps, and electronics housings.
* Polycarbonate (PC): Very strong and impact-resistant. Used for eyeglass lenses, safety goggles, and phone cases.
* Polypropylene (PP): Flexible and resistant to chemicals. Used for food containers, car bumpers, and living hinges.
Why It Matters: Key Advantages of Injection Molding
Plastic injection molding is a leading manufacturing method for good reason. It offers several key advantages over other processes. These include 3D printing or CNC machining, especially for large projects.
- Speed and Efficiency: Once the mold is ready, production is extremely fast. Cycle times are low. This allows for thousands of parts to be made in a single day.
- Cost-Effectiveness at Scale: The initial cost to make a mold can be high. However, for large production runs, the cost per part becomes very low. It is most cost-effective for production volumes of 10,000 units or more. This makes it ideal for mass production.
- High Repeatability and Consistency: The process produces parts that are virtually identical. This high level of repeatability ensures consistent quality across an entire production run.
- Material and Color Flexibility: A huge range of thermoplastic materials can be used. Colorants can also be easily mixed with the plastic pellets. This produces parts in any color imaginable.
- Complex Geometry: Injection molding allows for the creation of very complex and detailed parts. Features like ribs, bosses, and intricate textures can be molded directly into the part.
Your Partner in Precision Manufacturing
We have journeyed from a simple question to a deep look at a powerful manufacturing process. From melting pellets to a precise, four-step cycle, you now have a solid understanding of how plastic injection molding works. This knowledge is the first step toward using its incredible power for your own projects.
The process may be complex. But the results speak for themselves: high-quality, consistent, and affordable parts at scale. Whether you’re ready to start a project or just have more questions, our team at Mekalite has the expertise to guide you. We are dedicated to turning your designs into high-quality, precision-molded parts.
Frequently Asked Questions (FAQ)
1. What’s the main difference between injection molding and 3D printing?
The main difference is the approach. Injection molding is a “formative” process. It shapes material in a mold. It is perfect for making thousands or millions of identical parts cheaply. 3D printing is an “additive” process. It builds a part layer by layer. It is better for one-off custom parts, prototypes, and complex shapes in low numbers.
2. How much does an injection mold cost?
Mold costs vary widely. A simple aluminum mold for prototyping might cost a few thousand dollars. A complex, multi-cavity hardened steel mold for mass production can cost over $100,000. The final price depends on the part’s size, complexity, material, and how many parts it needs to make.
3. What are thermoplastics and thermosets?
Thermoplastics are plastics like ABS or Polypropylene. They can be melted, cooled to become solid, and then re-melted without major damage. This makes them recyclable and ideal for injection molding. Thermosets, however, have a chemical change when heated. Once they are cured and solid, they cannot be re-melted.
4. What are common defects in plastic injection molding?
Common defects include flash. This is extra plastic that seeps out of the mold. Others are sink marks (small dips on the surface), short shots (an incomplete part), and weld lines (a faint line where two plastic flows meet). These issues are usually fixed by changing machine settings or improving the mold design.
5. How long does an injection mold last?
A mold’s lifespan depends on its material. A soft aluminum mold is good for prototypes. It may last for 5,000 to 10,000 parts. A hardened steel mold, as described in The outline of injection molding, is built for mass production. It can last for over a million cycles with good care.

