Crafting an injection mold is a meticulous process of engineering. It is the transformation of a computer design into a tangible steel or aluminum tool. This tool is further utilized to produce identical thousands or even millions of plastic parts.

Through this how-to guide, you can learn to make an injection mold alone. It is different from the plastic injection molding process. The latter process uses the finished mold for creating the parts.
The complete mold preparation process mandatorily contains primary stages. These steps are the basics that every beginner who wants to make plastic products should know.
- Part Design & DFM Analysis
- Detailed Mold Design
- Mold Material Selection
- Machining the Components
- Mold Assembly and Fitting
- Mold Trial and Testing
- Final Adjustments and Production
Before You Start: 4 Key Things to Think About
Before you start, you will have to make some crucial decisions. The project you choose depends on these factors. The choice prompts you to think about these things early thus saving time and money. Making these decisions correctly is an essential part of learning how to do an injection mold well.
-
Part Shape and Features
The shape of your part affects the design of the mold. Special features such as deep ribs, threads, or undercuts add complexity. Undercuts are areas that close the part from getting out. Complicated parts require complicated molds. Thus, they will cost you more. -
How Many Parts You Need
How many parts do you want to make? An aluminum test mold for a couple of thousand parts will work. A hard steel high-volume tool that can create over one million pieces. Your production goals determine the mold material and its cost.- Aluminum Molds: 5,000-10,000 shots
- P20 Steel Molds: 50,000-400,000 shots
- H13 Hard Steel Molds: 1,000,000+ shots
-
Plastic Type Choice
Your chosen plastic type will have an impact on the mold design. Different materials such as ABS, PC, or PP which are of course different in terms of shrink in dissimilar ways when they cool down. Thus, adding this parameter to the mold is crucial to achieve the same final parts. -
Budget and Time
Injection molds are highly expensive. The base prices range from a few thousand dollars for a simple test tool to well over $100,000 for a very high-volume complex mold. From the start, it’s reasonable to keep in mind a sensible budget and timeline.
The 7-Step Process of How to Make an Injection Mold
Manufacturing a fully working injection mold requires following the step-by-step process. Each step adds to the last one. You progress from a computer file to a finished tool ready for parts production.
Step 1: Finish Part Design & DFM Analysis

The first step is not about cutting metal. It is perfecting the part design for manufacturing. This is called Design for Manufacturability (DFM). DFM analysis identifies and corrects issues before the mold is actually manufactured.
A DFM analysis examines the following primary principles:
- Draft Angles: These are small slopes on the part’s straight walls. They help the part come out cleanly from the mold.
- Same Wall Thickness: Consistency in wall thickness is imperative to preventing problems such as sink marks and warping. Following the guidelines for uniform wall thickness is necessary.
- Rounded Corners: Reducing sharp edges to a round shape relieves part stress. It also results in better flow of the melted plastic into the mold.
- Undercuts and Side-Actions: These traits require the introduction of moving parts in the mold. They are popularly called sliders or lifters, which make the mold more complex and expensive.
Step 2: Detailed Mold Design (Tooling Design)
Following the finalization of the part design, the engineers create a highly detailed 3D plan of the mold itself. This is done with special software. The design contains a bill of all parts required for building a functional tool.
Among the main components of a mold are:
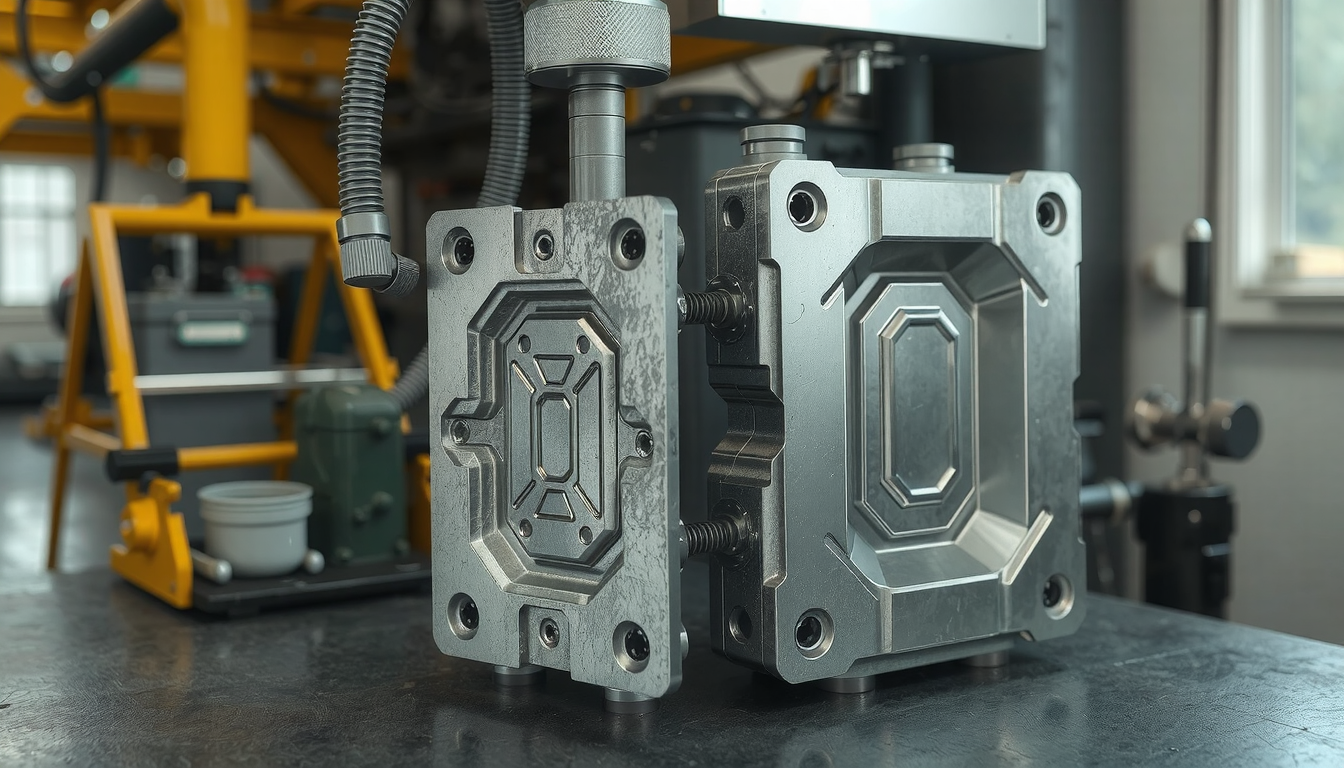
- Core & Cavity: These are the two primary sections comprising the mold, which gives shape to the plastic part when the air is let out.
- Parting Line: The intersection line where the core and cavity come together upon mold closure.
- Runner System & Gates: Conduits to transport melted plastic from the nozzle of the machine to the cavity.
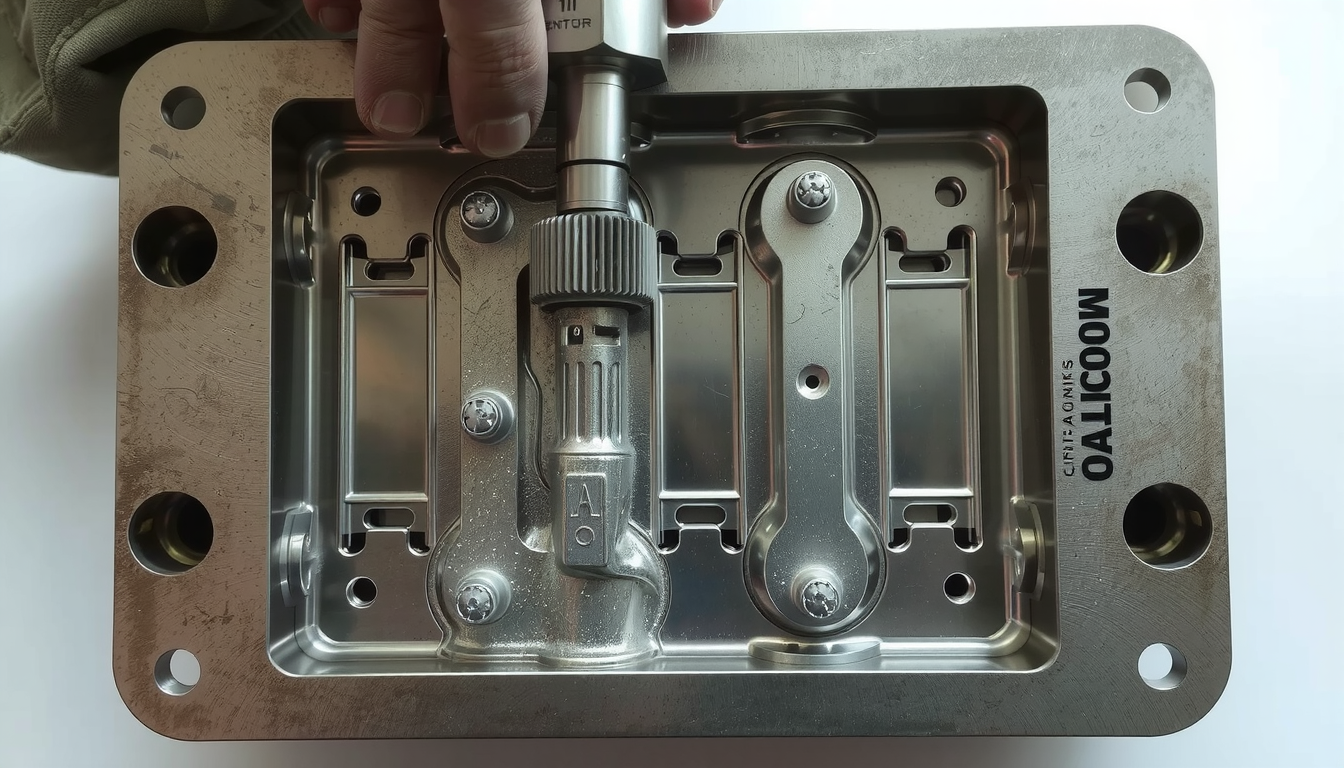
- Ejector System: A configuration of pins pushing the fully cooled piece out from the mold.
- Cooling Channels: Interconnected ducting for water or oil flow inside the mold in cooling pattern. This takes care of mold temperature and shrinkage.
These particulars are included in the formative mold design considerations. They are responsible for the perfect part production and short cycle time.
(Image Description: Simple 2D cross-section diagram with an injection mold closed. Labels direct to “Cavity” (the top half), “Core” (the bottom half), “Runner” (a channel leading to the part), “Gate” (the entry point into the part shape), and an “Ejector Pin” shown inside the core, pointing up towards the part.)
Step 3: Mold Material Selection (Steel vs. Aluminum)
The choice of the material to construct the mold revolves around production output, budgeting, and plastic kind. The default metal is steel. Aluminum, on the other hand, is mainly used for prototyping purposes.
| Material | Typical Lifespan (Shots) | Cost | Best For |
|---|---|---|---|
| Aluminum 7075 | 5,000 – 10,000 | Low | Test parts, very low volume |
| P20 Steel | 50,000 – 400,000 | Medium | Medium volume production |
| H13/S7 Steel | 1,000,000+ | High | High volume production, tough plastics |
Step 4: Machining the Mold Parts

Here it is actual creation is initiated. The computer mold design piloted the powerful machines which cut and shape the metal blocks.
- CNC Machining: This is the primary method used in this process. A computer-operated machine carves the core and cavity from blocks of steel or aluminum. This operation is carried out with a high degree of accuracy. High-precision China CNC machining services are instrumental for this step.
- Electrical Discharge Machining (EDM): EDM is employed for features hard to create by a CNC mill. These include sharp inside corners, deep and narrow ribs, or very fine details.
- Grinding & Polishing: After machining, the mold surfaces are finished by hand grinding and polishing. This is the final step that creates the required surface finish on the mold. This, in turn, directly influences the finish of your plastic parts.
Step 5: Mold Assembly & Fitting
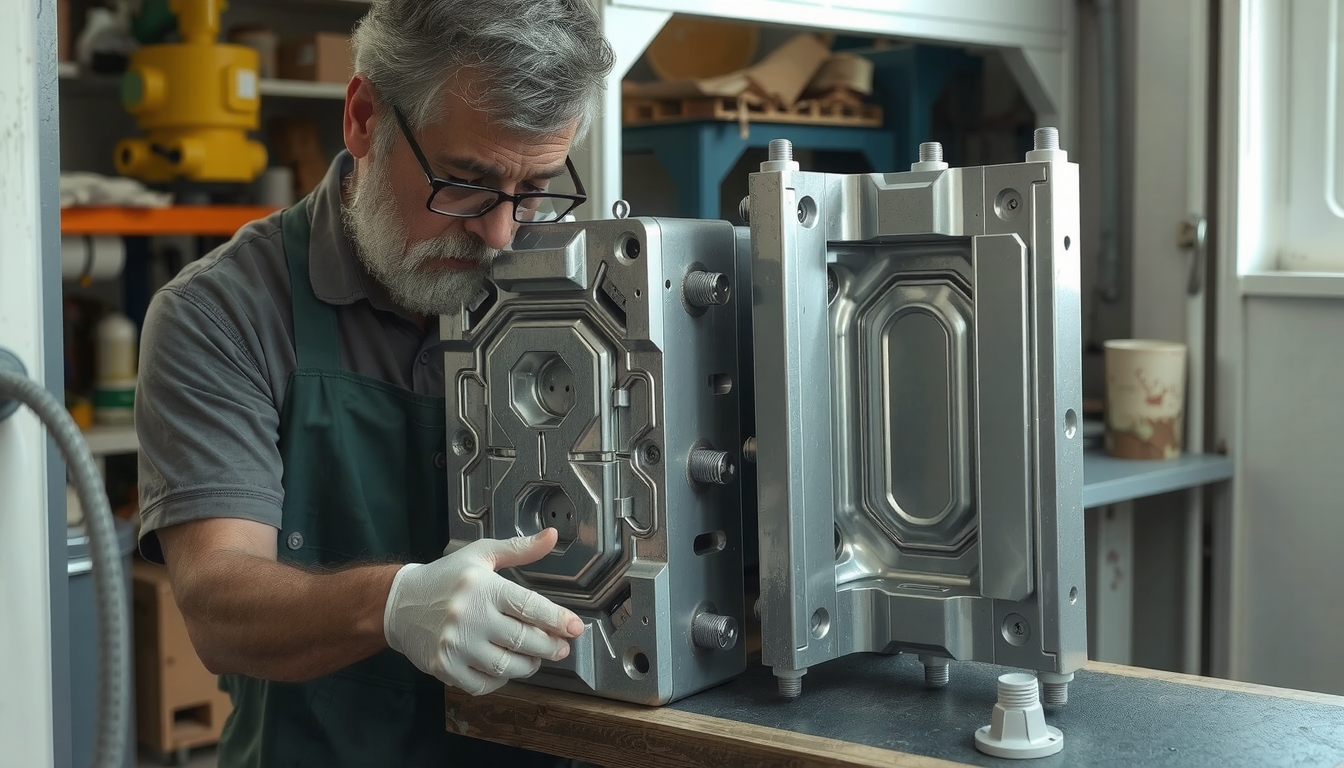
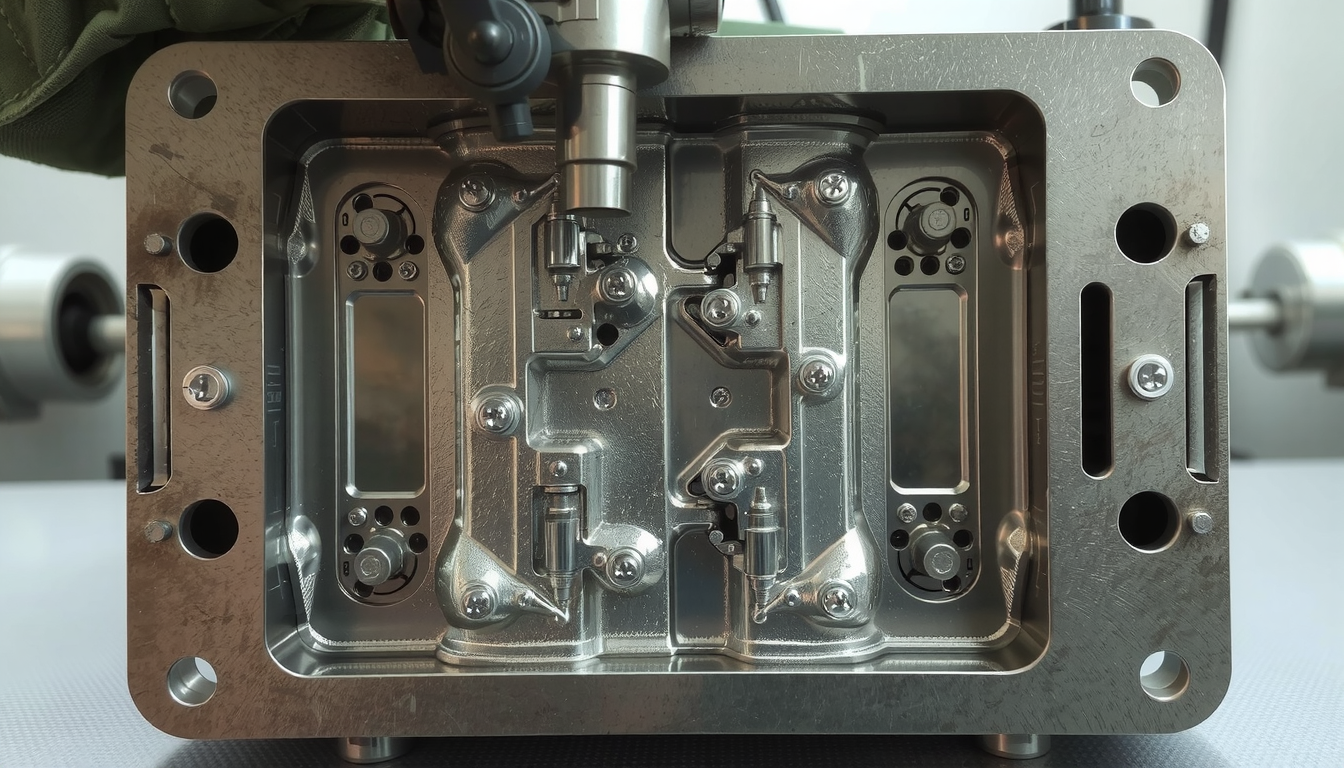
Now all the ready parts of the mold are there. Qualified toolmakers set up the core, cavity, ejector pins, sliders, and other parts into a single unit known as a mold base with a lot of scrupulosity.
This task requires very high precision. The toolmakers have to review every fit and moment. They also make sure that both sides of the mold are properly aligned. A mistake at this stage can lead to defects in the final parts.
Step 6: Mold Trial & Testing (T1)
The T1 trial is a moment of truth. The new mold goes to the injection unit for the very first tryout. The machine is set to inject plastic for the very first parts. These are classified as “T1 samples.”
It’s wise to say, from the experience gained, that this is a key stage in spotting various troubles. We thoroughly check the T1 samples for any possible deviations. We examine:
- Part Size: Do the parts fit in perfectly?
- Part Look: Inspecting for issues like flash (extra plastic), sink marks (small dents), or short shots (incomplete parts).
- Mold Function: Well, does the mold open and shut gently? Do the ejector pins push the part out without a hitch?
Step 7: Final Changes and Production
Frequently, the T1 trial discloses some minor issues that need adjustment. Associated with the sample parts, toolmakers might be obliged to perform delicate alterations to the steel. Customization or “spotting” of the mold is the expression used for this process.
As soon as the required changes are made, another trial is performed. Once the sample parts fulfill all the quality and size requirements, the tool is accepted. If the part requires a certain texture, it is now applied. Then, the mold is ready for mass production.
Professional vs. DIY Mold Making: A Reality Check

The current trend is towards DIY methods such as 3D printing molds. However, it is crucial to understand that there is a substantial difference between these and professional molds.
DIY Molds (e.g., 3D Printed)
- Pros: Generally very low cost and quite fast to manufacture. Suitable for running a design through its paces with a few parts.
- Cons: The lifespan is usually very short, often running only 10-100 shots. They are not compatible with many plastics and have poor accuracy besides. They are not good for actual production.
Professional Molds (Steel/Aluminum)
- Pros: Capable of mass production. They offer accuracy and can work with readily available materials. The overall quality of the product is superb.
- Cons: They are expensive upfront and malignant when it comes to lead times, because they usually require weeks or months.
Our suggestion to you is to turn to DIY methods only for really basic, preliminary test parts. A professional mold is a must for all parts that are supposed to be sold or used in the end products.
Choosing the Right Partner for Injection Mold Making
The outcome of your project is highly dependent on your manufacturing partner. An excellent mold maker is more than a supplier; they are a trusted guide.
Here are things that outline a mold maker:
- In-house DFM Skills: A partner in need will examine your part design and recommend amendments to your mold-making process.
- Proven Experience: Ask for examples of comparable parts they have manufactured. This indicates that they have the necessary skill set for your project.
- Quality Control & Measuring: Are they in possession of the right equipment to measure-check and ascertain whether the mold is made and parts too are to specification?
- Clear Communication: Your partner should keep you updated on the project and be of easy access. They should act like a part of your team.
The mold’s proper construction is the key to smooth and high repeatability injection molding processes. A full-service provider like Mekalite will navigate you through the entire route. They provide support from design improvement to final production. Their proficiency in injection mold making ensures that the tool is made right on the first try.
Conclusion: Your Plan for a Successful Mold
The process is intricate and requires a solid relationship between the product designer and the mold maker. The creation of an injection mold is firm, where the part design comes to the fore with improvement for manufacturing.
With the knowledge of seven steps and with finding a skilled partner, you can get through the process with confidence. This will lead you to a well-designed mold capable of producing ideal parts during a long span.
Frequently Asked Questions (FAQ) about Making Injection Molds
How much does it cost to make an injection mold?
The price varies broadly. A simple, one-cavity aluminum tool could cost between $3,000 – $5,000. A hard steel tool for a large part with multi cavities could definitely be over $100,000. The final price will depend on part size, part complexity, material, and expected lifespan.
How long does it take to make an injection mold?
The timeline also differs. A simple test mold can take 2-4 weeks to build. A standard production mold will generally need 6-12 weeks from the final design approval to T1 trial. Very complicated molds might require a longer period.
What’s the difference between a single-cavity and multi-cavity mold?
A single-cavity mold produces one part for every cycle of the machine. A multi-cavity mold has two or more identical cavities. Thus, it manufactures more parts during each cycle. Multi-cavity molds cost more to set up but they significantly reduce the per-part price in high-volume manufacturing.
Can I 3D print an injection mold?
Definitely, you can 3D print a special mold using high-temperature resins. Nevertheless, these are limited to very low-volume testing with usually fewer than 100 parts. They cannot survive the injection of molten plastic at high pressures and temperatures. They are not an alternative for metal molds either.
What is the most common material for a high-quality injection mold?
In the case of hard types (hundreds of thousands to millions), H13 and S7 tool steels are standard. These materials provide excellent wear resistance and will last a long time. For medium-volume jobs, pre-hardened P20 steel is a great choice and practical cost-wise.

