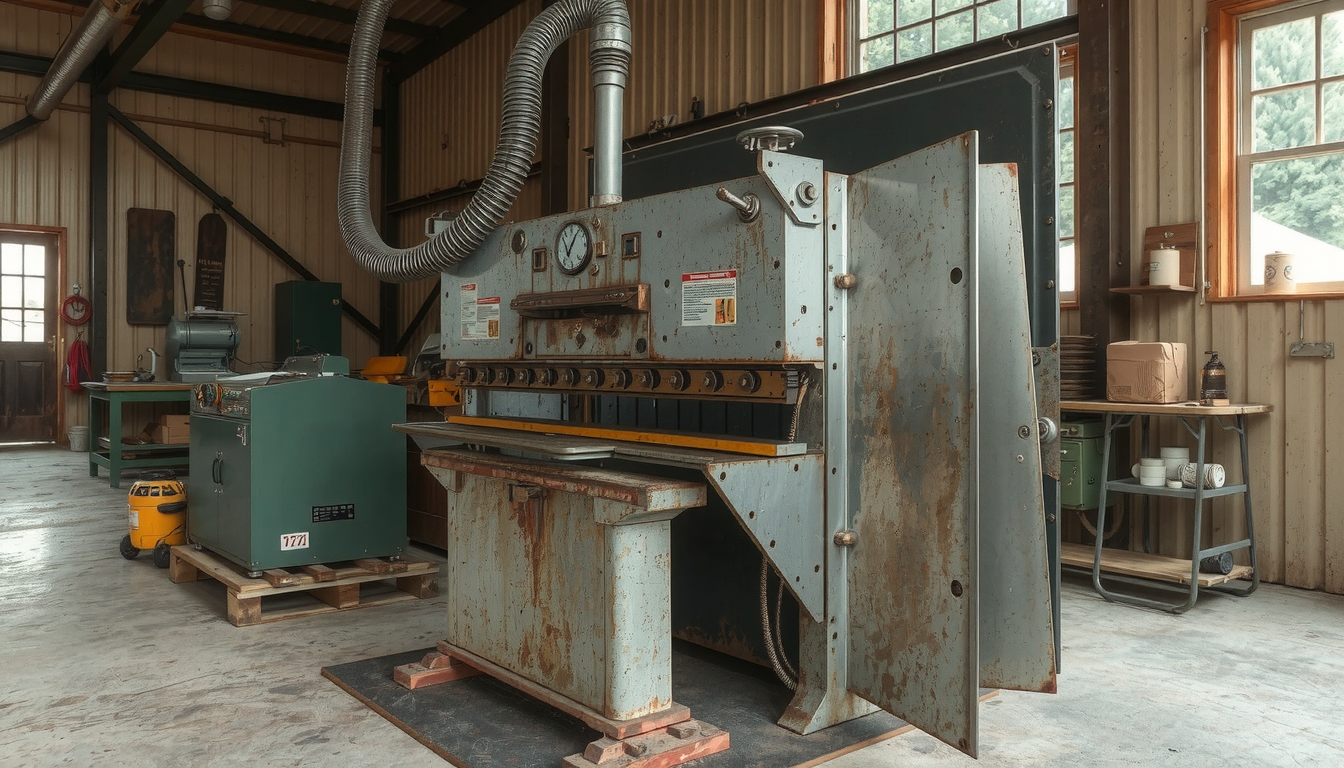
A sheet metal brake bought at a store is a marvelous piece of equipment. But it comes with a heavy price tag most of the time. For the home shop or the little garage, making your tools is a great way to save money. Besides, it is a good, creative job. This tutorial covers all the details including the step-by-step procedure on how to make a sheet metal brake.

We will start with the basic principle of operation of a brake and you will learn the different build types. Among this, we include welded and no-weld options. As the guide is about metal materials and mechanisms, it also gives you detailed material lists and a full stepwise layout to follow.
This article is suitable for crafters of all skill levels from novice to expert. You may know how to use the machines and tools in your workshop but maybe you are not interested in the assembly. With this, you can build a tool that makes clean, sharp bends in sheet metal. At Mekalite, we delve into the specifics of metal work. We are aware of great projects in your steel shop and at the same time, we deal with big factory orders.
Knowing Core Principles
First things first – before you proceed to cut steel learn how a sheet metal brake works. Knowing the design’s “why” helps you create a more advanced tool. This knowledge also comes in handy in troubleshooting. The key parts of a simple brake are three.
- The Bed: This is the durable and flat base on which the tool is built. The sheet metal lays on the bed.
- The Clamp (or Top Bar): This simple device holds the sheet metal squeezed against the bed. It is the one to provide the bending edge that the metal will hit against.
- The Leaf (or Apron): This is the part of the brake the moves. It is the one that turns up to wrap the metal around the edge of the clamp.
The brake’s operation is based on basic physics. The clamp prevents the metal from sliding by keeping it tight. The handles on the leaf create leverage. This leverage is the reason why you can easily bend the metal with not much effort.
These are the thoughts you should have before starting the project. What will the dimensions of your brake be? A wider brake will be able to bend larger sheets. On the other hand, it must be stronger to avoid bending in the middle. What about the material thickness? Bending good metals often needs a stronger device than bending aluminum which is easy. Having more stiffness would be the best effective way to achieve the clean bends possible. The flexing of the clamp or the leaf part will result in the bends being not straight but curved.
Making Your Choice of DIY Brake Design
Choosing a way in which you are going to connect the components is your first choice. The two available paths are to make a welded brake or a no-weld brake. The decision is yours based on your equipment, your abilities, and your intentions for the brake.
A welded brake is sturdier and it has more rigidity. On the other hand, a no-weld brake is assembler-friendly for the novice. Below is a table that can help you understand the two different kinds of designs for building your own sheet metal bender.
| Feature | Welded Design | No-Weld Design |
|---|---|---|
| Rigidity & Strength | Superior; can handle thicker gauge metal. | Good, but limited by bolt strength. |
| Build Complexity | Higher; requires welding and metal prep skills. | Lower; assembly with bolts and nuts. |
| Required Tools | Welder, angle grinder, drill press. | Drill press/hand drill, wrenches, hacksaw. |
| Estimated Cost | Moderate (steel + consumables). | Lower to Moderate (steel + hardware). |
| Best For | Heavier duty tasks, frequent use. | Lighter gauge metal, occasional use, beginners. |

The approach without welding is so popular as it is simple. It is constructed with the help of bolts and nuts that join everything. You can find wonderful illustrations, such as a popular no-weld design on Instructables, to take a look to figure out the way. It’s a good option if you don’t have a welder.
For smaller, more precise tasks, you might consider a mini brake. They are truly useful for building models or boxes for electricity. You can see how a smaller tool comes together by looking at this detailed DIY mini metal brake project. It shows that even though the design is minor and simple the result is still perfect.
Collecting Tools and Materials
The building process will go well and quickly if you make sure that all tools and materials are available before you start working on it. This checklist outlines all supplies you may need to construct your own sheet metal brake.
Essential Materials (The Steel)
- Angle Iron: This is the major component for the brake’s casing. One good option for you to go with is a 2″ x 2″ x 1/4″ thick one. It will make the bed, clamp, and leaf. The L-shape offers natural strength.
- Flat Bar Stock: It is used to reinforce the edge of the clamp and leaf against the flexing.
- Heavy-Duty Hinges: You will need two or three strong hinges. You can use weld-on hinges for a welded build or bolt-on hinges for a no-weld version.
- Steel Rod or Tube: This is going to be used for the making of leaf handles. The handles afford the leverage to bend the metal.
Hardware
- High-Tensile Bolts, Nuts, and Washers: Grade 8 or metric 10.9 bolts are best. Common sizes like M8 (5/16″) or M10 (3/8″) work well for the clamping system and for no-weld assembly.
Required Tools
- All Builds:
- Safety Glasses and Gloves
- Measuring Tape and Metal Scribe
- Center Punch and Hammer
- Drill Press (highly recommended for straight holes) or a powerful Hand Drill
- Metal-Cutting Saw (abrasive chop saw, band saw, or angle grinder with a cut-off disc)
- For Welded Version:
- Welder (MIG, Stick, or TIG)
- Welding Helmet and Jacket
- Clamps for holding parts
- Angle Grinder with a flap disc for cleaning welds
- For No-Weld Version:
- Wrench Set or Socket Set
- Hacksaw (if you don’t have a power saw)
How to Build a Sheet Metal Brake: The Step-by-Step Guide

Herein are the steps for building a brake for sheet metal. We will be noting at some points where the procedure is different for the welded and the no-weld designs. Each is a step-and-repeat process with the addition of learning and practicing at each step to yield a better final tool.
Step 1: Cutting the Main Components
First, cut the angle iron to the desired length. You will require three identical pieces. One for the bed, one for the clamp, and one for the leaf. A 24-inch or 36-inch width is a good size for most workshops. Measure carefully and cut the pieces as straight as possible. A square cut ensures everything will line up correctly later.
Step 2: Preparing the Bending Edge
This is the most important step for getting sharp bends. Take the angle iron piece for the clamp. You need to grind one of its outside edges to a sharper angle. Aim for about a 45-degree angle. This sharp edge is what the sheet metal will form against.
A properly prepared edge will feel sharp but not like a knife. Running your finger carefully across it, you should feel a distinct corner. A dull, rounded edge will only create a large, soft curve in your metal. Take your time with the grinder to get a straight and consistent edge along the entire length.
Step 3: Assembling the Hinge Mechanism
The hinge connects the bed and the leaf. The alignment here must be perfect. The top surface of the bed and the top surface of the leaf must be perfectly flat and level with each other.
- For Welded: Place the bed and leaf pieces side-by-side on a flat surface. After that, you need to set your weld-on hinges. Be careful to make a small space between the bed and leaf – it should be the thickness of a piece of paper, so they don’t bind. Tack weld the hinges in place. Ensure that the leaf is moving freely. If it is, then you can complete the welds. This welded brake project from Instructables provides a good visual for how the hinges should be placed.
- For No-Weld: Mark the hole locations for your bolt-on hinges. Use a center punch to establish each spot before drilling. Drill the holes through the angle iron. Bolt the hinges securely. Make sure that no wobble or play exists.
Step 4: Creating the Clamping System
The clamp needs to press down on the bed with great force. Drill matching holes through the top clamping bar and the bed. These holes should be near each end of the brake. For a welded brake, you can weld nuts to the underside of the bed. This makes it easier to tighten the clamping bolts from the top. For a no-weld brake, you will just pass bolts through and tighten them with nuts on the bottom.

Step 5: Attaching Handles and Reinforcements
To get enough leverage, you need handles. Weld or bolt pieces of steel tube or rod to the front of the leaf. They should be long enough to give you a comfortable grip and good mechanical advantage.
Next, you should prevent the flexing of the brake. Weld or bolt a piece of flat bar stock vertically along the back of the clamp bar. Do the same for the leaf. This acts like the spine of a book, adding major stiffness. It’s also possible to add a truss-like reinforcement with smaller pieces of angle iron that would increase the brake’s capacity. The modification can be done from bending 18 gauge steel to handling 16 gauge steel.
Step 6: Finishing and Mounting
Your brake is almost done. Clean off any sharp edges or weld spatter with a grinder or file. A coat of paint will prevent rust and give your new tool a professional look. Finish off by mounting the new brake securely to a heavy workbench. Properly-fastened platform is necessary for both safety and performance.
Calibration, Testing, and Pro Tips
Building the brake is just the first half. Now you need to fine-tune it and learn how to use it. These tips come from experience and will help you avoid common mistakes.
- Calibration: The gap between the sharp edge of the clamp and the leaf is important. Adjust it based on the thickness of the metal you are bending. A good starting point is to set the gap to be slightly more than the material thickness.
- First Test: Always do your first bend on a piece of scrap metal. Use a thin piece of aluminum or steel. Clamp it down and make a bend. Check if the bend is straight and even across its length.
- Troubleshooting Common Issues:
- Problem: The bend is rounded, not sharp. Solution: Your clamping edge probably needs to be sharper. Or, the material might be slipping. Make sure your clamps are very tight.
- Problem: The bend is bowed or curved in the middle. Solution: The clamp or leaf is flexing under pressure. You need to add more reinforcement, as described in Step 5.
- Problem: The material slips out from under the clamp during a bend. Solution: Tighten the clamping bolts more. If it still slips, you can add a strip of grip tape to the bottom of the clamp bar for extra hold.
When Your Project Demands More
A DIY sheet metal brake is a fantastic tool for a huge range of projects. However, it’s also important to know its limits. Some jobs require a level of power and precision that only professional equipment can provide.
In the below-mentioned respects, professional services are the better choice:
* You need to bend very thick or high-strength materials like heavy gauge steel or stainless steel.
* Your project requires many identical parts with highly repeatable, precise bends.
* You need to make complex shapes, like boxes, that require a box-and-pan brake.
* Your project also involves other processes, like precision cutting or welding.
For projects demanding absolute precision or complex shapes, professional sheet metal fabrication services utilize advanced press brakes that a DIY tool can’t match. In some instances, a project might even need custom parts. In these situations, precision CNC lathe services are vital to the production of ideal fittings or fixtures. At times, you are better off using a pro, which can save you time and material on critical projects.
FAQ: How to Build a Sheet Metal Brake
1. What is the maximum thickness of steel I can bend with a DIY brake?
It depends on the design of your brake, its width, and strength. A well-made and reinforced 24-inch brake can reach up to 16 gauges (about 1.5 mm) of mild steel. A simple no-weld version is often suitable for 20 gauges (about 0.9mm) or thinner steel.
2. How much does it cost to build a sheet metal brake?
The cost can range from $50 to $150. The main factors are the local price of new steel and the cost of hardware. If you can use scrap metal from other projects, you can significantly reduce the cost.
3. Can I build this without a drill press?
A drill press is highly recommended for straight, accurate holes. However, you can use a powerful hand drill. It is critical to use a center punch to create a starting point for the drill bit so it doesn’t wander. Clamp your workpiece securely, use cutting fluid, and drill slowly for the best results.
4. How do I get a sharp 90-degree bend?
The key is a sharp clamping edge on your top bar. You must also ensure the material is clamped securely so it cannot slip. You may need to bend the material slightly past 90 degrees. Most metals have some “spring back” and will relax a few degrees after bending.
5. What are the most important safety precautions?
Always wear safety glasses when cutting, grinding, or drilling metal. Wear thick gloves when handling freshly cut steel to protect your hands from sharp edges. Ensure the brake is securely bolted to a stable workbench before use. Be mindful of pinch points, especially around the hinges and clamping area.

