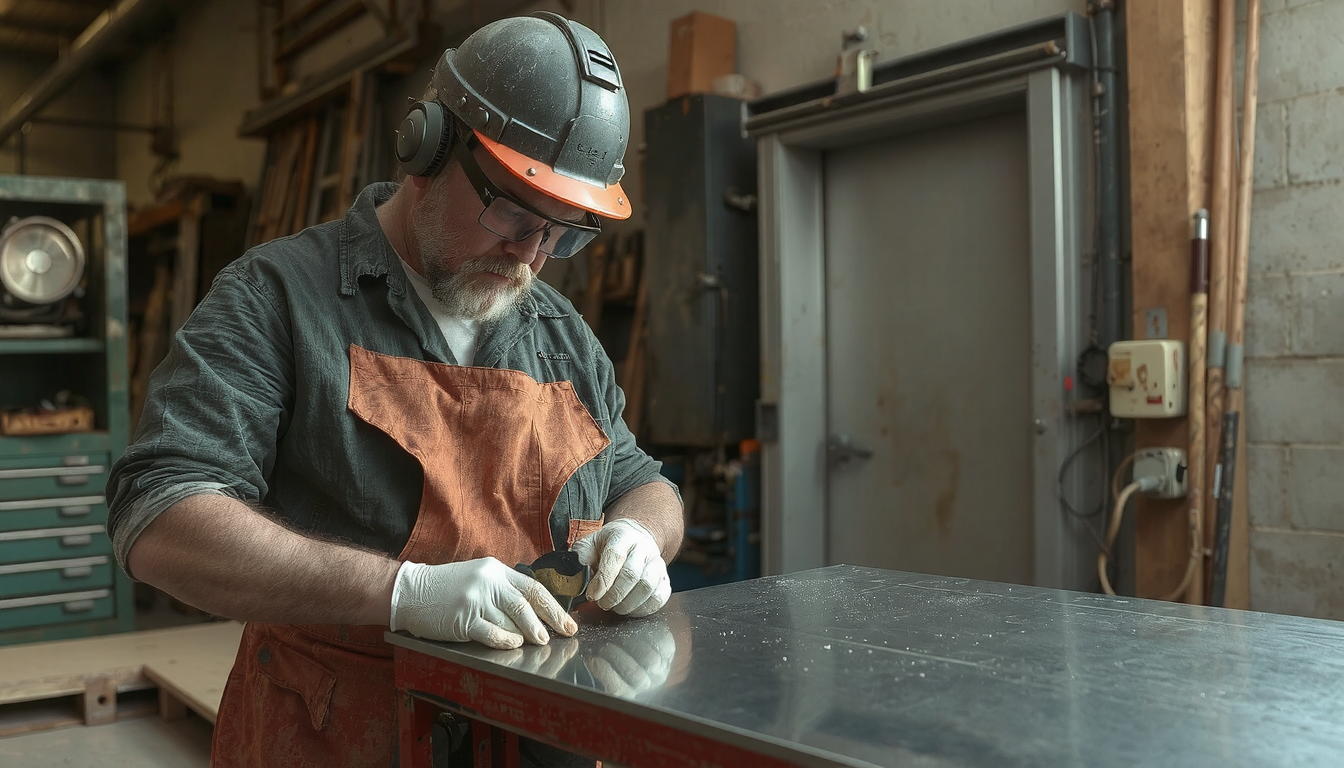
Sheet metal projects are fun and rewarding, but a jagged edge can ruin a great project. The purpose of this guide is to teach you how to trim sheet metal for a clean and precise finish.

Trimming is different from making a rough cut. It is a finishing step. It is about taking an already cut piece and making the edge perfect. In manufacturing, there are many Different Kinds of Trimming Operations used to achieve a final designated shape. We will incorporate those pro concepts into your workshop.
This guide is a complete package. We will start with safety, which always comes first. Then, we will talk about materials and how to choose the right tool. You will get step-by-step instructions for hand tools and power tools. Finally, we will show you how to make the cut look professional.
Safety is Primary: Rules for Trimming that You Should Always Follow
Before you make a single cut, you must fully recognize the potential dangers. Sheet metal is sharp. The tools used to cut the material can be dangerous. Following these safety rules is required. They will shield you from serious injury.
Personal Protective Equipment (PPE) is Mandatory
Your safety gear is your first line of defense. Never work with sheet metal without it.
- Eye Protection: It is a must that you wear safety glasses or goggles. Small metal pieces may fly off during cutting and can cause severe eye damage. This rule is first and foremost.
- Hand Protection: Freshly cut sheet metal has edges that are as sharp as a razor. Wear thick leather or cut-resistant gloves whenever you handle the material.
- Hearing Protection: Power tools like angle grinders are very loud. Use earplugs or earmuffs to protect your hearing from long-term damage.
- Breathing Protection: Grinding or sanding metals creates fine dust that is harmful to breathe. If you’re producing a lot of dust, wear a dust mask or respirator.
Secure Your Workpiece
A piece of metal that wobbles or shakes during a cut is a major safety hazard. It leads to bad cuts and may cause the tool to slip or kick back at you.
Always clamp your sheet metal securely onto a sturdy workbench or table. Use at least two clamps, one on each side of your cut line. This keeps the metal flat and steady, which gives you more control and a much cleaner trim.
Beware of Sharp Edges
The edge of a freshly trimmed piece of sheet metal is very sharp. The small strip of waste material you trim off is also dangerous.
Handle all cut pieces with care, even when wearing gloves. Never run your bare hand over a new edge to test for smoothness. Later in this guide, we will cover how to safely smooth these edges. The process is called deburring.
Getting to Know the Material: The Key to Sheet Metal
Familiarizing yourself with the material is the first step towards a successful project. The type and thickness of the metal will determine which tool you should use and will help make the trimming job easier.

What is Sheet Metal Gauge?
Gauge is the standard way to measure the thickness of sheet metal. It may be slightly confusing at first. A higher gauge number means the metal is thinner, and a lower gauge number means the metal is thicker.
For instance, 22-gauge steel has a thickness of approximately 0.03 inches. It is mostly used in ductwork. On the other hand, 16-gauge steel is thicker at 0.06 inches and is utilized in more structural parts.
Common Metal Types and Their Characteristics
You will likely work with one of these three common metals.
- Steel: This is the toughest of the common metals, so it requires more energy to cut. Galvanized steel comes with a layer of zinc on the outside to prevent rust.
- Алюминий: This metal is very light and soft. It is easy to cut, but it can sometimes clog up saw blades or files because it is so soft.
- Медь и латунь: These are also very soft metals. They are fairly easy to trim and finish, which makes them great for decorative projects.
Finding the Right Tool for the Trim: A Decision-Making Guide
There is no single “best” tool for every job. The right tool depends on your material, the type of cut, and the finish you need. Choosing correctly will save you time and prevent frustration. A poor tool choice can easily compromise your workpiece.
Learning how to trim sheet metal properly starts with selecting the right equipment. The guide below will assist you in making a proper decision. This table compares the most widely used tools for trimming sheet metal. You can match the equipment to your specific job.
Comparison Chart: The Tool to use at Your Sheet Metal Trimming Tasks
| Инструмент | Лучшее для | Metal Thickness (Gauge) | Finish Quality | Pro / Con |
|---|---|---|---|---|
| Aviation Snips | Curves & Short Straight | 20g and higher (thinner) | Clean | Pro: Very good control, inexpensive. Con: Slow, hard on hands. |
| Power Shears | Long Straight & Gentle Curves | 14g to 20g | Very Clean | Pro: Rapid, without distortion. Con: More expensive. |
| Nibbler | Any Shape, Tight Curves | 14g to 20g | Clean, with some edge marks | Pro: No distortion, any direction. Con: Creates little metal “crescents”. |
| Angle Grinder | Rough Straight Cuts, Demolition | Any thickness | Rough, needs finishing | Pro: Very quick, cuts through thick metal. Con: Very loud, messy, and dangerous sparks. |
| Jigsaw | Intricate Shapes, Curves | 16g and higher (thinner) | Good, some burrs | Pro: Flexible for various cut lines. Con: Can warp thin sheets. |
| Bench Shear | Perfectly Straight Cuts | 16g and thicker | Excellent, Clean | Pro: The best straight cut. Con: Large, stationary, expensive. |
How to Trim Sheet Metal with Hand Tools (for Precision and Control)
Hand tools are a must when starting out. They are relatively inexpensive but offer great control, helping you learn the feel of the material. For thin materials and precise work, they are often the better choice.
Using Aviation Snips for Curves and Short Straight Cuts
Aviation snips are like heavy-duty scissors for metal. They are essential for any workshop.
- Step 1: Choose the Right Snips. Snips are color-coded according to the direction of the cut. This is a simple system to learn.
- Yellow handles: Cut straight.
- Green handles: Cut straight and make curves to the right.
- Red handles: Cut straight and make curves to the left.
Having a set of all three gives you complete control for any shape.

-
Step 2: Mark Your Line. Use a fine-tip permanent marker or a scribe to draw a clear, thin line on the metal. A reliable line is essential for an accurate cut.
-
Step 3: The Cutting Technique. This is where practice makes perfect. Open the snips as wide as they will go and start your cut at the edge of the sheet.
Here is the most important pro tip: Do not close the blades all the way. Make your cut about two-thirds to three-quarters of the length of the blades, then stop. Open the jaws and move forward to start the next cut.
Completely closing the blades will create a small, ugly pinch mark or burr at the end of each stroke. Using long, smooth strokes that don’t fully close gives you a much cleaner, continuous edge. As you cut, allow the thin waste strip to curl up and away from your hands.
Using Hand Shears for Longer Straight Cuts
For longer straight cuts on thin metal, a tool like a hand seamer or a larger bench shear is ideal. The technique is similar to using snips but focused on alignment.
First, clamp the sheet metal down. Then, clamp a sturdy straightedge, like a piece of angle iron, perfectly along your cut line. This will act as a guide.
Place your shears against the guide and make your cuts in long, smooth motions. Always keep the tool pressed firmly against the straightedge. This method is a surefire way to learn how to trim sheet metal in a perfectly straight line without needing a large, expensive machine.
How to Trim Sheet Metal with Power Tools (For Speed and Thick Materials)
When you need speed or need to cut thicker metal, power tools are the answer. They save a lot of effort but require more attention to safety. Always be confident with a tool before using it on your final workpiece.
Using a Jigsaw for Intricate Shapes
A jigsaw is a surprisingly good tool for trimming sheet metal. It works especially well for complex curves and internal cutouts.
-
Blade Selection: This is the most crucial part. You must use a blade made for cutting metal. These blades have very fine teeth, measured in TPI (Teeth Per Inch). Look for a blade with 24 TPI or higher for a smooth cut on thin sheet metal.
-
Technique: Set your jigsaw to a low speed. High speeds can overheat and warp the metal. Apply steady, forward pressure, but let the blade do the work. Don’t force it.
A great tip is the “sandwich” trick. Clamp your sheet metal between two thin pieces of scrap plywood or hardboard. Mark your cut line on the top piece of wood. When you cut through the sandwich, the wood supports the metal completely, stopping vibration and reducing noise. This results in a much cleaner cut with almost no distortion or warping.

Using an Angle Grinder with a Cut-Off Wheel
An angle grinder is a powerful and versatile tool. However, for trimming sheet metal, it is often a tool of last resort.
-
When to Use It: An angle grinder with a thin metal cut-off wheel is best for fast, rough trimming or for cutting through very thick material. It is not the tool for a fine, finished edge. Think of it for demolition or quickly removing a large amount of excess material before finishing with another tool.
-
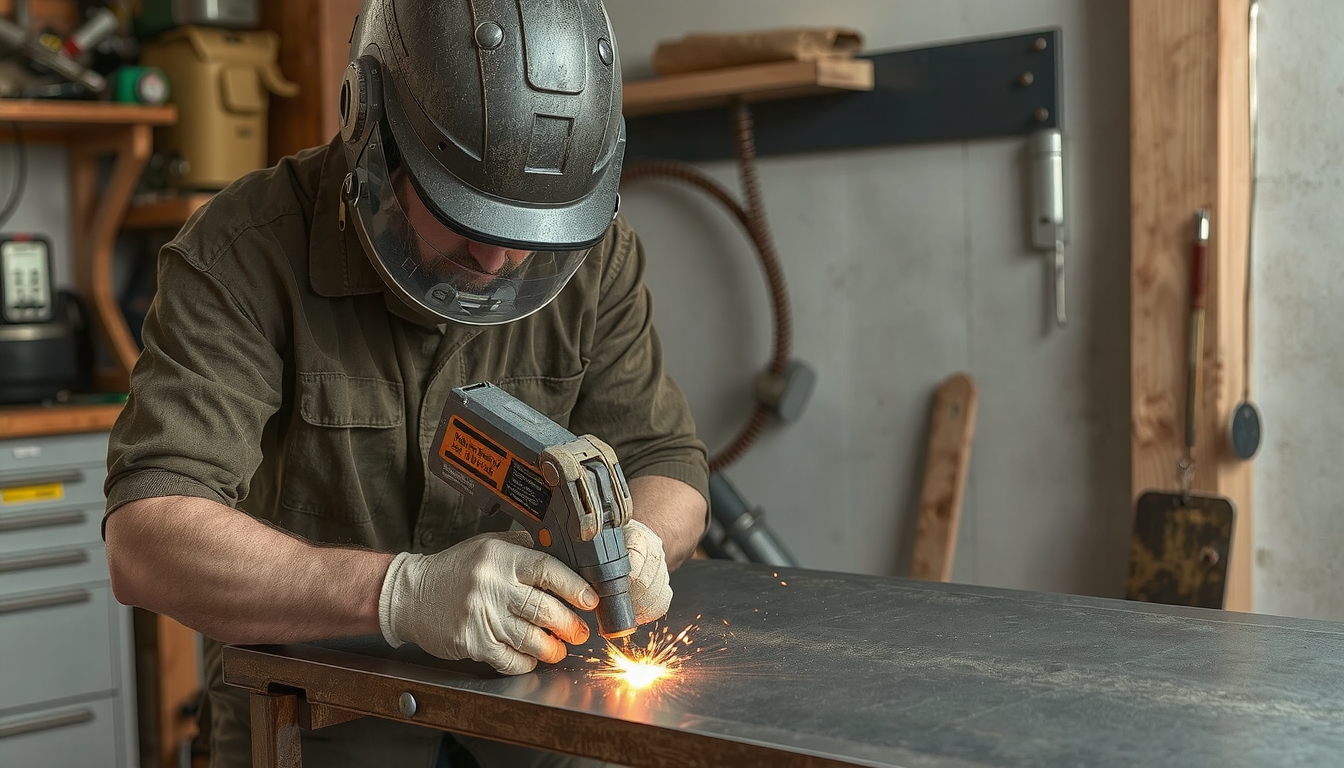
Safety: The angle grinder demands respect. It throws a shower of hot sparks, so be aware of anything flammable nearby. Always use the safety guard that comes with the tool and hold it firmly with two hands to prevent kickback. As noted in the expert advice from This Old House on metal cutting tools, an angle grinder is very useful but also carries significant risks if not handled properly.
Using a Power Nibbler or Shear for Distortion-Free Cuts
These are specialized tools that professionals love for a reason. They provide the speed of a power tool with the clean, distortion-free cut of hand snips.
A power shear works just like a powered set of scissors, making a clean slice through the metal. A nibbler works by taking out tiny “bites” or punches of metal very quickly.
Because these tools apply very little stress or heat to the material, they are the best choice for trimming large, thin panels that can easily warp. They are perfect for auto body work, metal roofing, and HVAC ductwork. If your project requires a perfectly flat panel after trimming, a nibbler or power shear is worth the investment.
Beyond the Cut: How to Deburr and Finish the Edge
You have made the perfect cut, but the job is not done yet. The final step, which separates amateur work from professional results, is finishing the edge. This process is called deburring.
Why Deburring is Essential
There are two main reasons to deburr your trimmed edge. First is safety. A freshly cut metal edge is dangerously sharp, and smoothing it makes the piece safe to handle.
Second is for fit and finish. A smooth edge looks better and will fit more accurately against other parts in an assembly. Paint and other coatings will also stick better to a smooth, properly prepared edge. This is a crucial part of how to trim sheet metal correctly.
Simple Deburring Techniques
You don’t need fancy tools to get a great finish.
-
Using a File: A simple, flat metal file is the most common tool for this job. Hold the file at a slight angle (about 45 degrees) to the edge. Push the file along the edge in long, smooth strokes.
Here’s a pro-tip that will make your files last longer and cut better: Always push the file away from your body and lift it on the return stroke. Dragging the file backward on the return dulls its teeth.

