First Bend? Start Here for a Quick Overview

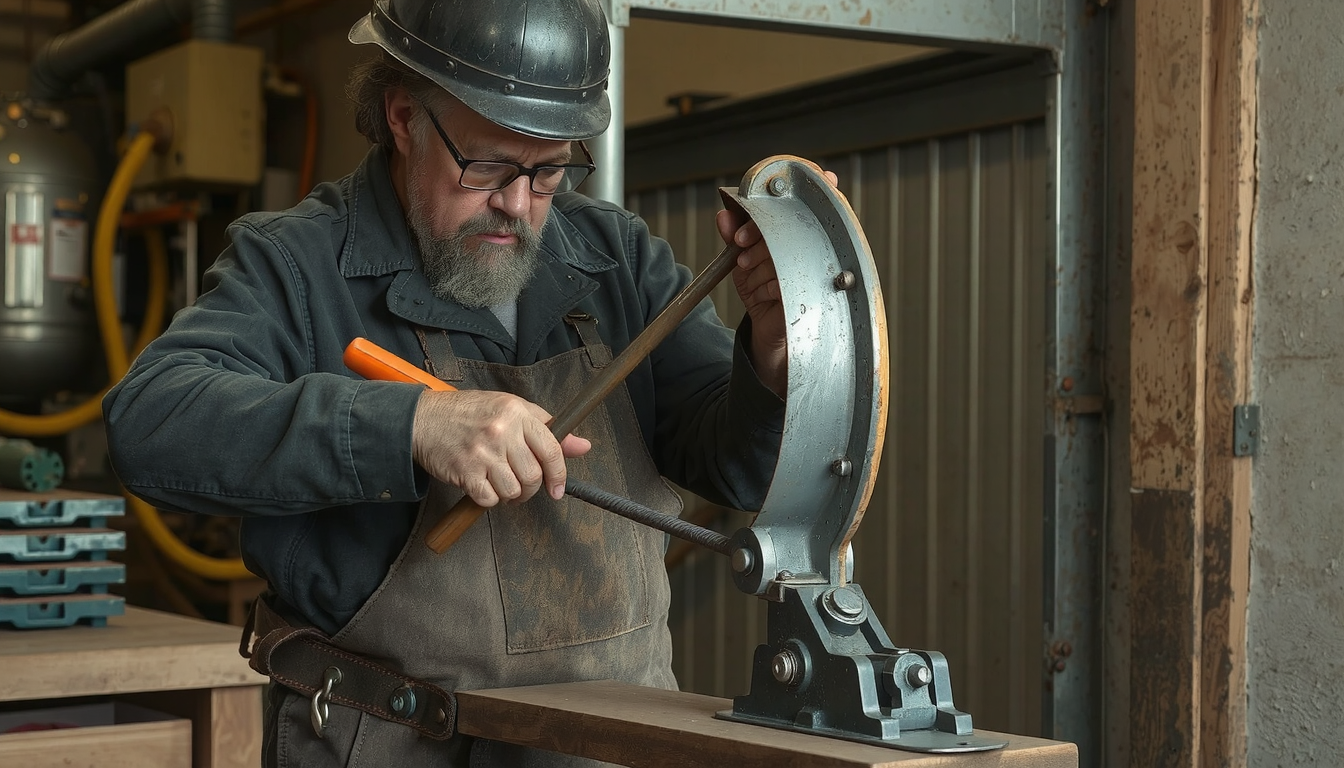
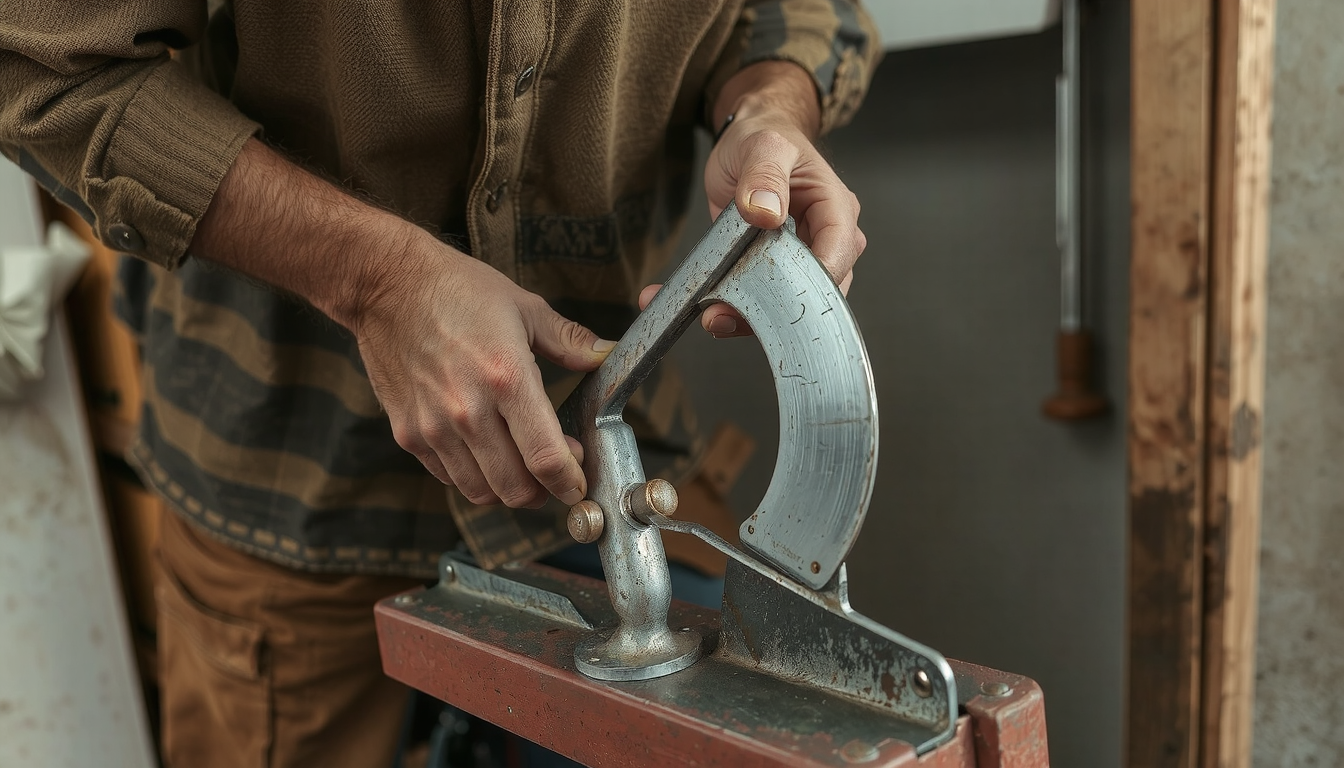
Learning how to use a sheet metal bender is a great skill. People also call this tool a brake. The process has three main parts: Setup, Positioning, and Bending. First, you get the machine ready for your metal. Next, you place your metal sheet carefully for the right bend. Finally, you make the bend.
This guide will show you each step. We will cover safety checks and share expert tips for clean results. Many types of benders exist. We will focus on the manual “box and pan” brake. This is the most common type in workshops. It’s perfect for beginners.
Safety First: Before You Touch the Bender
Working with sheet metal has risks. The edges are very sharp. The machine is powerful. But these risks are easy to manage if you follow safety rules. Nothing is more important than staying safe.
Before you start any work, go through this checklist. Learning these safety steps is the first part of learning how to use a sheet metal bender correctly.
Your Essential Safety Checklist
- Personal Protective Equipment (PPE): Always wear the right gear. This includes thick leather gloves for sharp edges. Wear safety glasses to protect your eyes from small metal pieces. Use sturdy, closed-toe boots to protect your feet.
- Machine Inspection: Check the bender before every use. Make sure it is bolted down securely. All handles and clamps should move smoothly.
- Work Area: Your workspace must be clean and clear. Remove any tools or scraps from around the machine. This keeps you from tripping.
- Hand Placement: This is the most important rule. Always know where your hands are. Keep your fingers away from the clamping bar and moving parts.
- Material Handling: Large metal sheets can be heavy. If a sheet is too big to handle alone, ask for help. Don’t risk injury.
- No Loose Items: Tie back long hair. Don’t wear loose clothing or jewelry that could get caught in the machine.
Understanding Your Sheet Metal Bender
To use a tool well, you must know its parts. A sheet metal bender might look complex. But its design is simple. Let’s look at the key parts and common types.
Key Components of a Manual Bender
Knowing the parts of your machine will make bending easier. Here are the main parts of a box and pan brake:

- Clamping Bar: This is the top part that holds the sheet metal down firmly. It acts like a powerful jaw.
- Bending Leaf (or Apron): This is the hinged plate at the front. It swings up and pushes the metal to create the bend.
- Fingers: On a box and pan brake, the clamping bar has many removable steel blocks. These are called fingers. You can arrange them to bend boxes and other shapes.
- Clamping Handles: These are the levers you pull to lower the clamping bar. They apply pressure to your metal.
- Bending Handles: These are the long handles on the bending leaf. You use these to lift the leaf and make the bend.
Common Types of Sheet Metal Benders
The tool you use depends on the job. A Straight Brake has one solid clamping bar. It’s great for long, simple bends. A Box and Pan Brake is more flexible. Its removable fingers let you make enclosed shapes.
For industrial work, there are more powerful machines. Hydraulic Press Brakes use fluid pressure for huge force. CNC Benders are computer-controlled for perfect parts. Learning how to use a sheet metal bender on a manual machine gives you a great foundation. The principles are similar across many different types of sheet metal benders.
The Foundation of a Good Bend: Preparation and Layout
A perfect bend starts before the metal goes in the bender. Careful planning and precise marking are the keys to success. Rushing this stage often leads to wasted material.
Choosing Your Material and Its Limits
Different metals behave in different ways. Soft aluminum is much easier to bend than strong steel. The thickness of the metal also matters. Always know your bender’s capacity. Forcing it to bend metal that is too thick can damage the machine.
Harder materials like stainless steel need a larger bend radius than softer materials like aluminum. Trying to bend them too sharply will cause cracks.
The Importance of Bend Radius and Bend Allowance
When you bend metal, you can’t create a perfectly sharp corner. The inside of the bend will always have a curve. This curve is the bend radius. Making this radius too small is a common mistake that leads to cracks.

Metal also stretches when bent. This means the final length of your bent part will be different from the flat piece. “Bend allowance” is the term for calculating this stretch. For simple projects, it may not matter much. But for precise parts, it’s very important. Following professional design tips for sheet metal bending is vital for a strong part.
Measuring and Marking Your Bend Line
The old rule “measure twice, cut once” is just as true for bending. Use good tools for marking your workpiece. A steel rule, a square, and a fine-tip marker are essential.
To mark your line, use the square to make sure your bend line is perfectly straight. A crooked line will result in a crooked bend. Take your time with this step. A clear, accurate line guides the entire process.
How to Use a Sheet Metal Bender: The 7-Step Process
With your safety checks done and your material marked, you’re ready for the main event. This guide will show you how to operate a manual bender for a clean, accurate bend every time.
-
Adjust the Bender for Material Thickness.
Before you insert your metal, set the machine’s clearances. There are adjustment bolts for the clamping bar and bending leaf. Set a gap slightly larger than your material’s thickness. You want just enough pressure to hold the sheet firmly without denting it. Test your settings on a scrap piece first. -
Position the Fingers (for Box & Pan Brakes).
If you’re using a box and pan brake to make a part with sides, arrange the fingers. Select fingers that match the length of the bend you want. Remove any fingers that would get in the way of previous bends. -
Insert and Align the Sheet Metal.
Lift the clamping bar and slide your sheet metal into the bender. Align your marked bend line perfectly with the front edge of the clamping bar. Look down from directly above to check alignment. A small error here will be very noticeable in the final part. -
Clamp the Material.
Pull the clamping handles down to lower the clamping bar onto the metal. Before you apply full pressure, check your alignment one last time. If it’s perfect, push the handles firmly to lock the sheet in place. -
Perform the Bend.
Grip the bending handles with both hands. Pull up on the handles with a smooth, steady motion. You’ll feel the resistance as the metal starts to bend. Don’t jerk the handles. Apply even force throughout the motion. Watch the angle indicator or use a protractor to check your bend angle.

-
Account for Springback.
Metal has memory. After you bend it, it will try to spring back toward its original shape. To get a true 90-degree angle, you need to bend the metal a few degrees past 90. The amount of springback depends on the metal type and thickness. This takes practice. -
Unclamp and Inspect.
Once you’ve reached your desired angle, lower the bending leaf back to its starting position. Release the clamping handles and carefully slide your bent piece out. Inspect your work. This standard procedure for making a simple bend is the foundation for almost all sheet metal work.
Troubleshooting Common Bending Mistakes
Even with careful preparation, things can go wrong. Don’t get discouraged. Understanding common problems is part of mastering how to use a sheet metal bender. Here’s a guide to fixing frequent issues.
| Problem | Likely Cause | Solution |
|---|---|---|
| Cracks on the outside of the bend | The bend radius is too small for the material or its thickness. The metal is being stretched too much. | Increase the bend radius. You can do this by adjusting the bender’s settings to move the clamping bar back slightly. For some metals, you may need to heat them first to make them softer (annealing). |
| The bend is not straight or is angled | The marked bend line was not perfectly parallel to the bender’s edge. Or, you applied uneven force with the bending handles. | Re-measure carefully. Use a square to ensure your mark is perfectly straight. When bending, use both hands and apply smooth, even pressure on both bending handles at the same time. |
| The machine is denting the material | The clamping pressure is set too high. The clamping bar is crushing the surface of the metal. | Loosen the clamping bar adjustment bolts slightly. The goal is to hold the metal securely without leaving marks. Test on a scrap piece until the pressure is just right. |
| The final angle is incorrect | You did not account for springback. The metal relaxed back after you released it. | Bend a few degrees past your target angle. The exact amount depends on your material. Make a test bend on a scrap piece to see how much it springs back, then apply that knowledge to your final part. |
Beyond a Single Bend: Next Steps and Professional Options
Once you’re comfortable making single, clean bends, new projects open up. You can learn advanced techniques like hemming. This is folding an edge completely over on itself. It removes the sharp edge and makes the part stiffer. You can also create complex parts with multiple bends. These include custom boxes, brackets, and electronics chassis.
For projects that need high precision, many repetitions, or complex shapes, professionals turn to advanced manufacturing. This is where a full-service sheet metal fabrication shop provides great value. They use computer-controlled machines to create perfect parts every time.
Complex projects often need more than just bending. If a part also needs precise round features like threaded holes, processes like CNC lathe services are used to complete the assembly.
Conclusion: Practice Makes Perfect
Mastering a sheet metal bender is a mix of three things: understanding the machine, careful preparation, and practice. Each bend you make teaches you something new about how metal behaves.
Don’t be afraid to start with scrap pieces to build your skills. Soon, you’ll be creating strong, precise, and professional-looking metal parts. At Mekalite, we are passionate about quality fabrication. We help makers like you gain the knowledge to succeed in your projects.
Frequently Asked Questions (FAQ)
What is the thickest metal you can bend with a manual sheet metal bender?
This depends on the bender’s rating, the metal’s width, and its type. Most common manual brakes are rated for 16 to 22-gauge mild steel. It’s much easier to bend a short piece of thick metal than a full-width sheet. Always check your machine’s manual for its exact capacity to avoid damage.
How do you bend a curve or radius in sheet metal?
For creating a large, gentle curve, a different tool called a slip roll is used. A sheet metal bender (or brake) is designed for making sharp, angled bends. The “radius” in this context refers to the sharpness of the corner. This is determined by the machine’s tooling and the material, not by creating a continuous curve.
Can you bend sheet metal without a bender?
Yes, for very thin metal, it’s possible. You can clamp the sheet to a sturdy workbench. Use a block of wood and a mallet to carefully hammer it over the edge. However, this method is not precise. It’s difficult to get a straight, crisp bend. It’s not repeatable like you can with a proper sheet metal brake.
What is the main difference between a straight brake and a box and pan brake?
A straight brake has a single, solid clamping bar across its full width. This makes it ideal for long, straight bends. A box and pan brake has a clamping bar made of many individual, removable blocks called “fingers.” This design lets you remove sections of the clamping bar. This makes room for previous bends, which is necessary for bending all four sides of a box or pan.
Why is my metal cracking when I try to bend it?
Cracking is almost always caused by a bend radius that is too tight (too sharp) for the material’s thickness and type. Harder, less flexible materials need a gentler, larger radius to avoid stress fractures. Try adjusting your machine for a larger radius. Or switch to a more flexible metal if possible.

