Are you wondering how to cut sheet metal? The selection of the most suitable cutting approach is determined by three key factors. These consist of the metals’ thickness and the type of cut you need, as well as the available tools you have. Basic hand tools, electric power tools, and advanced machines are the options available.

In this article, we will discuss all these choices in detail. We shall find out which option will works best for the sake of your project. We aspire to equip you with the skills to achieve sharp, clean, and exact cutting every single time. Mastering the right way to cut sheet metal will result in time and material savings.
Safety Comes First: Key Safety Measures and Preparations
The preliminary discussion should focus on safety and setup before any attempts at making cuts. These steps are compulsory. They both save you from injury and make you more productive. A little time taken to plan ahead creates a big difference.
Safety Comes First
Metalworking commands your complete focus. Safety comes first, always.
- Personal Protective Equipment (PPE): The thick leather gloves are nonnegotiable. The cloth gloves are of no use to you near sharp edges. Safety glasses are essential too. A full-face shield is even better. For power tools, use hearing protection.
- Secure Your Work Space: A strong and stable workbench is all you need. Make sure that your workspace is adequately ventilated. This is especially important when using power tools that emit fumes or dust. And do make sure you keep flammable materials far away.
- Handling Sharp Edges: Freshly cut sheet metal can be razor-sharp. So be sure to handle it cautiously even when wearing gloves. We will provide some tips on how to smooth out these edges later on.
Understanding Your Material
For electronics and metal tools, it is critical to understand your metals such as types and thicknesses. The type of metal and gauge thickness will dictate how you cut the metal. The gauge of sheet metal is a number that indicates its thickness. So the higher the number, the thinner the sheet metal.
Here is a brief table to the common types of metal that you could use. The table lists the types of metal, average panel thickness for DIY (do it yourself) work, and their properties.
| Metal Type | Typical Gauge (DIY) | Characteristics |
|---|---|---|
| Aluminum | 20-26 | Soft, lightweight, easy to cut |
| Cold-Rolled Steel | 18-24 | Stronger, common for projects, requires more force |
| Stainless Steel | 20-26 | Hard, corrosion-resistant, tougher to cut |
| Copper/Brass | 22-30 | Very soft, often for decorative use |
See Twice, Cut Once
The secret of accuracy is planning well. Make it a point to always mark your cut lines very clearly on the metal surface. You can start with a very fine point permanent marker or with a metal scribe. A scribe scratches a fine line into the metal for great precision.

When drawing straight lines, it is best to use a steel ruler or a framing square as your guide. In the case of curves, templates will be just fine. The keys to ensuring that your cuts are clean and accurate are proper preparation. So many beginners make mistakes when they skip this little step. In that way, they waste material.
Choosing Your Method: Project-Based Approach
Rather than just listing the different tools available, we can determine how you cut sheet metal based on your specific needs. By answering some questions, you will get the right tool recommended for your job. This is a good approach as it prevents you from being confused and also leads you to get the best results.
What Kind of Cut Do You Need?
The type of your cut is the starting decision: Will it be long and straight or complex and curved?
For Long and Straight Cuts:
* Thin Metal (below 24 gauge): A great option is the Straight-cut aviation snips. An even better one would be the large bench shear, if you have one.
* Thicker Metal (over 24 gauge): You can use the cut-off disc on an angle grinder or a circular saw with a special metal blade.
For Curved Cuts & Intricate Cuts:
* Thin Metal (below 24 gauge): Left-cut or right-cut aviation snips work fine. A nibbler, which is a power tool, also works well for clean curves.
* Thicker Metal (over 24 gauge): The jigsaw with a bi-metal blade is the preferred choice for you. Besides that, an angle grinder may also work if you don’t mind the rough curves.
There are a lot of metal cutting tools available. The main rule is that the tool should be matched with the material bleeding and the cut type.
Tool Comparison Table
The table below is a side by side of the most common sheet metal cutting tools and what they are best for. It describes the features of each.
| Tool | Best For | Cut Type | Power | Precision | Cost |
|---|---|---|---|---|---|
| Aviation Snips | Thin metal (<24g), small jobs | Straight & Curved | Manual | Medium | Low |
| Angle Grinder | Thicker metal, fast/rough cuts | Straight & Rough Curves | Electric | Low-Medium | Medium |
| Jigsaw | Intricate/curved cuts | Curved & Straight | Electric | High | Medium |
| Circular Saw | Long, straight cuts in thicker metal | Straight | Electric | Medium-High | Medium-High |
| Nibbler | Distortion-free cuts in mid-gauge | Straight & Curved | Electric/Pneumatic | High | High |
How to Cut Sheet Metal: the Most Common Techniques

Once you have the tool in hand, the next step is to learn the proper technique. To cut sheet metal you simply require the right tool and the proper technique. Here are the most straightforward guides for the always trendy DIY methods. Adhering to these steps will promote your safety and lead to a clean cut.
Method 1: Using Aviation Snips
Aviation snips are like heavy-duty scissors for metal. They are perfect for thin sheets.
- Step 1: Choose the right snips. Red-handled snips cut left curves. Green-handled snips cut right curves. Yellow-handled snips are for straight lines.
- Step 2: Secure your workpiece on a bench. If possible, let your cut line hang just over the edge.
- Step 3: Open the jaws of the snips as wide as you can. Use long, smooth strokes to cut. Do not close the blades all the way at the end. This prevents a small nick on your metal.
- Pro-Tip: To keep the sheet from curling up, gently bend the waste side down after every few inches of cutting. This simple action makes managing the sheet much easier.
Method 2: Using an Angle Grinder
An angle grinder is a powerful tool for cutting thicker sheet metal quickly.
- Step 1: Use a thin metal cut-off disc. Do not use a thicker grinding disc. It will remove too much material and create a lot of heat.
- Step 2: Clamp the sheet metal firmly to your workbench. The metal must not vibrate. Vibration is the enemy of a clean cut and can be dangerous.
- Step 3: Let the grinder reach its full speed before it touches the metal. Use a light, steady pressure. Let the speed of the disc do the work instead of forcing the tool forward.
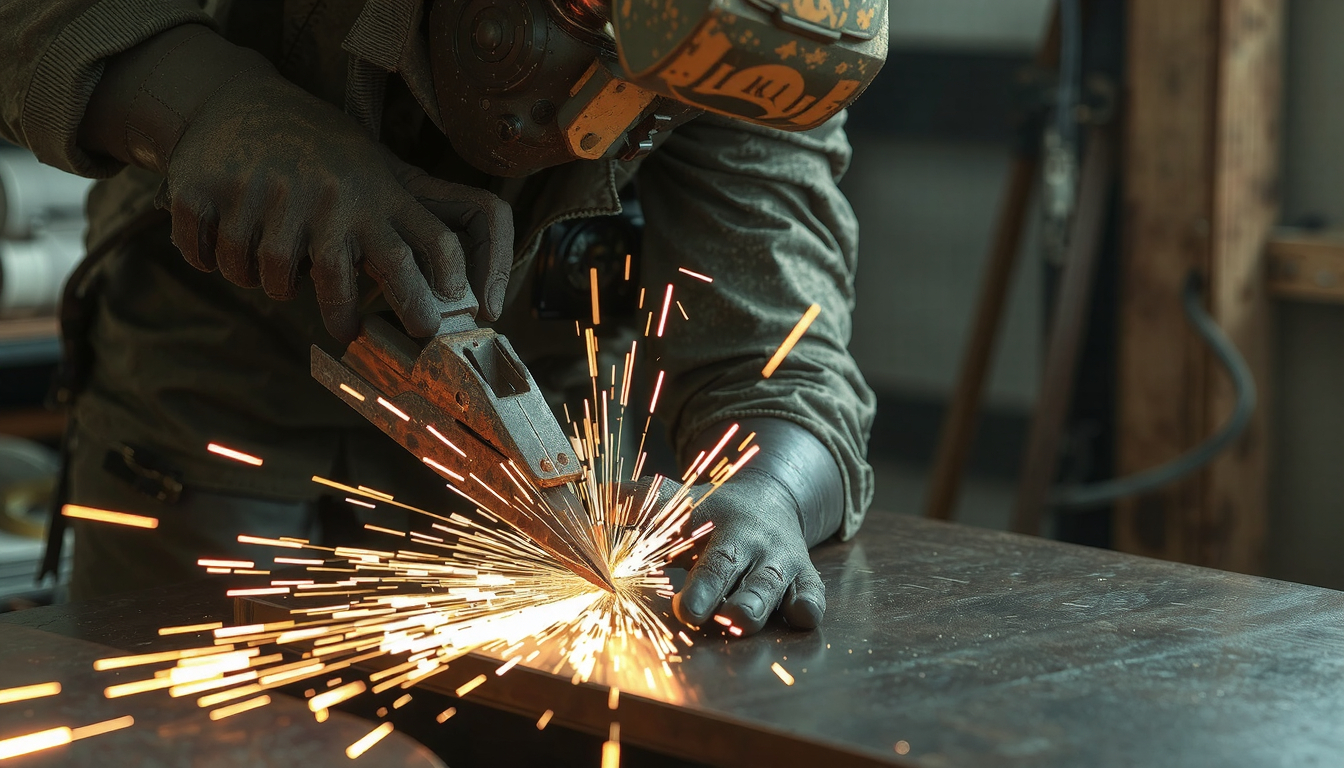
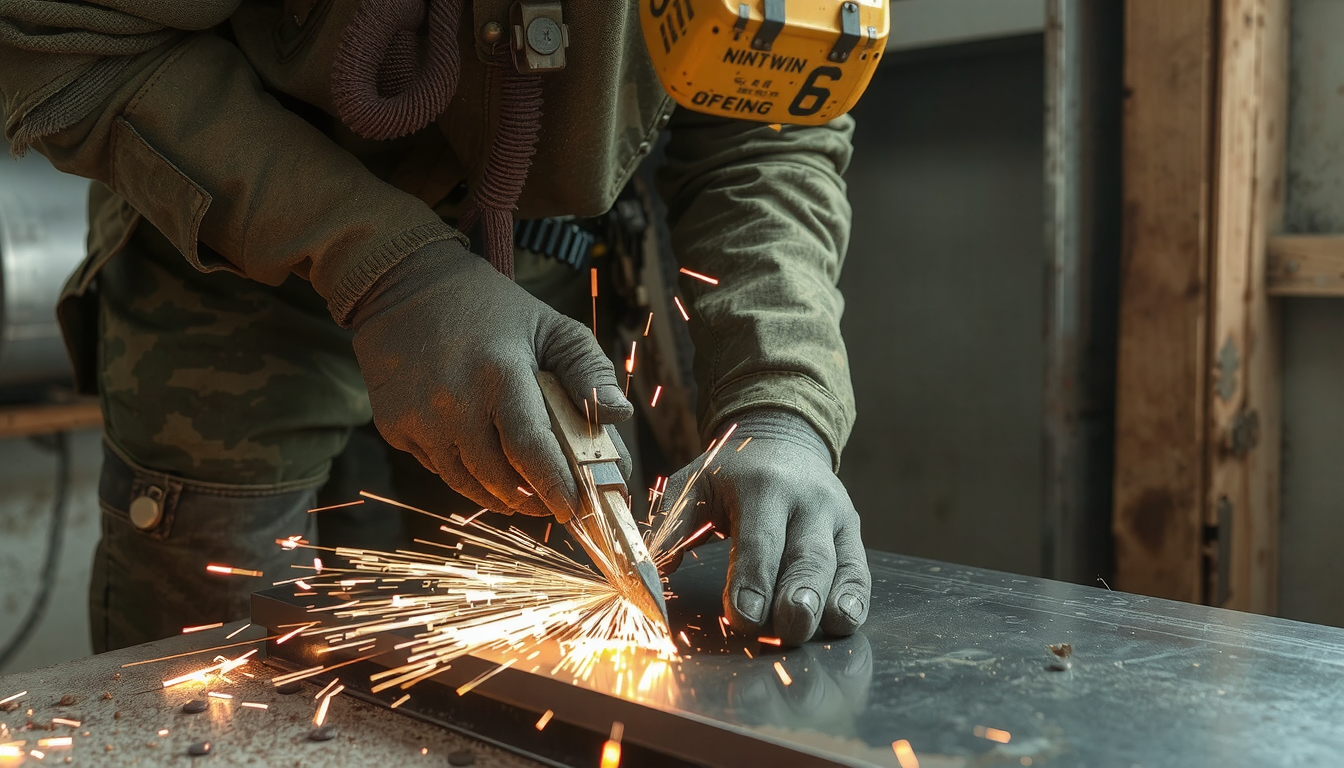
- Pro-Tip: You will see a stream of sparks. This is normal. Position yourself so the sparks fly away from you and your body. A common mistake is pushing too hard. This can cause the disc to bind or even shatter.
Method 3: Using a Jigsaw
A jigsaw is the best choice for making detailed, curved cuts in sheet metal.
- Step 1: Install the correct blade. You need a fine-toothed, bi-metal blade made for cutting metal.
- Step 2: Apply a small amount of cutting oil along your cut line. This reduces heat and protects the blade. It also helps you make a smoother cut.
- Step 3: Set the saw to a medium-high speed. Turn the orbital action setting to OFF or zero. An orbital setting makes the cut faster but much rougher.
- Pro-Tip: Thin metal can vibrate badly with a jigsaw. To stop this, sandwich the sheet metal between two thin pieces of scrap plywood. Clamp the “sandwich” together and cut through all three layers at once. This provides stability and gives you a much cleaner edge.
Key Tips: Setting Up & Resolving Common Issues
The job isn’t done by just cutting the metal. Oftentimes, you will have to solve small issues. Here are some tips to fix most common problems for the perfect edge.

Problem: Sharp Edges and Burrs
After cutting, the new edge will be very sharp and may have small metal burrs.
- Solution: The best tool for this is a deburring tool. It has a special hook that shaves off the sharp edge smoothly. For a quick fix, a simple flat file held at a 45-degree angle also works perfectly. Always wear your leather gloves during this step.
Problem: Warped or Distorted Metal
Heat from power tools can cause the thin metal to bend or warp.
- Cause: This is almost always caused by heat building up too quickly. This especially happens with an angle grinder.
- Solution: To prevent this, work in short bursts. Cut a few inches, then stop to let the metal cool down. Using a cutting lubricant can also help carry heat away. If the metal does warp, you can often flatten it. Place it on a very flat, hard surface and gently tap the high spots with a rubber mallet.
Problem: Discoloration Along the Cut
You might see a blue or brown tint along the cut line after using a power tool.
- Cause: This is another sign of overheating from the friction of cutting.
- Solution: This is usually just a cosmetic issue. You can easily remove the color with a wire brush or a finishing pad. To prevent it from happening, try cutting a little slower or using a coolant.
Conclusion: Cut with Confidence
You are now equipped with the knowledge of cutting sheet metal? The trick is amusing right tools along with techniques which fit your particular project demands. It doesn’t matter what you need to do, we have a solution for it, from aviation snips to powerful saws.
And always bear in mind the key rule: safety first. Wear your protective equipment and secure your workplace. Most DIY jobs can be handled well by hand and power tools. In projects that require a high volume or intricate shapes, grab your chance to work with good partners. For guidance, consider Mekalite contacts.
Frequently Asked Questions (FAQ)
Here are quick answers to some common questions about cutting sheet metal.
What is the easiest way to cut thin sheet metal at home?
For straight or curved cuts on thin metal (24-gauge or thinner), a good pair of aviation snips is the easiest and cheapest method. They require no electricity and are easy to control. They give you a clean result with a little practice.
Can I use a Dremel or rotary tool to cut sheet metal?
Yes, you can use a rotary tool like a Dremel with a reinforced cut-off wheel. It is excellent for very small, detailed cuts. It also works for getting into tight spaces where other tools cannot fit. However, it is very slow for long cuts. The small discs wear down quickly.
How do you cut a hole in the middle of a sheet of metal?
To cut a shape out of the middle, you first need a starting point. Use a standard drill to make a “pilot hole” inside the area you want to remove. The hole must be large enough to fit the blade of your cutting tool. A jigsaw is the perfect tool for this task.
How do you cut sheet metal without distorting it?
To avoid warping the metal, you should use a “cold cutting” method that does not generate heat. Manual hand tools like snips or a hand shear are best. If you must use a power tool, a nibbler is the ideal choice. It works by punching out tiny pieces of metal. This creates no heat or stress.
What’s the difference between red, green, and yellow tin snips?
The color-coded handles tell you the tool’s ideal cutting direction. This makes cutting curves much easier. Red-handled snips are made for cutting left-hand curves (they also cut straight). Green-handled snips are for cutting right-hand curves (they also cut straight). Yellow-handled snips are designed only for cutting straight lines.

