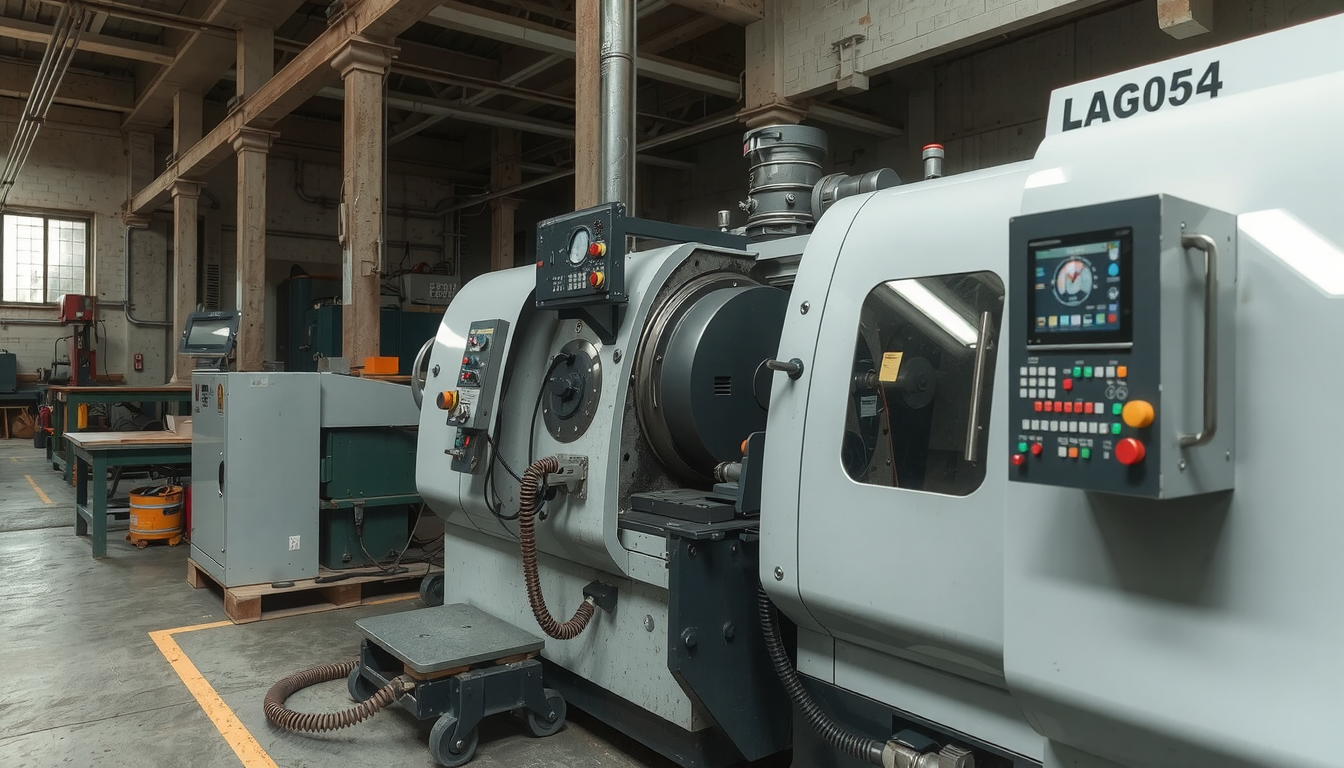
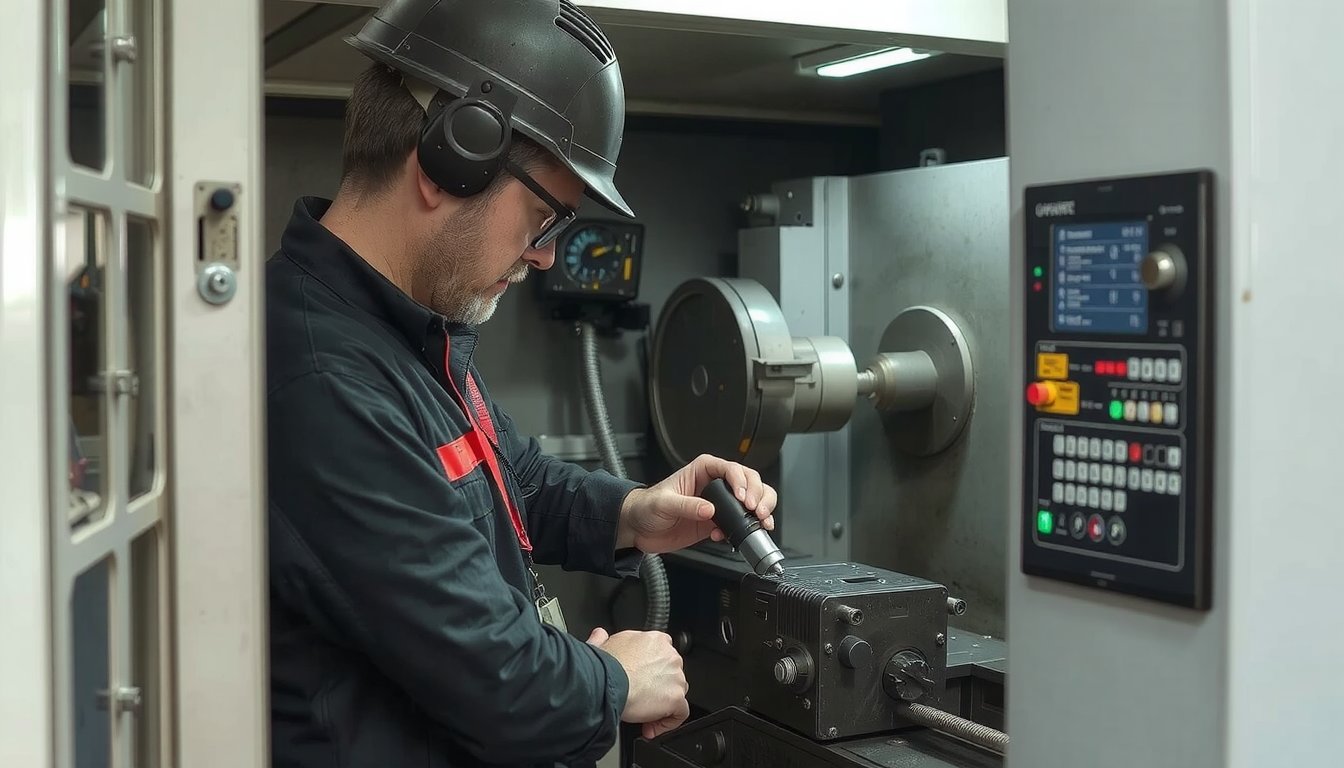
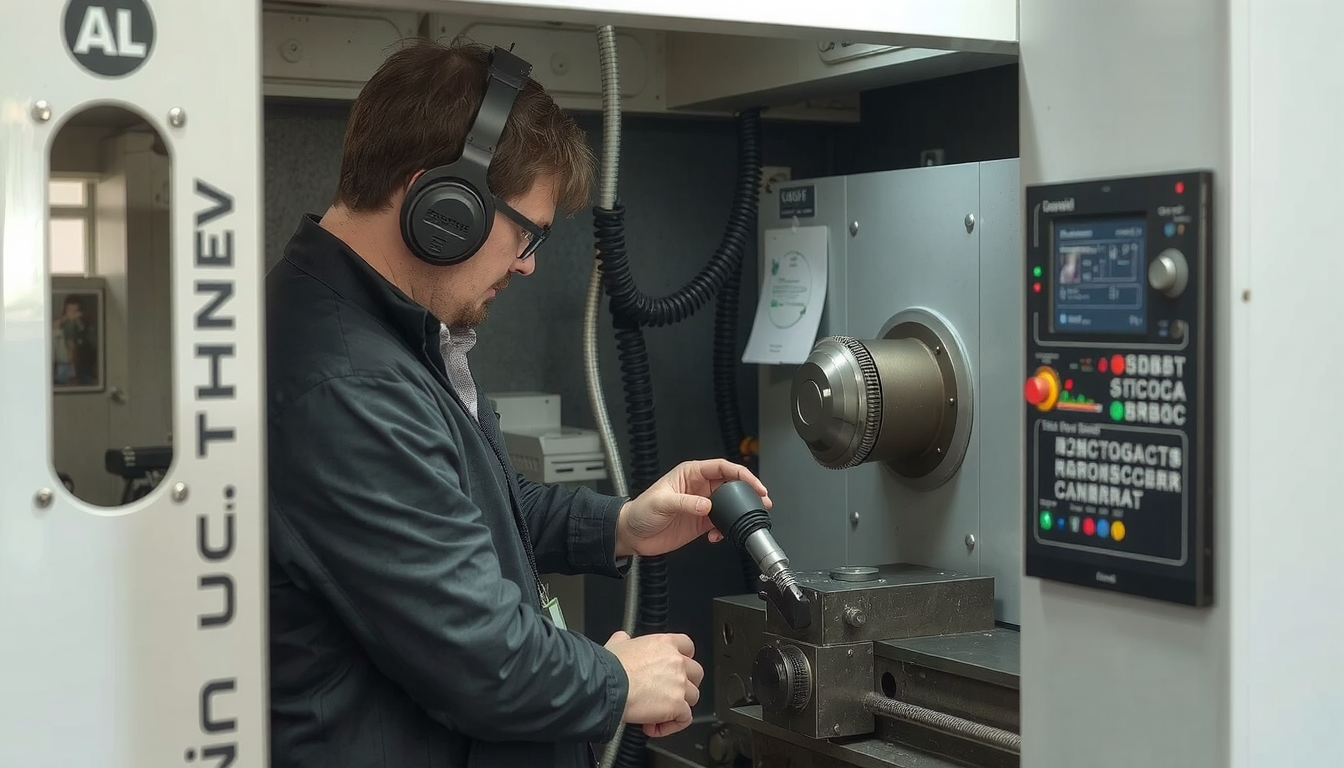
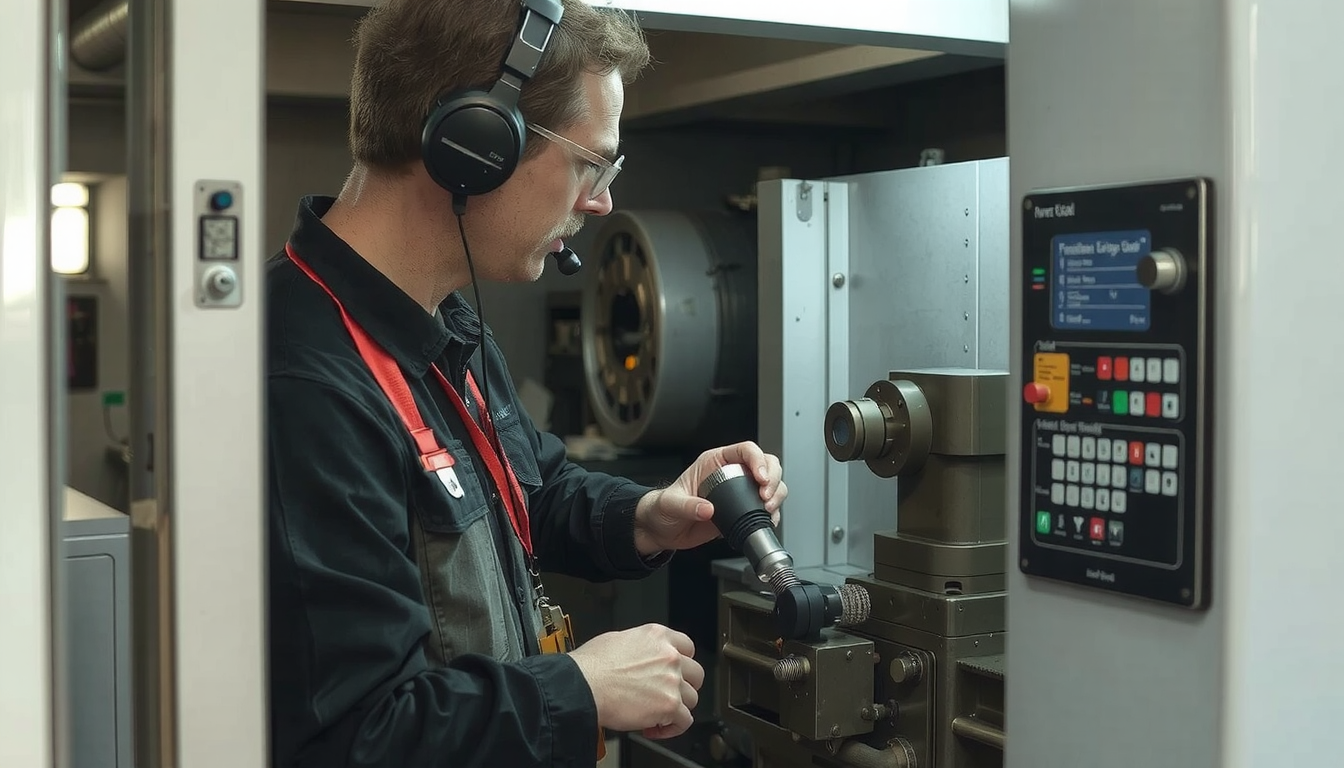
Operating a CNC lathe is pretty straightforward and can easily be understood. You can think of it in three basic sections: Getting Ready, Operating the Machine, and Tidying Up. Getting Ready involves planning and setting the machine. The actual cutting is what you get when you run the machine. Tidying up is all about the cleanup and the checking of your work quality.

Learning this important skill can be done by anyone through the specific steps and safety. This guide will show you how to do it step by step. At Mekalite, we want to help new machinists understand basic needs.
Safety First: The Rules You Must Follow
Before you even think of turning on the power, safety must come first. These regulations are not negotiable. They are the only means to protect you, your colleagues, and the expensive machine. Learning about these rules is the first step in teaching you how to run a CNC lathe machine.
Approach all operations with a safety-first mentality. For particular topics on lathe safety, consult How to Operate a Lathe: The Complete Starter Guide.
The following are the core safety rules that you have to abide by at all times:
- Safety Gear: Always wear safety glasses. Do not wear loose clothing, long sleeves, gloves, or jewelry like rings or watches. Tie back long hair. These materials can be caught in the moving parts of the machine.
- Safety Guards: Modern CNC lathes are equipped with safety doors that will stop the machine when opened. Never try to bypass these safety measures. They are for your protection.
- Emergency Stop Button: First, look for the big red Emergency Stop button. You need to know its exact location and how it works. In an emergency situation, you won’t have the time to search for it.
- Clean Work Area: Keep your work area clean, dry, and free of any clutter. Slips and falls are the main causes of injuries in machine shops.
- Secure Setup: Always make sure your workpiece is secured inside the chuck. All cutting tools must be secured in the turret. A component or tool that is loose and spins at high velocity is a real danger.
The Pre-Work Checklist: From Plan to Machine
To prevent errors, pros adhere to a checklist for each job. This is the process that leads you from a plan to a machine which is ready to cut. Observing these steps keenly is a prerequisite to learning how to run a CNC lathe machine successfully.
Step 1: Understand the Plan
You ought to comprehend the strategy before you start making a part. This means analyzing the drawing and the code that gives the detailed operating instructions to the machine.
First, you need to look at the drawing or the blueprint of the part. It depicts the shape, size, and materials of the final product. You have to be clear what the final product is to look like.

Next, you will need a program. This program will be coded in G-code and M-code languages. The G-codes will be used for controlling the movement of the machine while the M-codes will be responsible for machine functions like switching the spindle on or off.
You don’t have to be an expert for this. Yet, having knowledge about some basic programming codes is essential, especially for beginners.
| Code | Function | What It Does |
|---|---|---|
| G00 | Rapid Move | Moves the tool quickly to a position. |
| G01 | Linear Move | Moves the tool in a straight line at a set feed. |
| G02/G03 | Circular Move | Moves the tool in an arc (clockwise/counter-clockwise). |
| G54 | Work Offset | Sets the “zero point” for the part. |
| G96 | Constant Surface Speed | Keeps cutting speed the same for a better finish. |
| G97 | Constant Spindle Speed | Sets the spindle to a fixed RPM. |
| M03 | Spindle On (Clockwise) | Starts the spindle spinning forward. |
| M05 | Spindle Stop | Stops the spindle from spinning. |
| M08 | Coolant On | Turns on the coolant flow. |
| M30 | End Program | Ends the program and resets it. |
For further details, refer to The Basics of CNC Machining Programming (for Lathe).
Step 2: Prepare Machine and Material
Next, power up the machine and have the material at the ready. Turn on the main power. Most CNC controls will require you to “home” the machine. This will send each axis to its origin so the machine can recognize its position.
Clean the inside of the machine. Remove any chips or debris from the last job. Clean the chuck jaws and tool turret. A tidy machine will work better and more accurately.
Then, prepare your workpiece. Ensure it’s the correct size. Load your workpiece into the chuck and ensure it is clamped down tightly. The workpiece must be held firmly to withstand the cutting forces.
Step 3: Set Up Tools and Offsets
Now that the material is loaded, set the cutting tools and the offsets. This setup is one of the most essential parts of how to run a CNC lathe machine.
First, insert the right cutting tools into the tool turret. The specific tools (T01, T02, etc.) are called for in the program. Make sure they are placed correctly.
The next step is setting the tool offsets. The machine will need to know the exact dimensions and the position of every tool tip. This can be done by using a tool presetter, or simply by touching each tool to a known surface. This will measure the length (Z-axis) and diameter (X-axis). If the tool offsets are incorrect, the machine cannot cut to specifications.

Lastly, you will need to set the part zero or work offset. This is normally G54. This is the command that tells the machine where to initialize the program’s movements. On a lathe, this is frequently at the part’s face in the Z-axis and the part’s centerline in the X-axis.
These setup steps are essential for accurate machining. For comprehensive steps, look at this Beginner’s Guide to CNC Machine Setup.
The First Run: A Step-by-Step Walkthrough
All preparatory work has been carried out. It’s time to make the first part now. This section features a guide on how to run a CNC lathe machine during your first operation. Concentrate on what to look out for, the sounds to listen to, and how to manage control.
The Dry Run: Check Your Program
You should never run a new program just by pressing “Cycle Start.” One small error can result in a crash. This can be harmful and expensive. Instead, carry out a dry run.
A dry run is running the program without cutting metal. Move the tool turret far from the part in the Z-axis. This gives you plenty of clearance. This is called “cutting air.”
Use “Single Block” mode on the control. This will run only one line of code with each press of the cycle start button. Step through the program line by line. Observe the “Distance to Go” screen, which shows the planned movement for every axis. Make sure each movement corresponds to what you expect. This is the safest way to test the tool paths.
Making the First Cut Carefully
When you are sure about the program after your dry run, you can make your first cut. This action necessitates your undivided attention.
Before you press “Start,” turn down the “Rapid Override” and “Feed Override” knobs. Start with 25% for rapid moves and 50% for cutting feeds. This slows the machine down and gives you more time to react if an issue arises.

Now, press “Cycle Start.” Keep your hand close to the “Feed Hold” button or E-stop.
Watch and listen. A good cut should sound steady and smooth. A high-pitched sound may indicate that your spindle speed is too high or your tool is dull. A low, rumbling vibration called chatter is often due to the setup not being rigid or having improper cutting settings.
Watch the chips being made. They should be small, well-formed, and break off. Long, stringy chips can wrap around the tool or workpiece. This creates a dangerous situation called a “bird’s nest.” Also, make sure the coolant hits the tool tip and the cut area.
Common Beginner Mistakes and How to Avoid Them
All beginners make some errors. It is best to know the most common ones and prevent them.
- Wrong Offsets: This is the main cause of crashes. A wrong number in a tool or work offset can send the tool into the part or chuck.
- Fix: Double-check every number you enter. Measure twice, cut once.
- Wrong Tool in Turret: The program requires Tool 3 (a finishing tool), but you have Tool 5 (a drill) in that spot.
- Fix: Before running, physically check that the tools in the turret match the tool numbers in your program.
- Poor Chip Control: Long, stringy chips wrap around everything. This can lead to tool breakage and ruining the part’s surface.
- Fix: Adjust your feeds and speeds. A small adjustment can make chips break properly. You might need a different cutting insert.
After Operation: Shutdown and Checking
Your part is finished! But the job is not yet done. Following good post-operation steps is vital for quality control and machine maintenance.
- Safely Remove the Part: Make sure the program is completed (M30) and the spindle has stopped completely. Open the door and carefully remove your finished part from the chuck, as it can be hot and have sharp edges.
- Check the Part: Use calipers, micrometers, or other tools to measure critical dimensions and check accuracy against the blueprint. This is a confirmation of your setup and program correctness.
- Clean the Machine: Remove all chips from the machine. Wipe down all surfaces. This will prevent rust, maintain accuracy, and make it safe for the next job.
- Proper Shutdown: If it’s the end of the day, follow the correct shutdown procedure. This usually involves homing the machine before cutting off the power.
Ready for the Next Step?
Knowing how to run a CNC lathe machine will enable you to make intricate and highly precise parts. The foundational skills that you’ve learned here are the stepping stones to more complicated techniques.
Once you have the basics down, you can then appreciate the degree of precision and productivity that professional CNC lathe services are capable of for more demanding projects or large production runs.
FAQ: How to Run a CNC Lathe Machine
What is the most important safety check?
Answer: The most significant safety check is making sure the workpiece and all tooling are securely clamped. A loose workpiece can become a dangerous high-speed projectile. Always double-check the chuck and tool holders before you press “Cycle Start.”
What is the difference between G96 and G97?
Answer: G97 is a command for Constant Spindle Speed (RPM). This is helpful for fixed-speed drilling or threading. G96 commands a Constant Surface Speed (CSS). The spindle RPM automatically varies with the cutting diameter. This keeps the cutting speed at the tool tip steady, thus improving the finish on faces and diameters.
How do I know if my feeds and speeds are correct?
Answer: Listen to the machine and examine the chips. A good cut sounds smooth. A high-pitched squeal or low rumble (chatter) means there’s a problem. Chips should be well-formed (often looking like 6s or 9s) and break off cleanly. They should not form long, stringy nests. Begin with the recommended settings and adjust according to what you see and hear.
Can I learn to run a lathe without knowing G-code?
Answer: While some machines use conversational programming and software can write G-code for you, a basic understanding is essential. You will need it for troubleshooting, editing programs at the machine, and for manual operations. You don’t have to be an expert, but knowing the key codes is necessary for safe and effective operation.
What is a “dry run” and why is it important?
Answer: A “dry run” is running a new program in the air, several inches away from the workpiece. It lets you safely watch the tool paths and check if the program will move as intended. This is done without the risk of crashing into the part, chuck, or tailstock. It’s a vital safety step for testing any new or modified program.

